
RAM 2500 Truck 4WD L6-6.7L DSL Turbo VIN A (2007)
1. Depress the brake pedal five times to deplete any vacuum that may remain in the booster unit.
2. Siphon and drain the fluid from the reservoir.
3. Disconnect the electrical connector for the low fluid level.
4. Place a towel or rag under the master cylinder outlet port area to protect the vehicle from brake fluid damage.
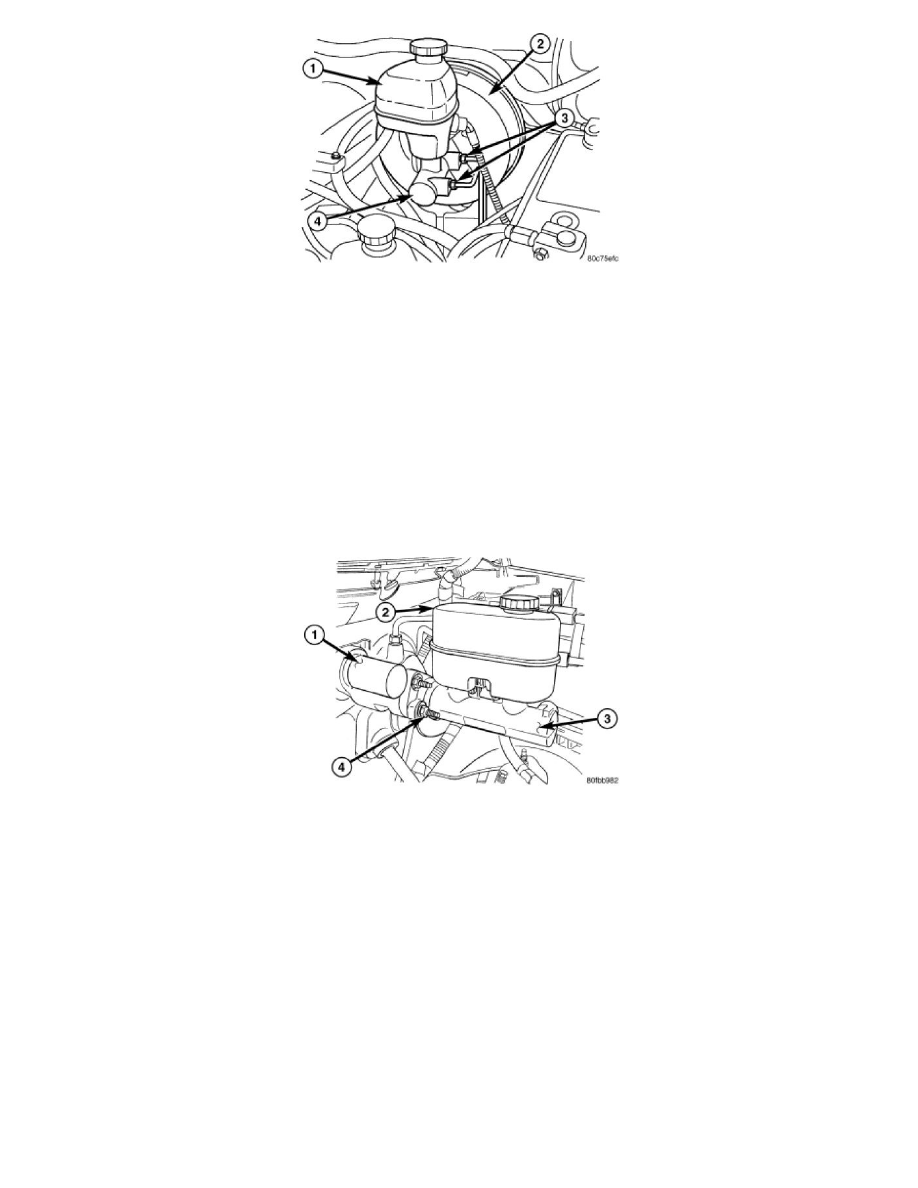
5. Remove the brake lines (3) from the master cylinder (4).
6. Remove the mounting nuts from the master cylinder (4).
7. Remove the master cylinder (4).
NOTE: Gently ease the master cylinder & reservoir assembly away from the booster, During removal the master cylinder should be kept
as perpendicular to the front of the booster as possible to avoid excess interference with the booster output rod and in order not to
dislodge the output rod from its seat inside the booster.
Hydroboost
HYDROBOOST
1. Remove the brake lines from the master cylinder.
2. Disconnect the electrical connector for the low fluid level.
3. Remove the mounting nuts (4) from the master cylinder (3).
4. Remove the master cylinder (3).
NOTE: Using care remove the master cylinder directly forward in order not to dislodge the output rod from its seat inside the booster.
All Except Hydroboost
ALL EXCEPT HYDROBOOST
NOTE: If master cylinder is replaced bleed cylinder before installation.
NOTE: Make sure the output rod of the brake booster is in position and retained by a output rod retaining ring, by looking into the boosters
master cylinder mounting hole. This position will enable the output rod to enter inside of the master cylinder plunger sleeve during installation.
Proper position is obtained when the output rod is centered perpendicular to the master cylinder mounting hole.
NOTE: Prior to installing the master cylinder assembly check that there is a vacuum seal present at the shoulder of the master cylinder flange
and it's neck. A square seal must be present to ensure vacuum integrity with the booster.