
RAM 2500 Van V6-239 3.9L Magnum (1995)
Ball Joint: Service and Repair
Lower Ball Joint Replacement
INSPECTION
1. Raise the front of the vehicle. Install safety floor stands under both lower suspension arms as far outboard as possible. The upper suspension arms
must not contact the rebound bumpers.
2. Install a dial indicator and clamp assembly to the lower suspension arm.
3. Position indicator plunger against knuckle arm and zero indicator.
4. Raise and lower the wheel with a pry bar under the center of the tire. Measure the axial movement of the knuckle with respect to the suspension
arm.
5. If the travel of the suspension arm is 0.020 inch (0.51 mm) or more, replace the ball joint.
REMOVAL
1. Raise and support the vehicle.
2. Remove the applicable front wheel.
3. Remove disc brake caliper from steering knuckle and rotor.
4. Remove shock absorber.
5. Remove the strut bar.
6. Install Spring Compressor DD-1278. Use a piece of pipe to fabricate a spacer positioned between the tool and suspension arm
7. Tighten tool nut against bell-shaped adapter tool finger-tight and loosen 1/2 of a turn.
8. Remove cotter pins and nuts from ball studs.
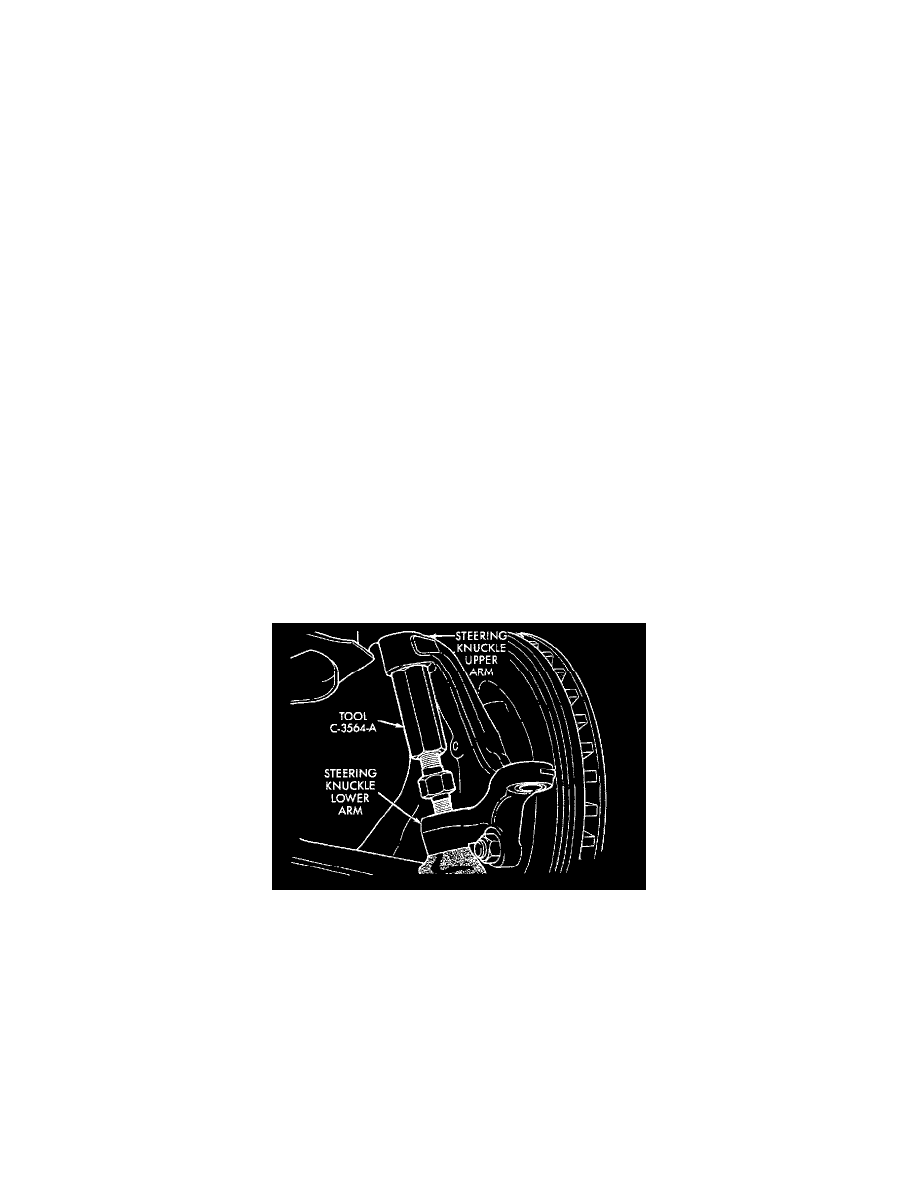
Loosening Lower Ball Stud
9. Position Ball Stud Remover C-3564-A as shown. Rotate threaded portion of tool to apply force to the lower ball stud.
10. Strike steering knuckle sharply with a hammer to loosen ball stud from knuckle. Do not force ball stud out from knuckle with the tool.