
RAM 2500 Van V8-5.2L Prop VIN 2 (2000)
Compressor Clutch: Service and Repair
The content of this article reflects the changes called out by TSB 26-12-00.
The refrigerant system can remain fully-charged during compressor clutch, pulley, or coil replacement. The compress or clutch can be serviced in the
vehicle.
REMOVAL
1. Disconnect an isolate the battery negative cable.
2. Remove the serpentine drive belt.
3. Unplug the compressor clutch coil wire harness connector.
4. Remove the clutch plate and the clutch shims. If necessary, tap the clutch plate lightly with a plastic hammer to loosen it.
CAUTION: Do not pry between the clutch plate and the clutch pulley to remove the plate. Failure to observe this caution may result in damage to
the compressor clutch assembly.
5. Remove the compressor clutch pulley retaining snap ring with snap ring pliers.
6. Remove the clutch pulley assembly from the compressor. A 3 jaw puller can be used to remove pulley. Shaft protector # MC-91211 must be used
to protect compressor shaft from damage. Do not allow puller's center screw to bear on compressor shaft. If necessary, tap the clutch pulley lightly
with a plastic hammer to loosen it.
7. Remove the screw and retainer from the clutch coil lead wire harness on the compressor front housing.
8. Unplug the compressor clutch wire harness connectors from the thermal limiter switch.
9. Note the alignment of the clutch field coil assembly on the compressor before removing it for correct reinstallation.
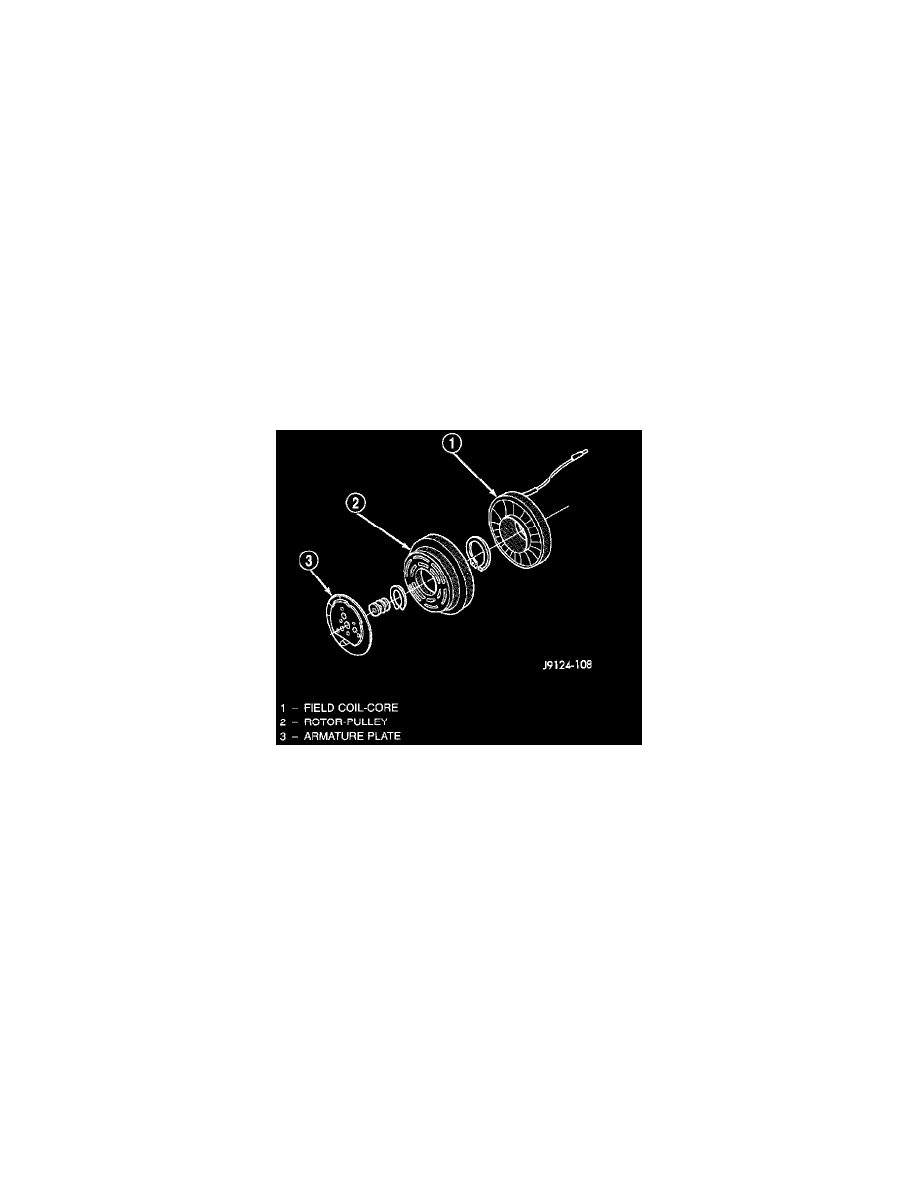
Clutch/Pulley/Coil Remove/Install - Typical
10. Remove the snap ring that secures the clutch field coil assembly to the compressor front housing.
11. Remove the clutch field coil assembly from the compressor front housing
INSPECTION
Examine the friction surfaces of the clutch pulley and the front plate for wear. The pulley and front plate should be replaced if there is excessive wear
or scoring.
If the friction surfaces are oily, inspect the shaft and nose area of the compressor for oil. If excessive oil is present, the shaft seal is leaking and the
compressor must be replaced.
Check the clutch pulley bearing for roughness or excessive leakage of grease. Replace the bearing, if required.
INSTALLATION
1. Position the back of the clutch field coil against the compressor front housing. Be certain that the locating pin on the back of the coil lines up with
the indentation on the compressor front housing. This ensures the proper orientation of the coil and the wire harness.
2. Install the clutch field coil snap ring (bevel side outward) with snap ring pliers. Be certain that the snap ring is properly seated into the groove.
CAUTION: If the snap ring is not fully seated in the groove it will vibrate out, resulting in a clutch failure and severe damage to the front housing
of the compressor.