
RAM 2500 Van V8-5.9L VIN Z (1997)
Catalytic Converter: Service and Repair
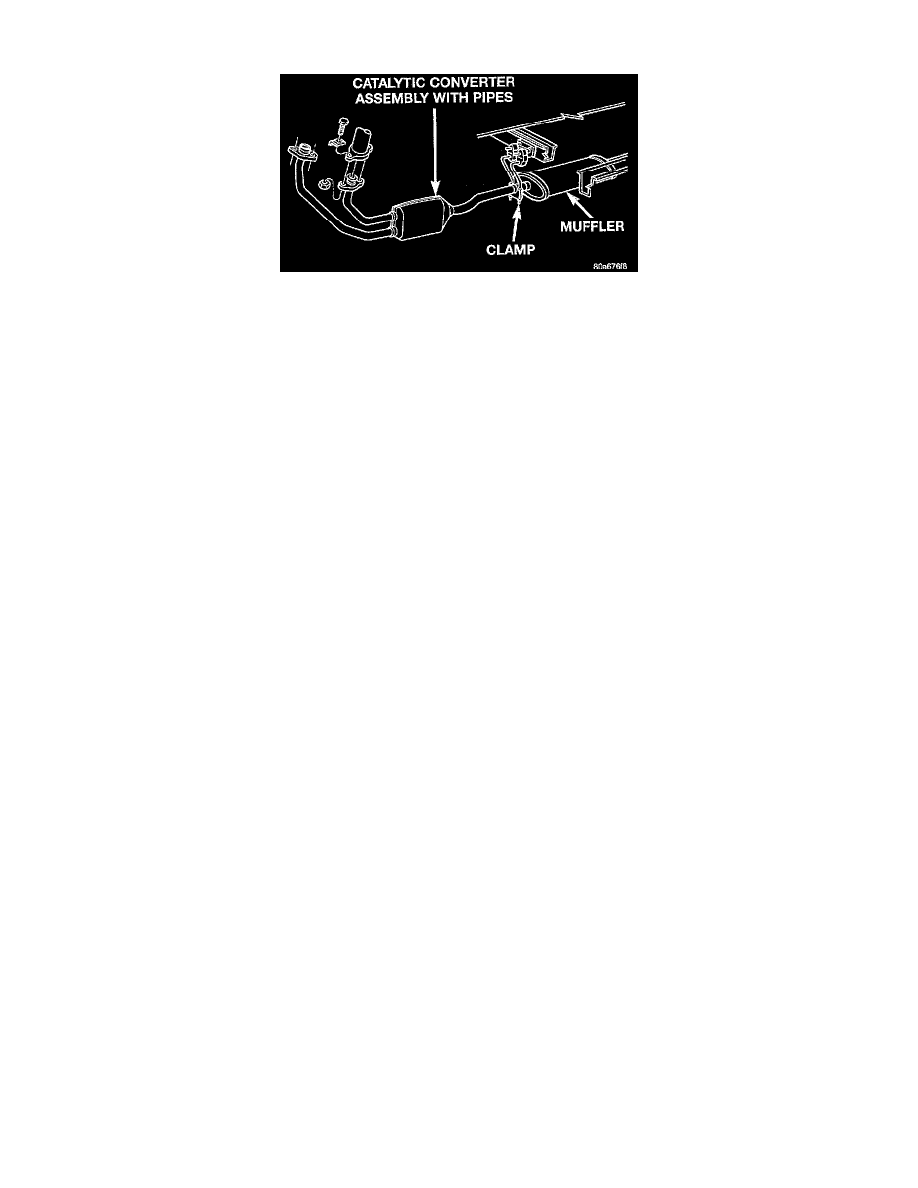
REMOVAL
1. Raise and support vehicle.
2. Saturate the bolts and nuts with heat valve lubricant. Allow 6 minutes for penetration.
3. Remove the engine exhaust manifold-to-exhaust pipe bolts and nuts, other sections of the exhaust system may have to be loosened.
4. Disconnect the clamp assembly at the muffler.
5. Disconnect the hangers from the insulators.
6. To disconnect the converter assembly from the muffler, other sections of the exhaust system may have to be loosened.
7. Remove the catalytic converter assembly with pipes.
NOTE: Discard rusted clamps, broken or worn isolators, supports and attaching parts. Replace a component with original equipment parts, or
equivalent. This will assure proper alignment with other parts in the system and provide acceptable exhaust noise levels.
INSTALLATION
1. Clean ends of pipes and muffler to assure mating of all parts.
2. Connect the exhaust pipe to the engine exhaust manifold. Tighten the bolts and nuts to 26 Nm (19 ft. lbs.) torque.
3. Install the muffler into the catalytic converter flange.
4. Connect the hangers to the insulators.
5. If other sections of the exhaust system where loosened in removal, refer to that section for the tightening procedures.
6. At the catalytic converter flange connection, install the clamp on the muffler and the exhaust pipe. Tighten the clamp nuts to 43 Nm (32 ft. lbs.)
torque.
7. Lower the vehicle.
8. Start the engine and inspect for exhaust leaks and exhaust system contact with the body panels. Adjust the alignment, if needed.