
RAM 2500 Van V8-5.9L VIN Z LDC (2000)
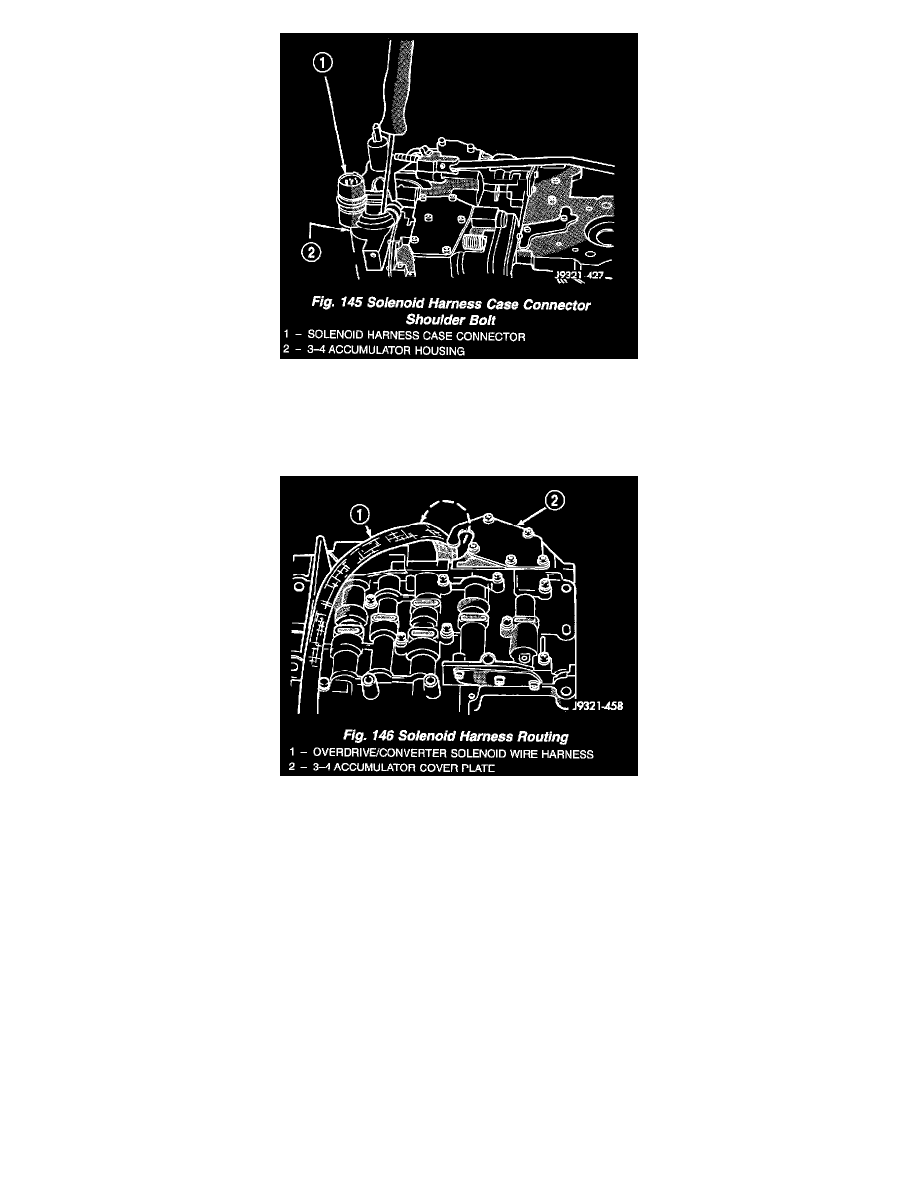
Fig. 145
19. Attach solenoid case connector to 3-4 accumulator with shoulder-type screw. Connector has small locating tang that fits in dimple at top of
accumulator housing (Fig. 145). Seat tang in dimple before tightening connector screw.
20. Install solenoid assembly and gasket. Tighten solenoid attaching screws to 8 Nm (72 in. lbs.) torque.
Fig. 146
21. Verify that solenoid wire harness is properly routed (Fig. 146). Solenoid harness must be clear of manual lever and park rod and not be pinched
between accumulator housing and cover.
GOVERNOR BODY, SENSOR AND SOLENOID
1. Turn valve body assembly over so accumulator side of transfer plate is facing down.
2. Install new O-rings on governor pressure solenoid and sensor.
3. Lubricate solenoid and sensor O-rings with clean transmission fluid.
4. Install governor pressure sensor in governor body.
5. Install governor pressure solenoid in governor body. Push solenoid in until it snaps into place in body.
6. Position governor body gasket on transfer plate.
7. Install retainer plate on governor body and around solenoid. Be sure solenoid connector is positioned in retainer cutout.
8. Align screw holes in governor body and transfer plate. Then install and tighten governor body screws to 4 Nm (35 in. lbs.) torque.
9. Connect harness wires to governor pressure solenoid and governor pressure sensor.
10. Install fluid filter and pan.
11. Lower vehicle.
12. Fill transmission with recommended fluid and road test vehicle to verify repair.
Removal and Installation