
RAM 3500 Truck 2WD L6-5.9L DSL Turbo VIN C (2003)
15.
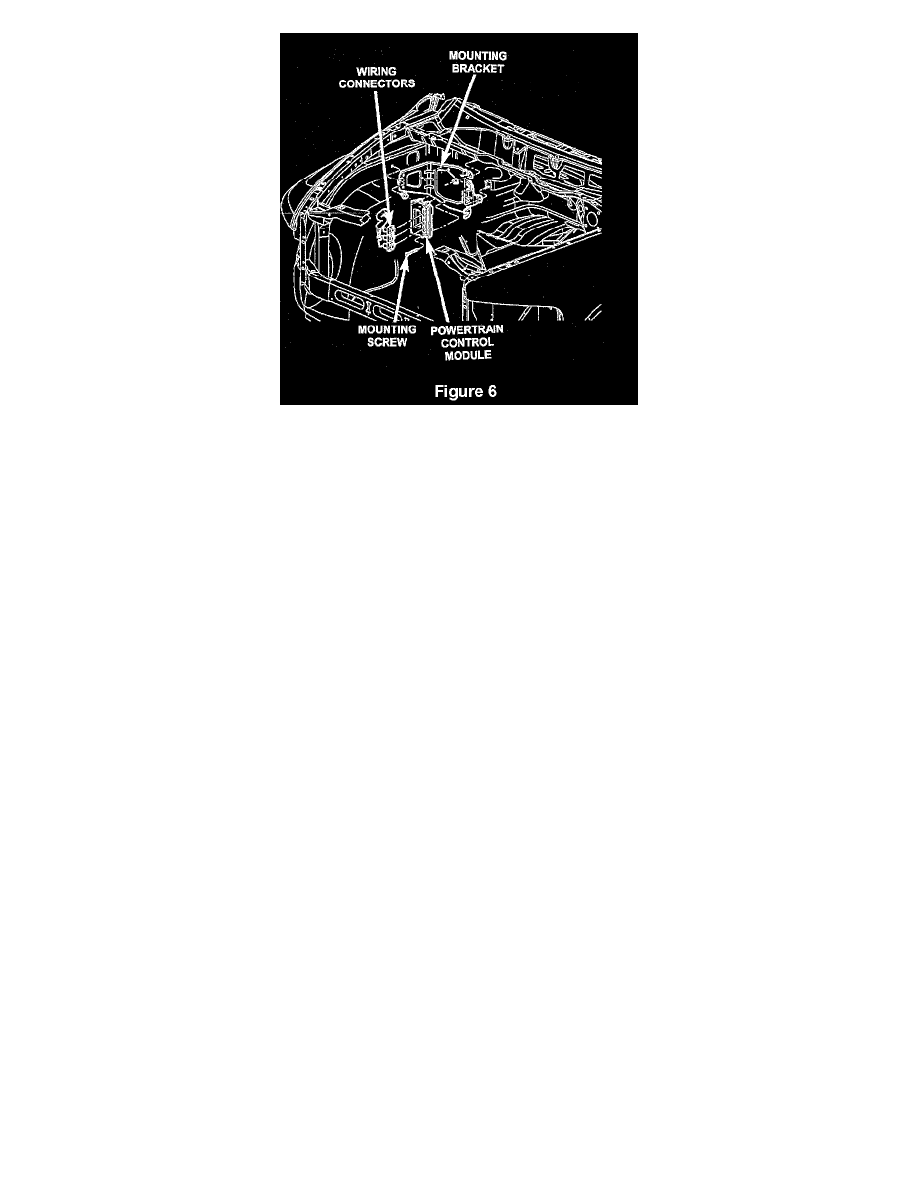
Remove the PCM mounting screws and remove the PCM (Figure 6).
16.
Install the new PCM into position. Tighten the mounting screws to 35 in. lbs. (4 N.m) (Figure 6).
17.
Place the new harness into position.
18.
Raise the vehicle on the hoist.
19.
Install the wiring harness routing clips.
20.
For trucks equipped with electric shift transfer case, connect the electric transfer case motor and encoder connectors (Figure 5).
21.
Connect the output speed sensor connector (Figure 5).
22.
Connect the transmission solenoid connector (Figure 5).
23.
Connect the PRNDL switch connector (Figure 5).
24.
Connect the two 14-way connectors located next to the transmission bell housing (Figure 5)
25.
Lower the vehicle.
26.
Connect the bulk head connector (Figure 4).
27.
Install the wiring harness and plastic harness cover onto the wiper cowl.
28.
Connect wiring harness ground eyelet at the fender (Figure 3).
29.
Connect the vacuum pump harness connector (Figure 3).
30.
Connect the 14-way connector near the wiper cowl (Figure 3).
31.
Carefully connect the black (lowest) wiring harness connector to the PCM.
CAUTION:
When connecting the harness connector to the PCM, push against the lock tabs. The connector is fully seated when two clicks are heard. Verify
that the connector is fully engaged by attempting to gently pull the connector from the PCM.
NOTE:
Due to a revised seal design on the PCM, the new wiring harness PCM connectors do not require the installation of 0-Rings.
32.
Repeat Step 31 of this procedure on the white (center) PCM connector and then the gray (top) PCM connector.