
RAM 3500 Truck 2WD V10-8.0L VIN W (1997)
Crankshaft Main Bearing: Service and Repair
Removal and Installation
REMOVAL
1. Remove the oil pan and oil pump pick-up tube.
2. Identify bearing caps before removal. Remove bearing caps one at a time.
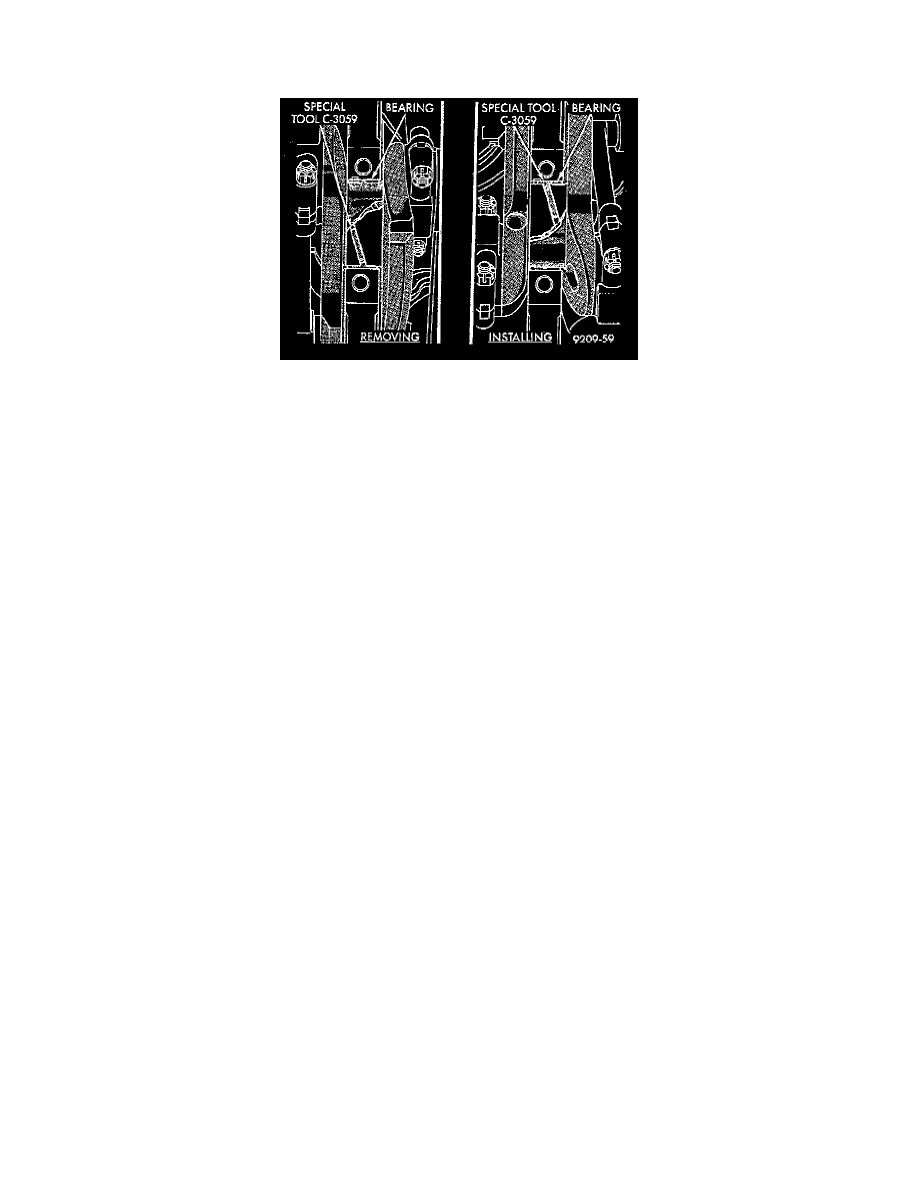
3. Remove upper half of bearing by inserting Crankshaft Main Bearing Remover/Installer Tool C-3059, or equivalent into the oil hole of crankshaft.
4. Slowly rotate crankshaft clockwise, forcing out under half of bearing shell.
NOTES:
^
Only one main bearing should be selectively fitted while all other main bearing caps are properly tightened. All bearing cap bolts removed during
service procedures are to be cleaned and oiled before installation.
^
When installing a new upper bearing shell, slightly chamfer the sharp edges from the plain side.
INSTALLATION
1. Start bearing in place, and insert Crankshaft Main Bearing Remover/Installer Tool C-3059 into oil hole of crankshaft.
2. Slowly rotate crankshaft counterclockwise sliding the bearing into position. Remove Tool C-3059, or equivalent.
3. Lubricate the main journals with clean engine oil. Install main bearing caps and bolts. Follow the 2 step tightening sequence.
^
Step 1-Starting with bearing cap No.1, tighten the bolts to 27 Nm (20 ft. lbs.) torque.
^
Step 2-Starting with bearing cap No.1, tighten the bolts to 115 Nm (85 ft. lbs.) torque.
4. Apply a rearward axial load of 667 N (150 lbs) on crankshaft centerline, driving No.3 main cap and thrust bearing against No.3 bulkhead. Repeat
procedure, driving crankshaft forward to align rear flange of thrust bearings in a common plane. Front face of No.1 main cap must not extend
forward in front of face of No.1 bulkhead.
5. Install the oil pump pick-up tube and oil pan.