
RAM 3500 Truck 2WD V8-5.7L (2008)
8. Remove connecting rod cap. Install Connecting Rod Guides 8507 into the connecting rod being removed. Remove piston from cylinder bore.
Repeat this procedure for each piston being removed.
9. Immediately after piston and connecting rod removal, install bearing cap on the mating connecting rod to prevent damage to the fractured cap and
rod surfaces.
10. Carefully remove piston rings from piston(s).
Piston and Connecting Rod - Installation
INSTALLATION
1. Before installing piston and connecting rod assemblies into the bore, install the piston rings See: Piston Ring/Service and Repair .
2. Immerse the piston head and rings in clean engine oil. Position a ring compressor over the piston and rings. Tighten ring compressor. Ensure
position of rings do not change during this operation.
3. Position bearing onto connecting rod. Lubricate bearing surface with clean engine oil.
4. Install Connecting Rod Guides 8507 into connecting rod bolt threads.
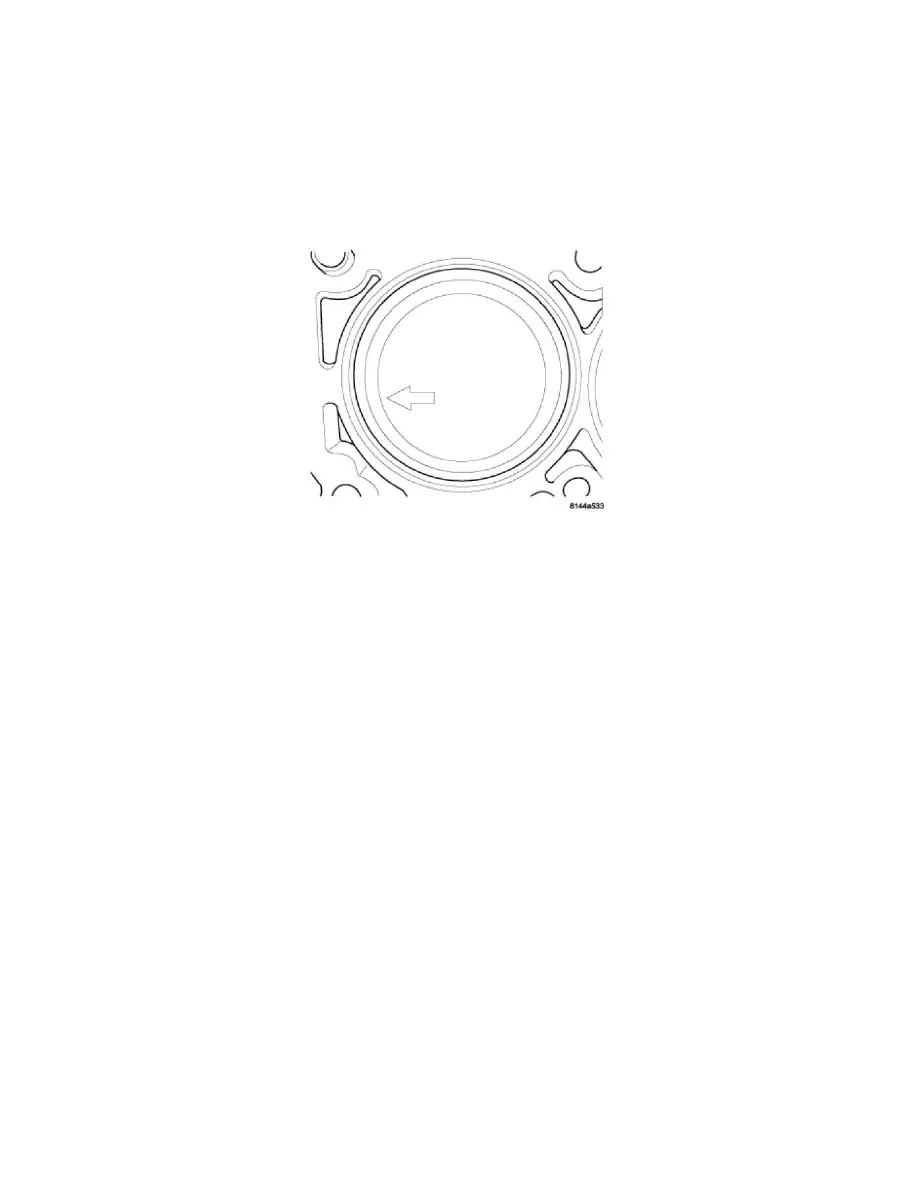
5. The pistons are marked on the piston pin bore surface with an raised "F" or arrow on top of piston indicating installation position. This mark must
be pointing toward the front of engine on both cylinder banks.
6. Wipe cylinder bore clean and lubricate with engine oil.
7. Rotate crankshaft until connecting rod journal is on the center of cylinder bore. Insert rod and piston into cylinder bore and carefully position
connecting rod guides over crankshaft journal.
8. Tap piston down in cylinder bore using a hammer handle. While at the same time, guide connecting rod into position on rod journal.