RAM 3500 Truck 2WD V8-5.9L VIN 5 HDC (2000)

3.
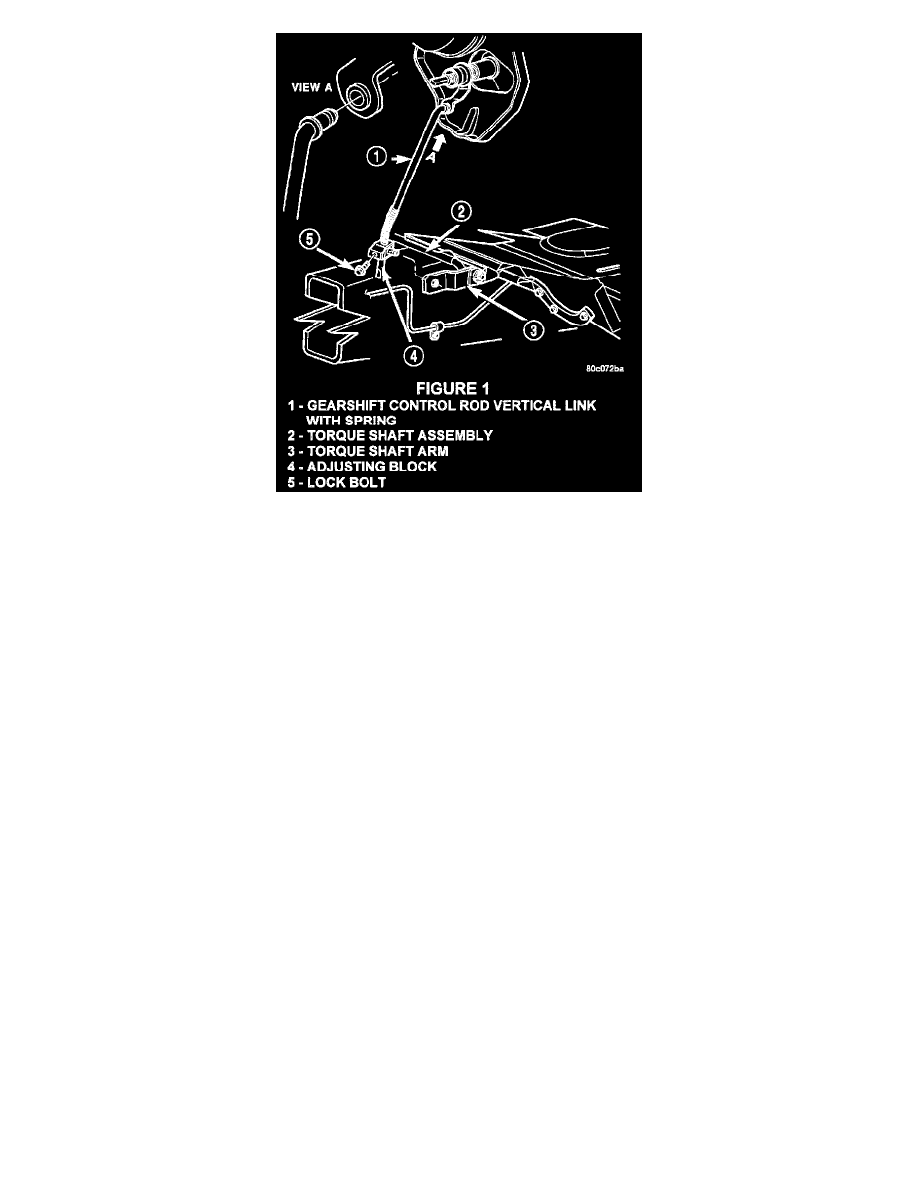
Pry out the gearshift control rod vertical link from the transmission gear selector shift arm (Figure 1).
4.
Raise and support the vehicle.
NOTE:
THE GEAR SELECTOR SHIFT ARM GROMMET MUST BE REPLACED WITH GROMMET P/N 03575333 IF THE GROMMET WAS
DAMAGED WHILE PERFORMING STEP 3.
5.
Pry out the adjustment block trunnion from the torque shaft outboard lever grommet and remove the gearshift control rod vertical link from the
vehicle.
6.
Remove the three gearshift control rod/torque shaft assembly attachment bolts.
7.
On vehicles equipped with a cotter pin through the shift linkage at the torque shaft arm, remove the cotter pin and discard the cotter pin.
NOTE:
THE COTTER PIN IS USED AT THE ASSEMBLY PLANT FOR INSTALLATION PURPOSES ONLY AND IS NOT REQUIRED FOR
REASSEMBLY.
8.
Carefully, pry the gearshift control rod horizontal link from the transmission manual valve shift lever.
NOTE:
THE TRANSMISSION MANUAL VALVE SHIFT LEVER GROMMET MUST BE REPLACED WITH GROMMET P/N 03575333 IF THE
GROMMET WAS DAMAGED WHILE PERFORMING STEP 8.
9.
Remove gearshift control rod/torque shaft assembly from vehicle.
10.
Clean all dirt, debris, and remaining lubricant from the gearshift control torque shaft support bushing.
11.
Lubricate the gearshift control torque shaft support bushing with Mopar Multipurpose Grease p/n 04318063.
12.
Install the new gearshift control rod/torque shaft assembly (see Parts Required section) into the gearshift control torque shaft support bushing.
Attach the gearshift control rod/torque shaft assembly to the vehicle with the three attachment bolts. lighten the bolts to 28 - 40 N.m (250 - 350 in.
lbs.).
13.
Attach the gearshift control rod horizontal link to the transmission manual valve shift lever.
