
RAM 3500 Truck 4WD L6-5.9L DSL Turbo VIN C (2002)
Valve Body: Service and Repair
Assembly
47RE - Automatic Transmission
ASSEMBLY
CAUTION: Do not force valves or plugs into place during reassembly. If the valve body bores, valves and plugs are free of distortion or burrs, the
valve body components should all slide into place easily. In addition, do not overtighten the transfer plate and valve body screws during
reassembly. Overtightening can distort the housings resulting in valve sticking, cross leakage and unsatisfactory operation. Tighten valve
body screws to recommended torque only.
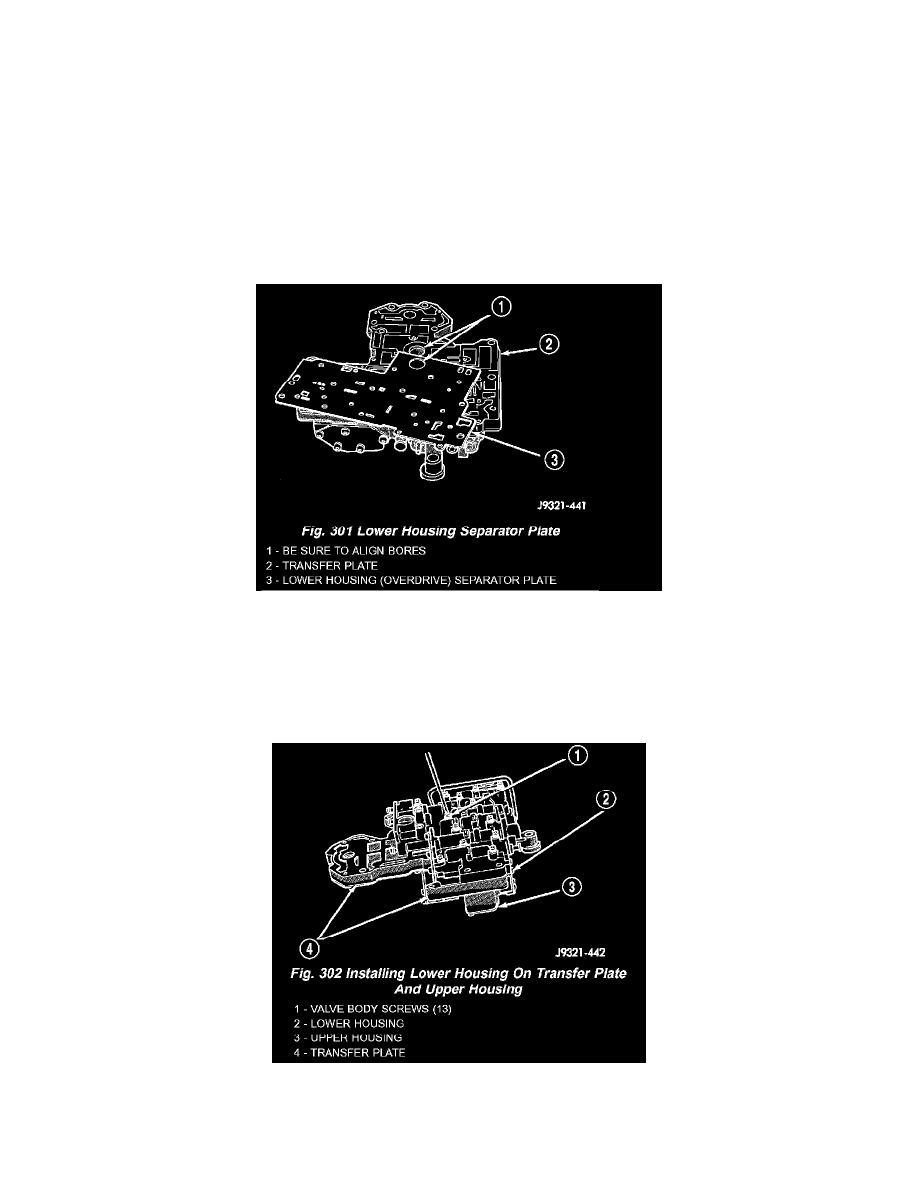
LOWER HOUSING
1. Lubricate valves, springs, and the housing valve and plug bores with clean transmission fluid (Fig. 301).
2. Install 3-4 timing valve spring and valve in lower housing.
3. Install 3-4 quick fill valve in lower housing.
4. Install 3-4 quick fill valve spring and plug in housing.
5. Install timing valve end plate. Tighten end plate screws to 4 Nm (35 inch lbs.) torque.
3-4 ACCUMULATOR
1. Lubricate accumulator piston, seals and housing piston bore with clean transmission fluid (Fig. 302).
2. Install new seal rings on accumulator piston.
3. Install piston and spring in housing.
4. Install end plate on housing.