
RAM 3500 Truck 4WD L6-5.9L DSL Turbo VIN C (2002)
Windshield: Service and Repair
WINDSHIELD
REMOVAL
1. Remove inside rear view mirror.
2. Remove cowl grill.
3. Remove the a-pillar weatherstrip retainer. Refer to Weatherstrip.
4. Remove the a-pillar trim panels. Refer to Trim Panel.
5. Remove the headliner and from the inside of the vehicle, cut the upper urethane bonding from around windshield upper edge using a suitable sharp
cold knife (C-4849). A pneumatic cutting device can be used but is not recommended.
6. From the outside of the vehicle, cut urethane bonding from the remaining sides of the windshield using a suitable sharp cold knife (C-4849). A
pneumatic cutting device can be used but is not recommended.
7. Separate windshield from vehicle.
INSTALLATION
WARNING: Allow the urethane at least 24 hours to cure before returning the vehicle to use.
CAUTION: Roll down the left and right front door glass and open the rear glass slider (if available) before installing windshield to avoid
pressurizing the passenger compartment if a door is slammed before urethane is cured. Water leaks can result.
The windshield fence should be cleaned of most of its old urethane bonding material. A small amount of old urethane, approximately 1-2 mm in height,
should remain on the fence. Do not grind off or completely remove all old urethane from the fence, the paint finish and bonding strength will be
adversely affected.
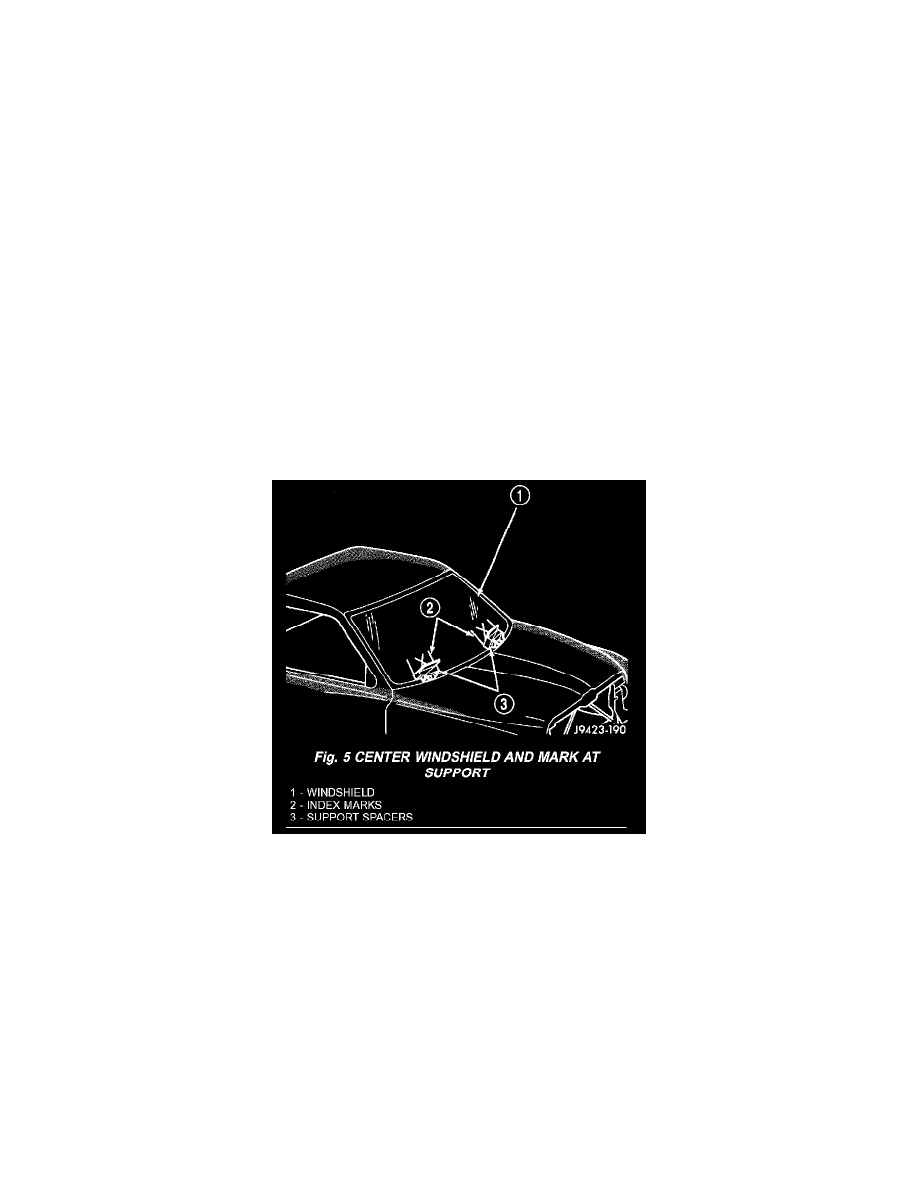
Fig. 5
1. Place replacement windshield into windshield opening and position glass in the center of the opening against the support spacers. Mark the outside
surface of the glass at the support spacers with a grease pencil or pieces of masking tape and ink pen to use as a reference for installation. Remove
replacement windshield from windshield opening (Fig. 5).