
RAM 3500 Truck 4WD L6-6.7L DSL Turbo VIN A (2007)
Connecting Rod: Removal and Replacement
Piston and Connecting Rod - Removal
REMOVAL
1. Disconnect the battery cables.
2. Remove the cylinder head.
3. Remove the oil pan and suction tube.
4. Remove bolts and the block stiffener.
5. Using Miller Tool 7471-B crankshaft barring tool, rotate the crankshaft so all of the pistons are below TDC.
6. Before removing the piston(s) from the bore(s):
a. Remove any carbon ridge formations or deposits at the top of the bore with a dull scraper or soft wire brush.
b. If cylinder bore wear ridges are found, use a ridge reamer to cut the ridge from the bore. DO NOT remove more metal than necessary to
remove the ridge.
7. Remove the J-jet cooling nozzles.
NOTE: If cylinders have ridges, the cylinders are oversize and will more than likely need boring.
8. Using a hammer and steel stamp, stamp the cylinder number in the top of each piston. The front of the piston is identified by a stamping on the top
of the piston. DO NOT stamp in the outside 5 mm (.197 in.) of the piston diameter. DO NOT stamp over the piston pin.
9. Mark the connecting rod and cap with the corresponding cylinder numbers.
10. Remove the connecting rod bolts and rod caps. Use care so the cylinder bores and connecting rods are not damaged.
11. Use a hammer handle or similar object to push the piston and connecting rod through the cylinder bore.
12. Store the piston/rod assemblies in a rack.
Piston and Connecting Rod - Installation
INSTALLATION
1. Lubricate the cylinder bores with clean engine oil.
2. Generously lubricate the rings and piston skirts with clean engine oil.
3. Orientate the rings on the piston.
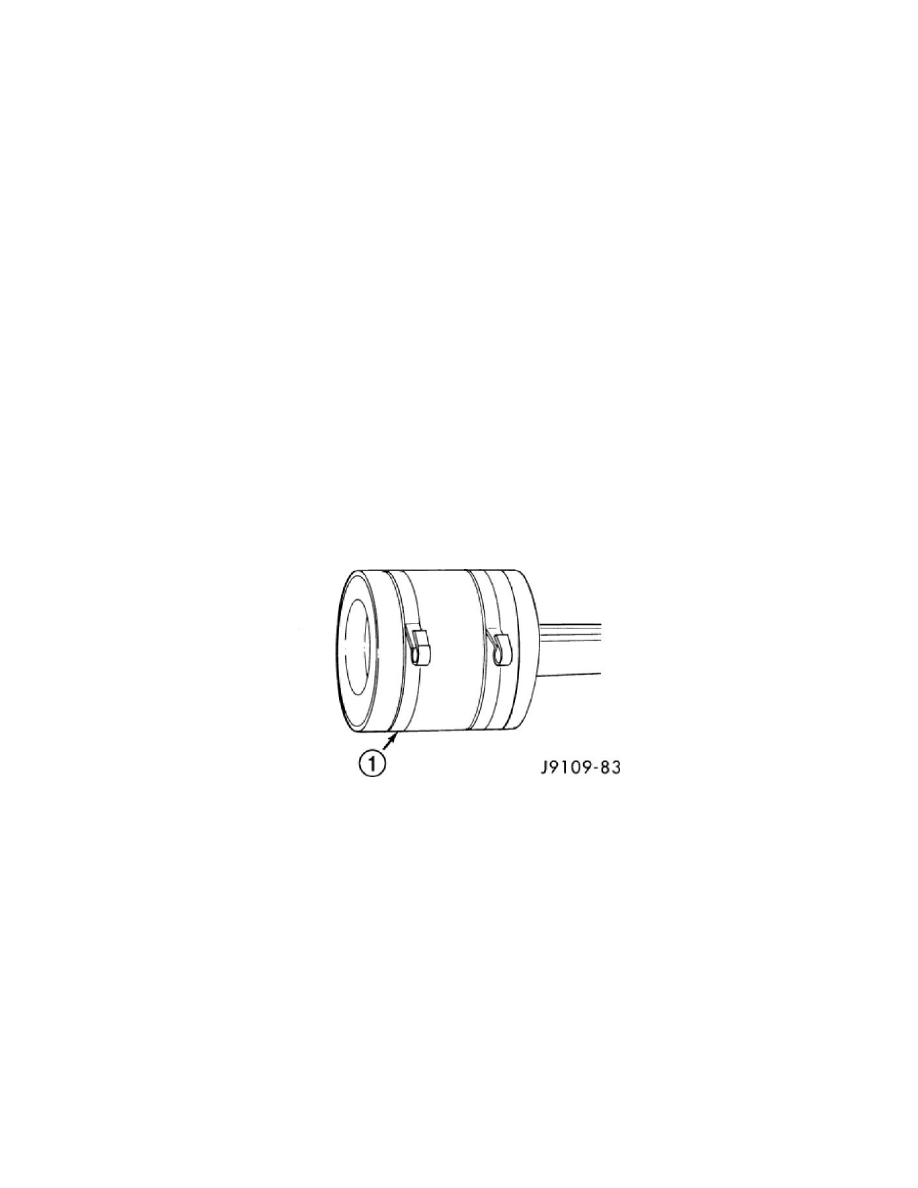
4. Compress the rings using a piston ring compressor tool (1). If using a strap-type ring compressor, make sure the inside end of the strap does not
hook on a ring gap and break the ring.