
RAM 3500 HD Truck 2WD L6-6.7L DSL Turbo (2008)
7. Remove the steering knuckle See: Front Steering Knuckle/Service and Repair/Front Steering Knuckle - Removal .
8. Remove the stabilizer link See: Stabilizer Bar/Stabilizer Link/Service and Repair/Front Stabilizer Link - Removal .
9. Remove the lower control arm support.
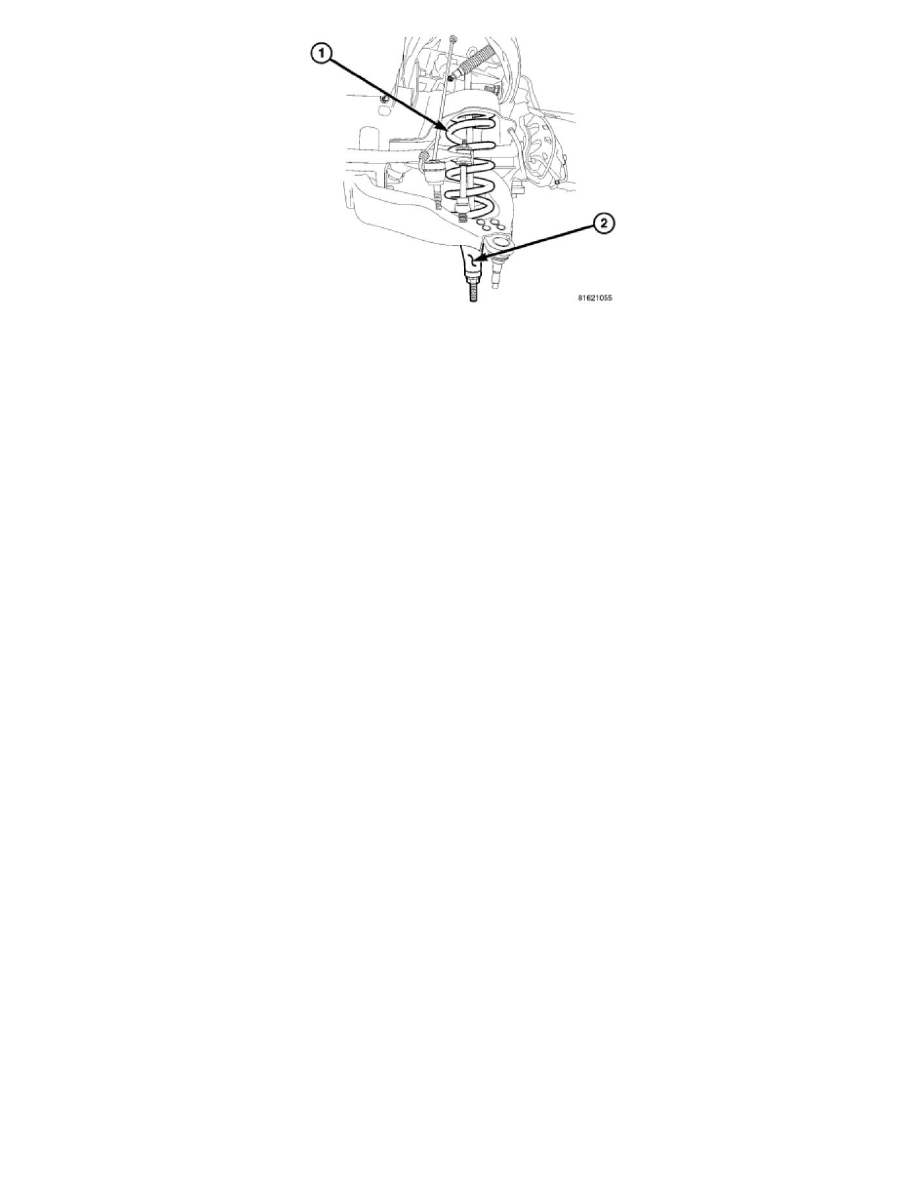
10. Tighten the spring compressor tool (2) to collapse the coil spring.
NOTE: It may necessary to loosen the control arm pivot bolt to allow downward swing.
11. Loosen the tension on the spring compressor tool (2) slowly allowing the lower suspension arm to pivot downward.
12. Remove the spring compressor tool (2).
13. Remove coil spring (1) and isolator pad from the vehicle.
Link/Coil
REMOVAL
1. Raise and support the vehicle. Position a hydraulic jack under the axle to support it.
2. Paint or scribe alignment marks on lower suspension arm cam adjusters and axle bracket for installation reference.
3. Remove the upper suspension arm and loosen lower suspension arm bolts.
4. Mark and disconnect the front propeller shaft from the axle 4x4 models.
5. Disconnect the track bar from the frame rail bracket.
6. Disconnect the drag link from pitman arm.
7. Disconnect the stabilizer bar link and shock absorber from the axle.
8. Lower the axle until the spring is free from the upper mount. Remove the coil spring.