
RAM 3500 HD Truck 4WD L6-6.7L DSL Turbo VIN A (2007)
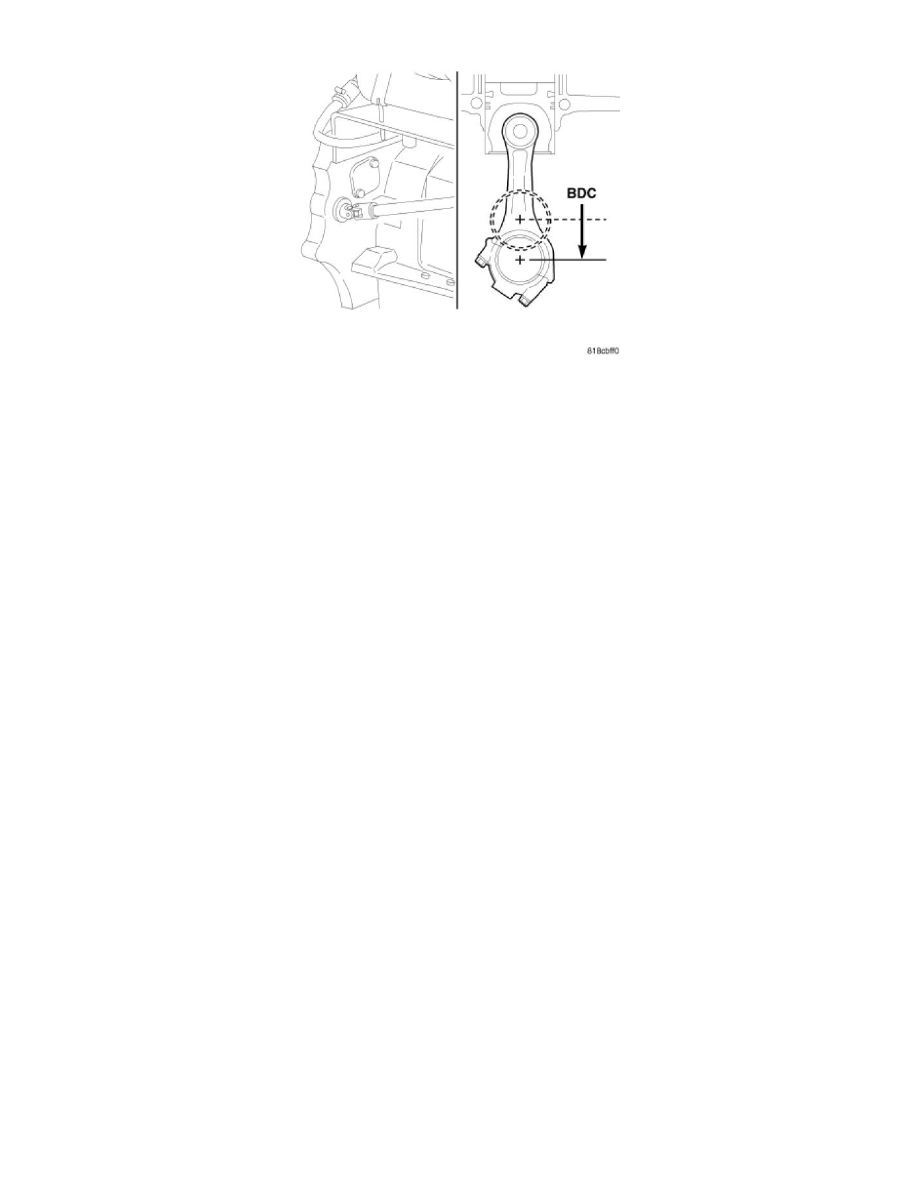
5. Bar the crankshaft so the rod journal for the piston to be installed is at BDC (Bottom Dead Center).
6. Make sure the front of the piston is oriented properly according to the marking on the top of the piston and the connecting rod is oriented properly.
7. Position the piston and rod assembly into the cylinder bore with the front of the piston oriented properly according to the stamping in the top of the
piston. Use care when you install the piston and connecting rod so the cylinder bore is not damaged. The long side of the connecting rod must be
installed on the exhaust side of the engine.
8. Push the piston into the bore until the top of the piston is approximately 50 mm (2 inch) below the top of the block. Carefully pull the connecting
rod onto the crankshaft journal.
9. Use clean engine oil to lubricate the threads and under the heads of the connecting rod bolts.
10. For fractured/split type connecting rods, the long end of the rod must be installed away from the intake side of the engine.
a. The connecting rod split/face must face toward the same side as the piston notch feature on the skirt. The split face will face toward the exhaust
side of the engine if properly installed.
11. Install the rod cap and bolts to the connecting rod. Tighten the connecting rod bolts evenly in 3 steps.
-
Tighten the bolts to 30 Nm (22 ft. lbs.) torque.
-
Tighten the bolts to 60 Nm (44 ft. lbs.) torque.
-
Rotate 60° clockwise.
12. The crankshaft must rotate freely. Check for freedom of rotation as the caps are installed. If the crankshaft does not rotate freely, check the
installation of the rod bearing and the bearing size.
13. Measure the side clearance between the connecting rod and the crankshaft. DO NOT measure the clearance between the cap and crankshaft.
14. Install J-jet piston cooling nozzles.
15. Install block stiffener. Torque to 43 Nm (32 ft. lbs.).
16. Install the suction tube and oil pan.
17. Install the cylinder head onto the engine.
18. Install a new filter and fill the crankcase with new engine oil. Prefill the filter with clean oil.
19. Connect the battery negative cables and start engine.