
RAM 3500 Van V8-5.2L CNG VIN T (1996)
Fuel Cylinder Manual Control Valve (CNG): Service and Repair
Left Side Cylinder Valve
REMOVAL
1. Purge fuel system of all CNG.
2. Raise and support vehicle.
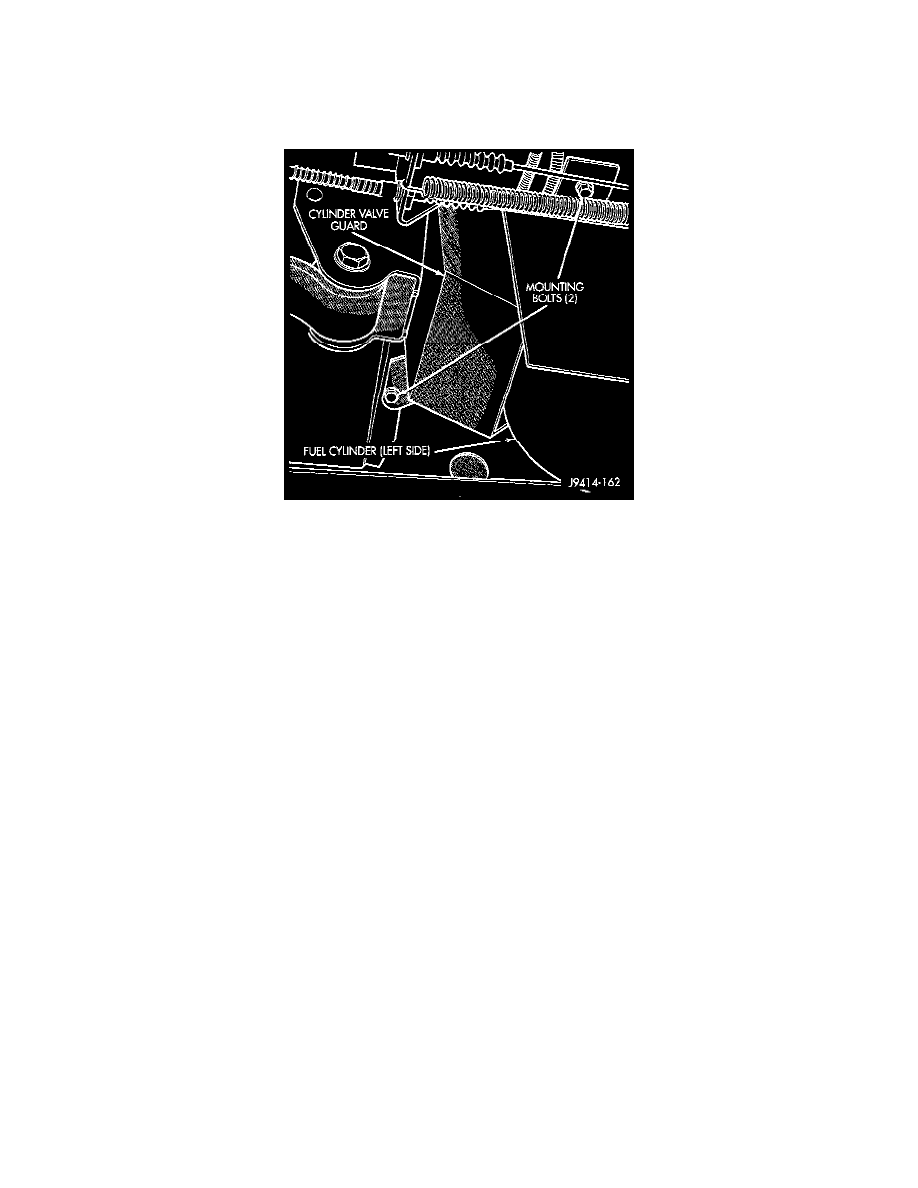
Left Side Cylinder Valve Guard
3. Remove 3 bolts securing cylinder guard and remove guard.
4. Disconnect fuel tube at control valve. Clean area around fitting before removal.
5. Disconnect electrical connector from fuel gauge pressure sensor.
6. Remove fuel gauge pressure sensor counterclockwise.
7. Remove fuel control valve from cylinder (counterclockwise).
INSTALLATION
1. Clean control valve. Apply Parker 0-Lube to new 0-ring. Install new 0-ring to valve.
2. Install fuel control valve into cylinder (clockwise). Tighten valve to 100 N.m (80 ft. lbs.) torque.
CAUTION: It control valve did not return to its original horizontal position after tightening, fuel cylinder must be rotated. Proceed as follows:
3. Loosen cylinder strap nuts/bolts and rotate cylinder until valve is in horizontal position.
4. Tighten bolts to 27 N.m (20 ft. lbs.) torque.
5. Apply Parker 0-Lube to new 0-ring. Install new 0-ring to fuel gauge pressure sensor.
6. Install fuel gauge pressure sensor and its electrical connector.
7. Install fuel tube to cylinder valve. A Go No-Go gauge tool must be used to check fitting after tightening.
8. Position cylinder guard. Apply thread lock compound to bolts. Install 3 bolts securing cylinder guard. Tighten bolts to 4 N.m (32 in. lbs.) torque.
9. Check cylinder valve, fuel gauge pressure sensor and fuel tube for gas leaks.