RAM 3500 Van V8-5.9L VIN Z LDC (1998)

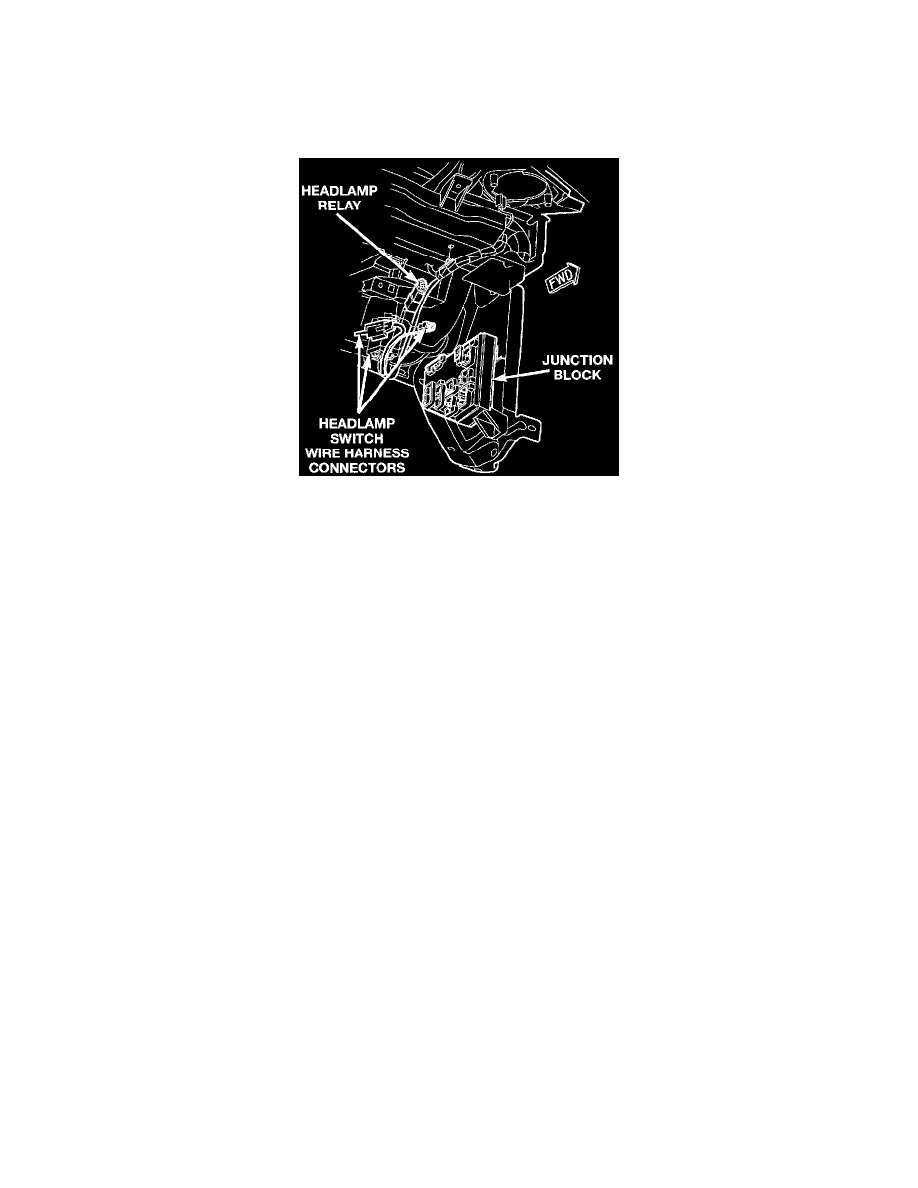
Headlamp Relay: Service and Repair
REMOVAL AND INSTALLATION
WARNING: ON VEHICLES EQUIPPED WITH AIR-BAGS, REFER TO AIRBAGS BEFORE ATTEMPTING ANY STEERING WHEEL,
STEERING COLUMN, OR INSTRUMENT PANEL COMPONENT DIAGNOSIS OR SERVICE. FAILURE TO TAKE THE PROPER
PRECAUTIONS COULD RESULT IN ACCIDENTAL AIRBAG DEPLOYMENT AND POSSIBLE PERSONAL INJURY.
Headlamp Relay Remove/Install
1. Disconnect and isolate the battery negative cable.
2. Remove the headlamp switch from the instrument panel, but do not unplug the wire harness connectors. Refer to Lighting and Horns/Headlamp
Switch Replacement.
3. Pull the headlamp switch out from the instrument panel far enough to access the headlamp relay, which is taped to the headlamp switch takeout of
the instrument panel wire harness.
4. Remove the tape that secures the headlamp relay and its connector to the wire harness.
5. Unplug the headlamp relay from its wire harness connector.
6. Install the headlamp relay by aligning the relay terminals with the cavities in the wire harness connector and pushing the relay firmly into place.
7. Tape the headlamp relay and its connector back to the wire harness.
8. Reinstall the headlamp switch in the instrument panel. Refer to Lighting and Horns/Headlamp Switch Replacement.
9. Connect the battery negative cable.
10. Test the relay operation.
