
RAM 3500 Van V8-5.9L VIN Z LDC (1998)
6.
Push the axle shaft inward and remove the axle shaft C-clip lock from the axle shaft (Figure 4.).
7.
Remove axle shaft. Use care to prevent damage to the axle shaft bearing and seal, which will remain in the axle shaft tube.
CAUTION:
USE EXTREME CARE TO PREVENT SHAFT SPLINES FROM DAMAGING THE AXLE SHAFT SEAL LIP.
8.
Inspect the axle shaft seal for leakage or damage and inspect the roller bearing contact surface on axle shaft for signs of brinelling, galling, and/or
pitting. Replace the seal and/or bearing as necessary using p/n 04137314 for the seal and p/n 04117858 for the bearing. Refer to the 1998 Ram
Van Service Manual (Publication No. 81-370-8107), pages 3-20 and 3-21 for Axle Seal And Bearing service.
9.
Lubricate bearing bore and seal lip with gear lubricant p/n 05010320AA. Insert the new axle shaft p/n 041 17897AB through the seal and bearing,
then engage the axle shaft splines into the side gear splines.
CAUTION:
USE EXTREME CARE TO PREVENT SHAFT SPLINES FROM DAMAGING THE AXLE SHAFT SEAL LIP.
10.
Insert the C-clip lock onto the end of the axle shaft. Push axle shaft outward to seat the C-clip lock in the side gear.
11.
Perform Steps 6 through 10 to the other axle shaft.
12.
Insert pinion mate shaft into differential case and through thrust washers and pinion gears.
13.
Align the hole in the shaft with the hole in the differential case. Apply Lock & Seal Adhesive p/n 04318031 to the threads of the pinion mate shaft
lock screw and install the lock screw into the differential case. Tighten the screw to 11 Nm (8 ft. lbs).
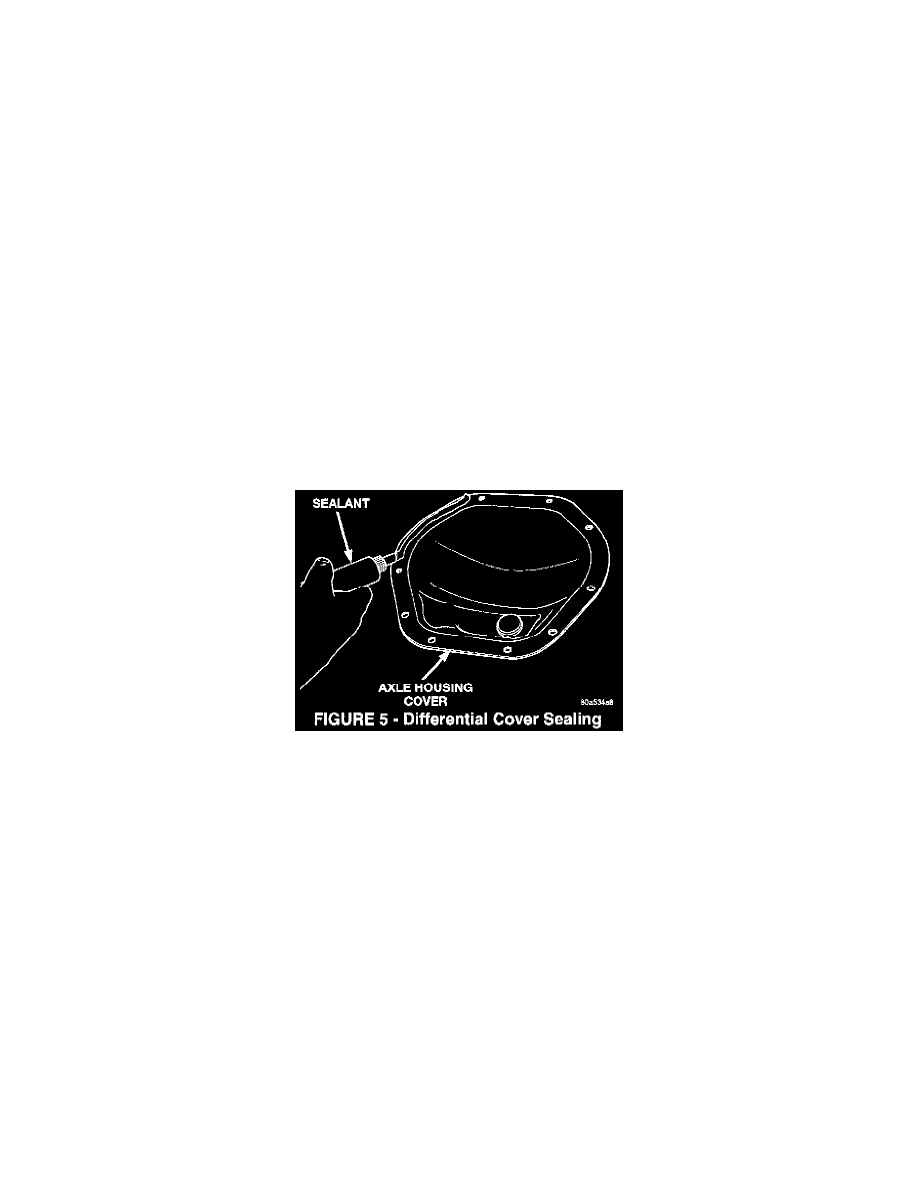
14.
Apply a bead of Mopar Silicone Sealant p/n 82300234 to the housing cover (Figure 5). The silicone sealant must be applied to all mating surfaces
of the cover including around the cover bolt holes.
NOTE:
INSTALL THE COVER WITHIN FIVE MINUTES AFTER APPLYING THE SEALANT.
15.
Install the cover and any identification tag. Tighten the cover attaching bolts to 44 Nm (33 ft. lbs.).
16.
Fill the differential with 2.32 L (4.9 pts.) of Mopar 75W/90 Gear Lubricant p/n 0501 0320AA.
17.
Inspect the brake linings on both sides of the vehicle. Replace the brake linings as necessary using p/n 05003999AA. Refer to the 1998 Ram Van
Service Manual (Publication No. 81-370-8107), pages 5-21 through 5-22 for Rear Brake Shoes - 12 1/8 inch Removal and Installation. Anytime
brake linings are replaced, new brake adjusting lever pins p/n 03492671 must be installed.
18.
Measure brake drum diameter and runout. Brake drum diameter must be checked using an accurate brake drum micrometer. The maximum
allowable diameter of the drum braking surface is indicated on the drum outer edge. Brake drum runout must be checked by mounting the drum
onto a brake lathe and checking variation using a dial indicator. Variation in drum diameter should not exceed 0.076 mm (0.003 in.). Drum runout
should not exceed 0.20 mm (0.008 in.) out of round. If the drum exceeds the variation/runout specification but does not exceed the maximum
allowable diameter, resurface the brake drum. If the brake drum exceeds the maximum allowable diameter, replace the brake drum with p/n
5200951 9AC. If the brake drum is less than the maximum allowable variation/runout and the diameter of the drum is less than the maximum
specification and there is not any major scoring in the drum, the drum can be reused.
19.
Adjust brake shoes to brake drum using a brake gauge. Refer to the 1998 Ram Van Service Manual (Publication No. 81-370-8107), pages 5-29