
RAM 5500 Chassis Cab Truck 4WD L6-6.7L DSL Turbo (2011)
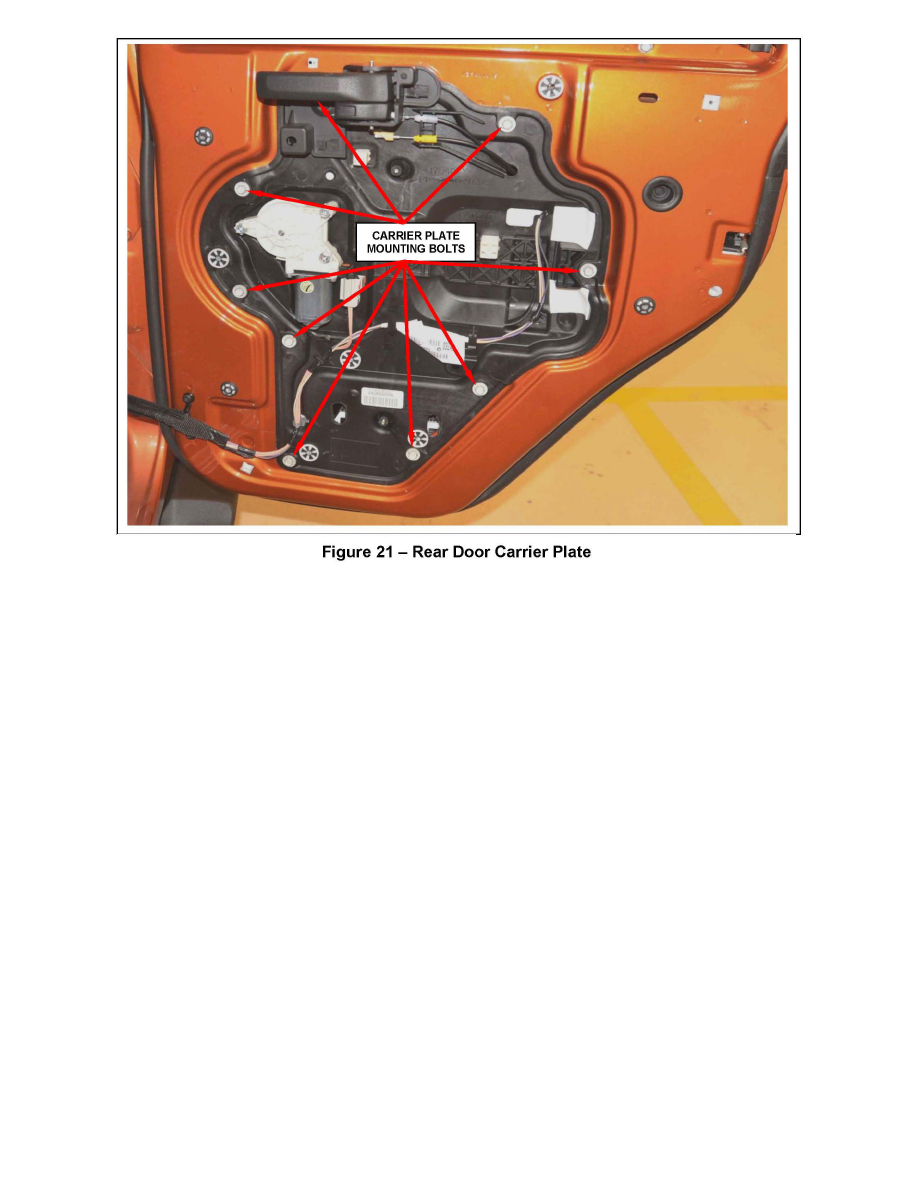
16. Remove the 9 carrier plate mounting bolts (Figure 21).
17. Remove the carrier plate from the door shell.
18. Disconnect the link rods from the door latch.
19. Disconnect the electrical connector from the door latch.
20. Unsnap the door latch from the carrier plate. Then discard the original door latch.
21. Snap the new door latch into position on the carrier plate.
22. Connect the electrical connector to the door latch.
23. Connect the link rods to the new door latch.
24. Install the carrier plate into the door shell.
25. Install the 9 carrier plate mounting bolts (Figure 21). Tighten the bolts to 49 in. lbs. (5.5 N.m).
26. Install the three door latch retaining screws (Figure 20). Tighten the screws to 62 in. lbs. (7 N.m).
27. Connect the mirror electrical connector to the door wiring harness.
28. Remove the tape that is holding the window up, carefully lower the window glass and snap the window glass to the window regulator.
29. Install the door check strap anchor to the door.
30. Hook the door check strap to the body hook.
31. Connect the door electrical connector to the body wiring harness located inside the "B" pillar trim panel.
32. Install the "B" pillar access panel (Figure 19).