
RAM 5500 Chassis Cab Truck 4WD L6-6.7L DSL Turbo (2011)
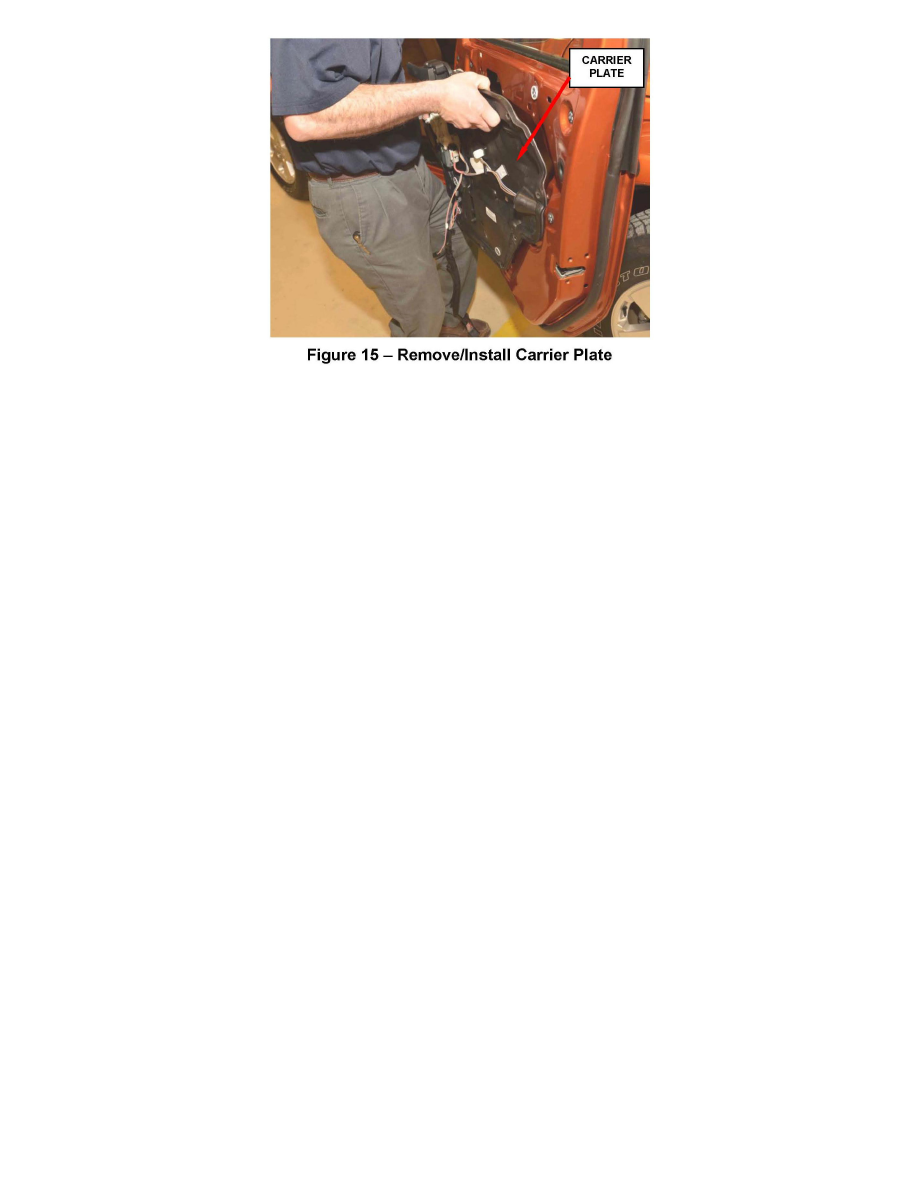
20. Remove the carrier plate from the door shell (Figure 15).
21. Disconnect the link rods and cables from the door latch.
22. Disconnect the electrical connector from the door latch.
23. Unsnap the door latch from the carrier plate and discard.
24. Snap the new door latch into position on the carrier plate.
25. Connect the electrical connector to the door latch.
26. Connect the link rods and cables to the new door latch.
27. Install the carrier plate into the door shell (Figure 15).
28. Install the 11 carrier plate mounting bolts. Tighten the bolts to 49 in. lbs. (5.5 N.m).
29. Install the three door latch retaining screws. Tighten the screws to 62 in. lbs. (7 N.m).
30. Install the 8 mm nut. Tighten the nut to 49 in. lbs. (5.5 N.m).
31. Install the black rubber access plug into the access hole for the 8 mm nut (Figure 14).
32. Connect the mirror electrical connector to the door wiring harness.
33. Clip the door wiring harness to the door.