
RAM SRT-10 Pickup V10-505 8.3L (2004)
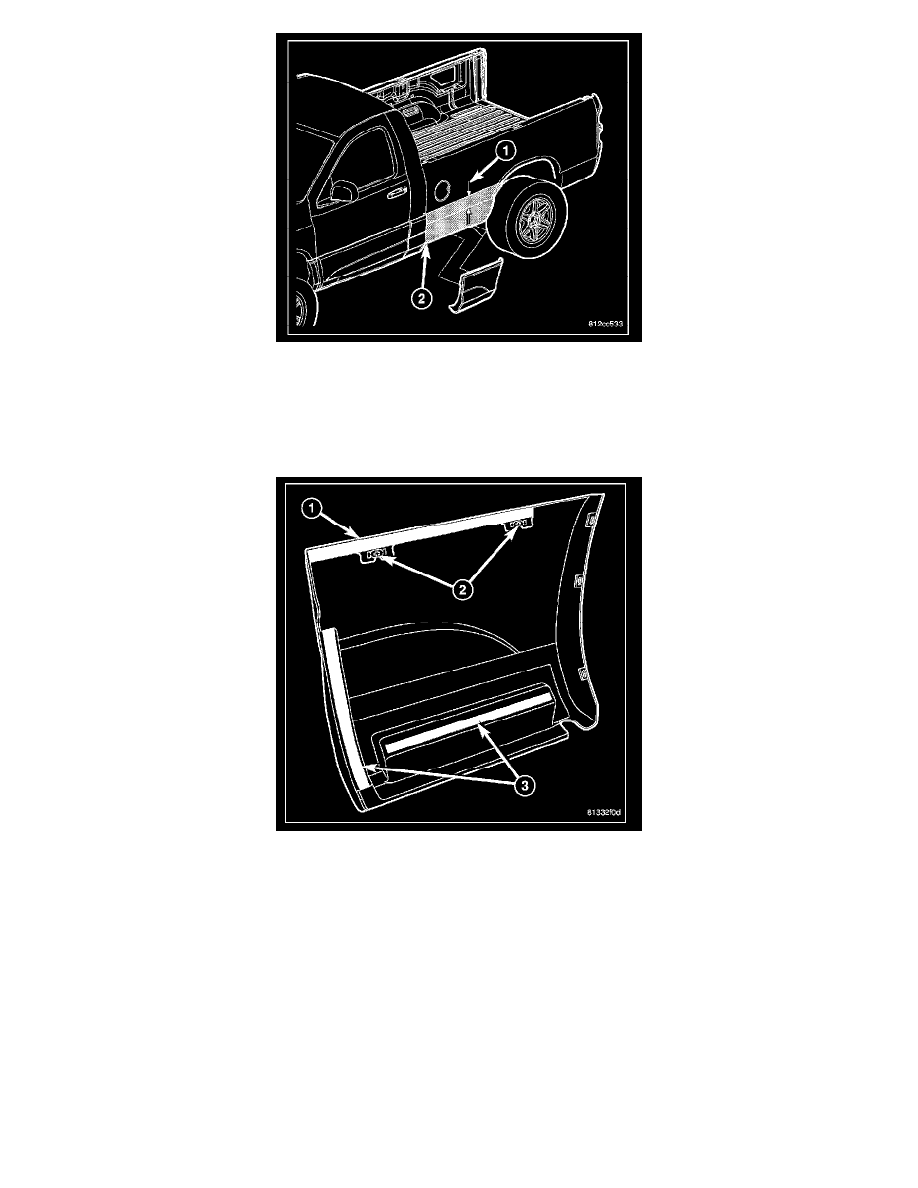
1. Using 3M(TM) General Purpose Adhesive Cleaner or equivalent, remove any adhesive tape residue from the cargo box.
NOTE: Install new cladding within 20 minutes of body panel cleaning.
2. Wipe the attachment areas (2) with a clean, lint-free cloth, moistened with a 50% solution of water and alcohol, starting 120 mm (4.75 in.) above
the character line (1) and then wipe dry the areas immediately with a dry, lint-free cloth.
CAUTION: Do not exceed 52 degrees C (120 degrees F) when heating the cladding or body panels. Failure to follow this caution may
result in damage to the cladding and/or the vehicle paint finish.
NOTE: If ambient temperatures are below 21 degrees C (70 degrees F), warm the body side cladding and body panel with a heat lamp or gun to
assure proper adhesion.
3. Remove the protective covering from the adhesive tape (3) on the back of the body side cladding (1) and position the cladding onto the cargo box
using the previously installed guide tape.
NOTE: To ensure proper cladding adhesion, apply consistent and uniform pressure of approximately 40 p.s.i. over the entire surface of the
cladding.
4. Install the body side cladding onto the cab. Fully seat the w-clip retainers (2).