
RAM SRT-10 Pickup V10-505 8.3L (2004)
Lower Side Moulding / Trim: Service and Repair
Cladding-Body Side-Door-SRT-10
CLADDING-BODY SIDE-DOOR-SRT-10
REMOVAL
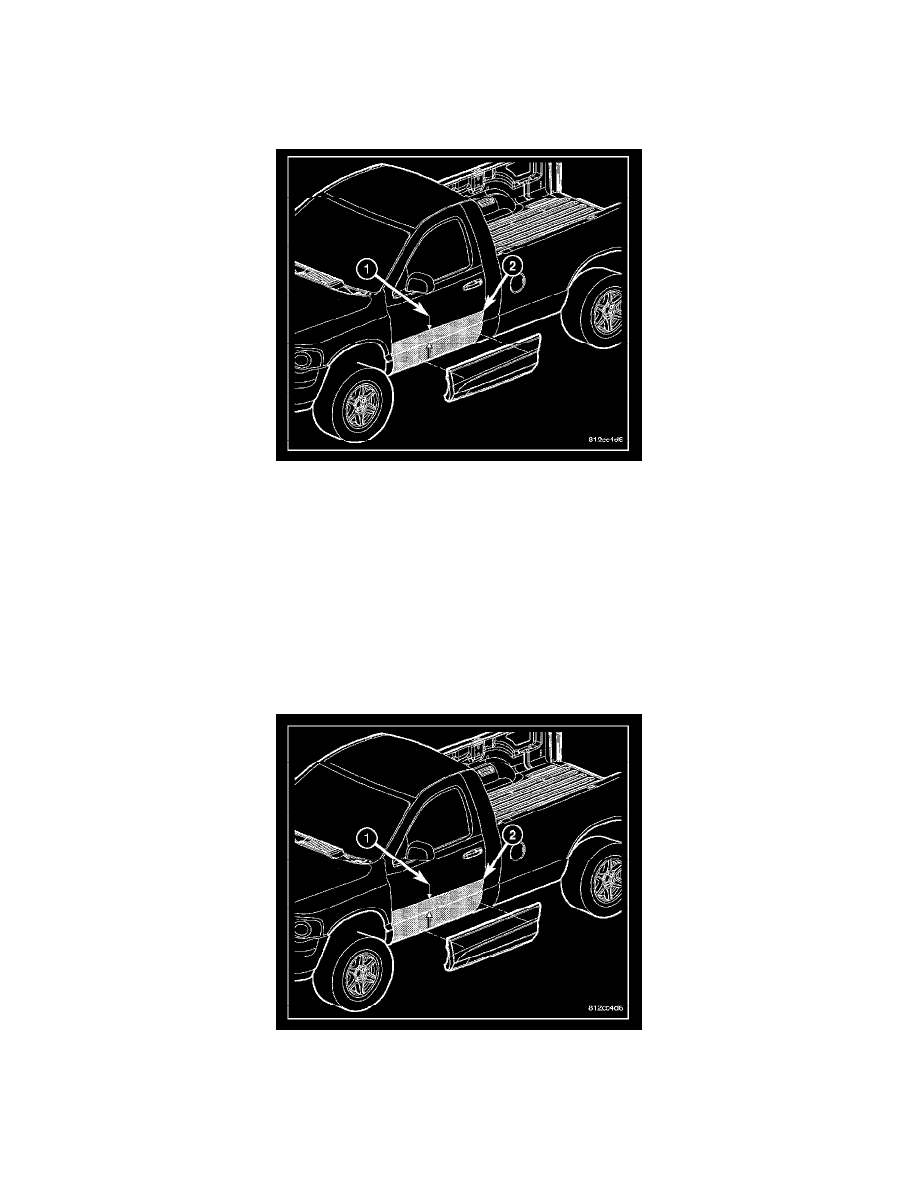
1. As a guide for installation, apply a length of masking tape on the door (2), parallel to the top edge of the body side cladding (1).
CAUTION: Do not exceed 52 degrees C (120 degrees F) when heating the cladding or body panels. Failure to follow this caution may
result in damage to the cladding and/or the vehicle paint finish.
2. If the temperature is below 21 degrees C (70 degrees F), warm the body side cladding with a heat lamp or heat gun.
NOTE: The body side cladding is attached to the door panel with adhesive tape and push-pin type retainers. If required, apply 3M(TM) General
Purpose Adhesive Cleaner or equivalent onto the cladding area to help loosen the adhesive tape.
3. Using a trim stick C-4755 or equivalent, disengage the push-pin retainers and remove and discard the cladding.
INSTALLATION
1. Using 3M(TM) General Purpose Adhesive Cleaner or equivalent, remove any adhesive tape residue from the door panel.
NOTE: Install new cladding within 20 minutes of body panel cleaning.
2. Wipe the attachment area (2) with a clean, lint-free cloth, moistened with a 50% solution of water and alcohol, starting 120 mm (4.75 in.) above
the character line (1) and then wipe dry the area immediately with a dry, lint-free cloth.