
RAM SRT-10 Pickup V10-505 8.3L (2004)
1. Tape the isolator pad to the top of the coil spring. Position the spring in the lower suspension arm well. Be sure that the coil spring is seated in the
well.
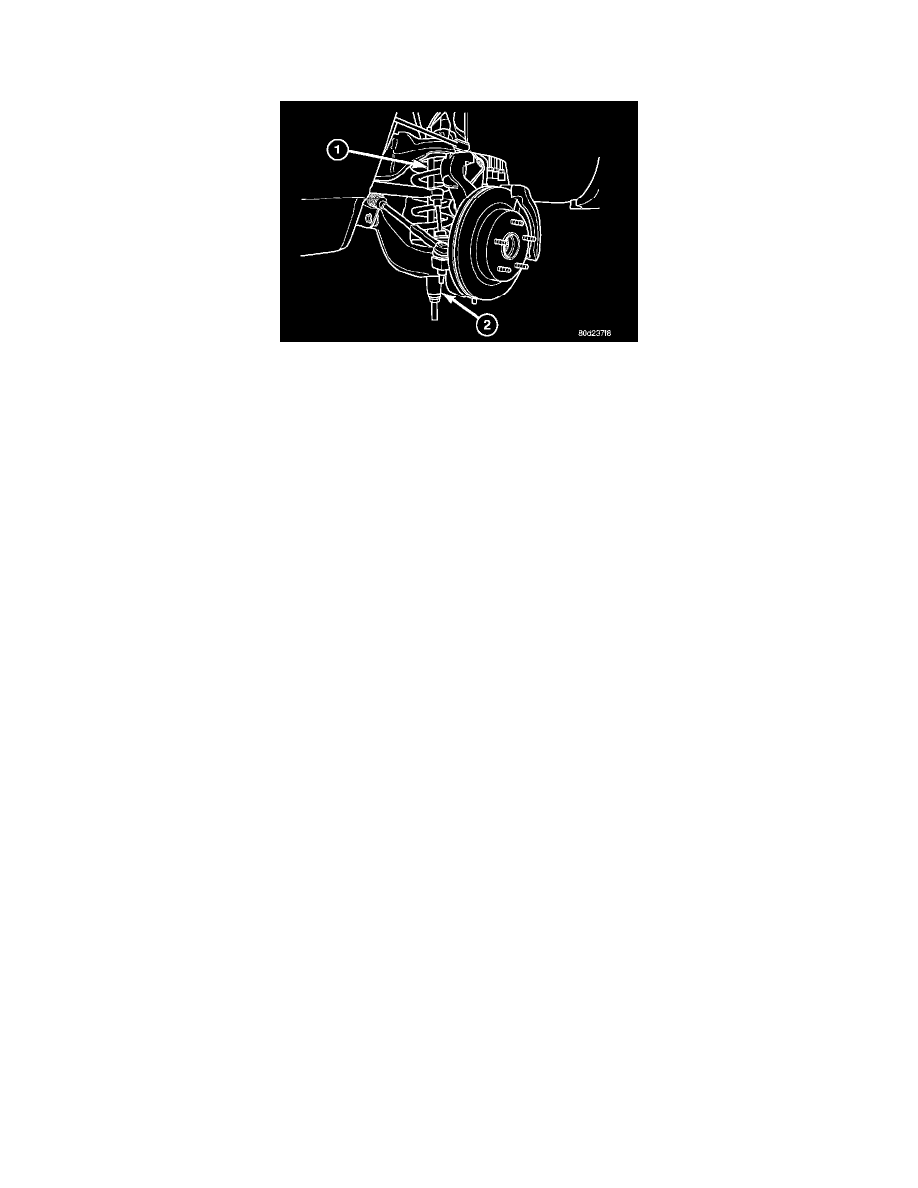
2. Install Spring Compressor DD-1278 (1) up through the lower suspension arm, coil spring and shock hole in the frame.
3. Tighten the tool nut to compress the coil spring.
4. Remove the support from the upper control arm and steering knuckle.
5. Position the lower ball joint into the steering knuckle.
6. Install the retaining nut on the lower ball joint and tighten to 52 Nm (38 ft. lbs.) (on 1500 series only an additional 90° turn is required) or 135
Nm (100 ft. lbs.) (HD 4X2 only).
7. Remove the spring compressor tool.
8. Support the lower control arm at the outboard side of the lower control arm to support vehicle weight.
9. Install the shock absorber.
10. Install the stabilizer link.
11. Remove the lower control arm support.
12. Install the wheel and tire assembly and lower the vehicle.
13. Lower the vehicle to the floor with vehicle weight and Tighten the front and rear control arm pivot bolts if loosened to 204 Nm (150 ft. lbs.) (LD)
or 285 Nm (210 ft. lbs.) (HD 4X2 only).
14. Perform a wheel alignment.