
RAM SRT-10 Pickup V10-505 8.3L (2004)
Center Support: Service and Repair
BEARING-CENTER
REMOVAL
1. Remove rear propeller shaft.
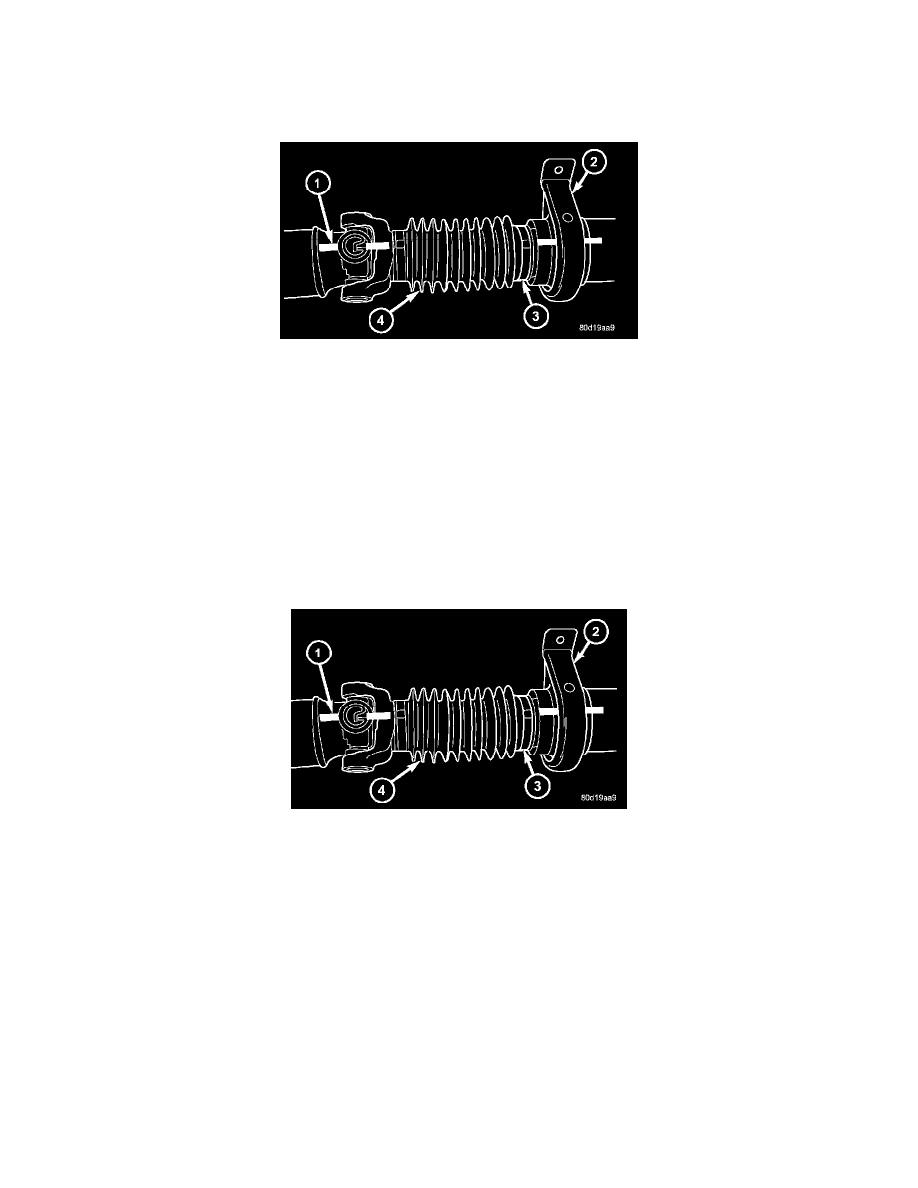
2. Make installation reference mark (1) on the two shafts.
3. Remove slip joint boot (4) clamp (3) and separate the two shafts.
4. Use hammer and punch to tap slinger away from shaft to provide room for bearing splitter.
5. Position Bearing Splitter Tool 1130 between slinger and shaft.
CAUTION: Do not damage shaft spline during removal of center bearing.
6. Set shaft in press and press bearing off the shaft.
INSTALLATION
NOTE: Two types of center bearings are used and are not interchangeable. Install the same type as the vehicle was built with.
1. Install new slinger on shaft and drive into position with appropriate installer tool.
2. Install new center bearing (2) on shaft with Bearing Installer Tool 6052. Drive on shaft with hammer until bearing is seated.
3. Clean shaft splines and apply a coat of multi-purpose grease.
4. Align master splines and slide front and rear half-shafts together. Reposition slip yoke boot (4) and install new clamp (3).
5. Install propeller shaft in vehicle.
ADJUSTMENTS
Launch shudder is a vibration that occurs at first acceleration from a stop. Shudder vibration usually peaks at the engines highest torque output.
Shudder is a symptom associated with vehicles using a two-piece propeller shaft. To decrease shudder, lower the center bearing in 1/8 inch
increments. Use shim stock or fabricated plates. Plate stock must be used to maintain compression of the rubber insulator around the bearing. Do not
use washers. Replace the original bolts with the appropriate increased length bolts.