
Shadow Convertible L4-135 2.2L SOHC (1991)
NOTE:
USE A 1/8 IN. (3.17 MM) DRILL BIT TO REMOVE THE RIVETS. AVOID ENLARGING THE EXISTING HOLES.
4.
Carefully separate the inboard bottom of the end cap from the door division bar using a thin fiber stick to detach the adhesive, considerable effort
may be required.
5.
Remove both door end cap assemblies and discard. Clean any residue from the A-pillar using grease and wax remover.
6.
Remove the door cup seals, if present.
7.
At this time use a grinder to clean up any rough surfaces on the door A-pillar along the door division bar, to give a better fit to the door end caps at
installation (Fig. 1). Use anti-corrosion rust prohibitive paint on the bare metal edges.
WARNING:
EYE PROTECTION IS REQUIRED WHEN CUTTING OR GRINDING.
Windshield Header Molding, Seal and Garnish Molding Removal
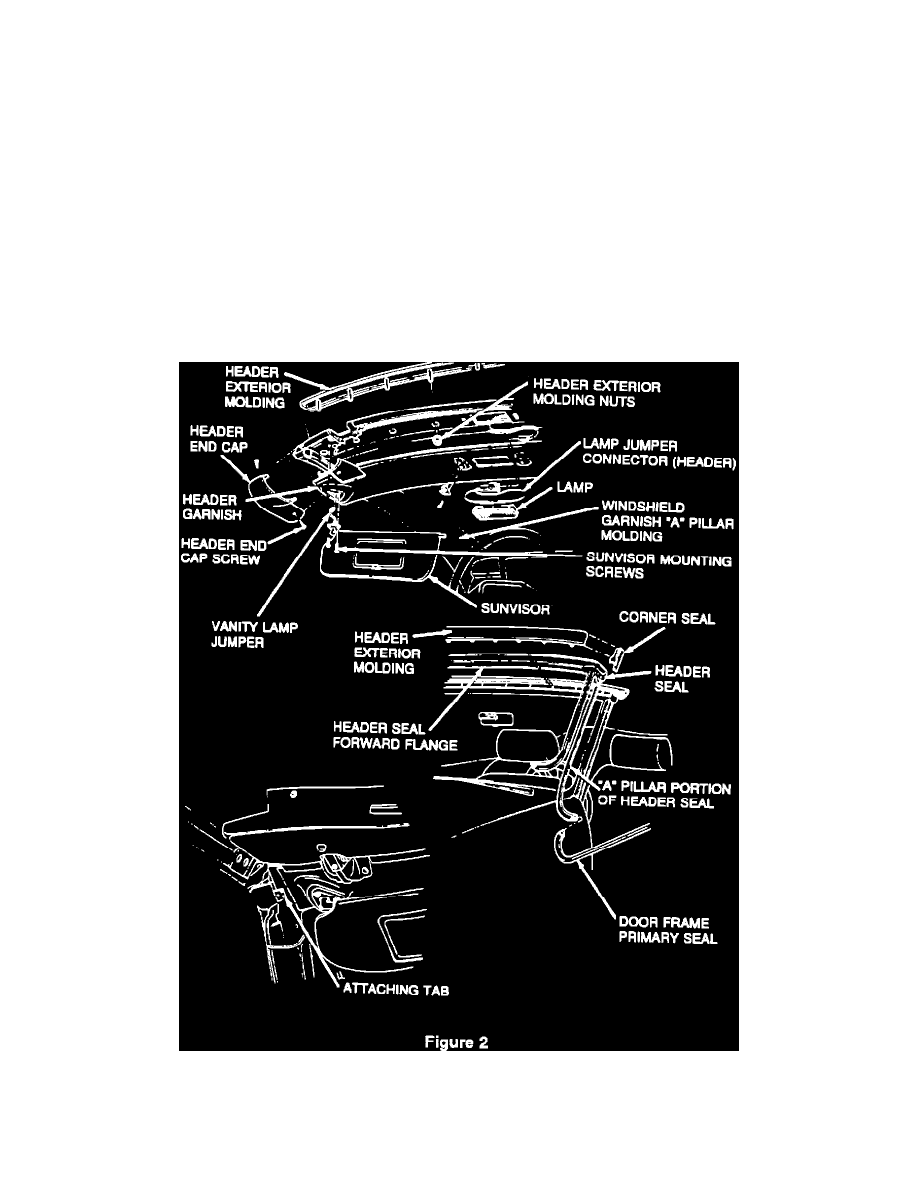
8.
Remove the header end cap attaching screws (Fig. 2).
9.
Remove the header end cap by unclipping it from the header garnish molding.