
Shadow Convertible L4-153 2.5L SOHC (1994)
Brake Bleeding: Service and Repair
Antilock Brake System Bleeding Procedures
The ABS and non-ABS portions of this system must be bled independently of one another. However, the ABS portion of the brake system cannot be bled
using a hydraulic pressure bleeder because such equipment does not produce sufficient pressure to purge all air from the system.
1. Ensure master cylinder cover and surrounding components are free of debris, grime and any other substances that may contaminate brake fluid.
2. Using bleeder tank tool No. C-3496-B and adapter tool No. C-4578, or equivalents, pressurize non-ABS portion of system for bleeding. Follow
equipment manufacturer's instructions during pressure bleeding.
3. Bleed line to right rear wheel first, then to left front, left rear and finally to right front wheel as follows:
a. Attach a clear plastic hose to bleeder screw at wheel, then place other end of hose in a clear jar containing clean brake fluid.
b. Open bleeder screw at least one full turn. This should allow brake fluid to flow steadily through clear hose and into jar.
c. After 4-8 ounces of fluid (per wheel) has been dispensed, observe fluid condition. If it appears to be free of air bubbles and is flowing freely,
bleeding is complete and next wheel in sequence may be bled. Tighten bleeder screw after bleeding each wheel.
d. Do not allow pressure bleeder tank to run dry during bleed procedure.
e. If, after all 4 wheels have been bled, brake pedal travel is not satisfactory, repeat procedure to purge remaining air from system.
4. If pressure bleeding equipment is not available, brakes may be bled manually (using same wheel sequence as described for pressure bleeding) as
follows:
a. With an assistant inside vehicle to operate brake pedal, connect one end of a clear plastic hose to bleeder screw and submerge other end in a
clear container of clean brake fluid. Ensure master cylinder reservoir is full.
b. Pump brake pedal several times, then hold it down and loosen bleeder screw at least one full turn; pedal should sink to floor and fluid should
flow through clear tube.
c. Without releasing brake pedal, tighten bleeder screw.
d. After screw is tight, release pedal and repeat previous steps until fluid flowing through tube is free of air bubbles.
e. Repeat procedure for remaining wheels.
f.
If, after all 4 wheels have been bled, brake pedal travel is not satisfactory, repeat procedure to purge remaining air from system.
5. Disconnect battery cables and remove battery, tray and acid shield from vehicle, then reconnect battery to cables using suitable jumper cables.
6. Connect DRB scan tool to vehicle diagnostic connector, located behind fuse panel access cover on lower lefthand side of instrument panel.
7. Ensure there are no diagnostic trouble codes stored by the Controller Antilock Brake (CAB). If any diagnostic trouble codes are logged, erase
them with scan tool.
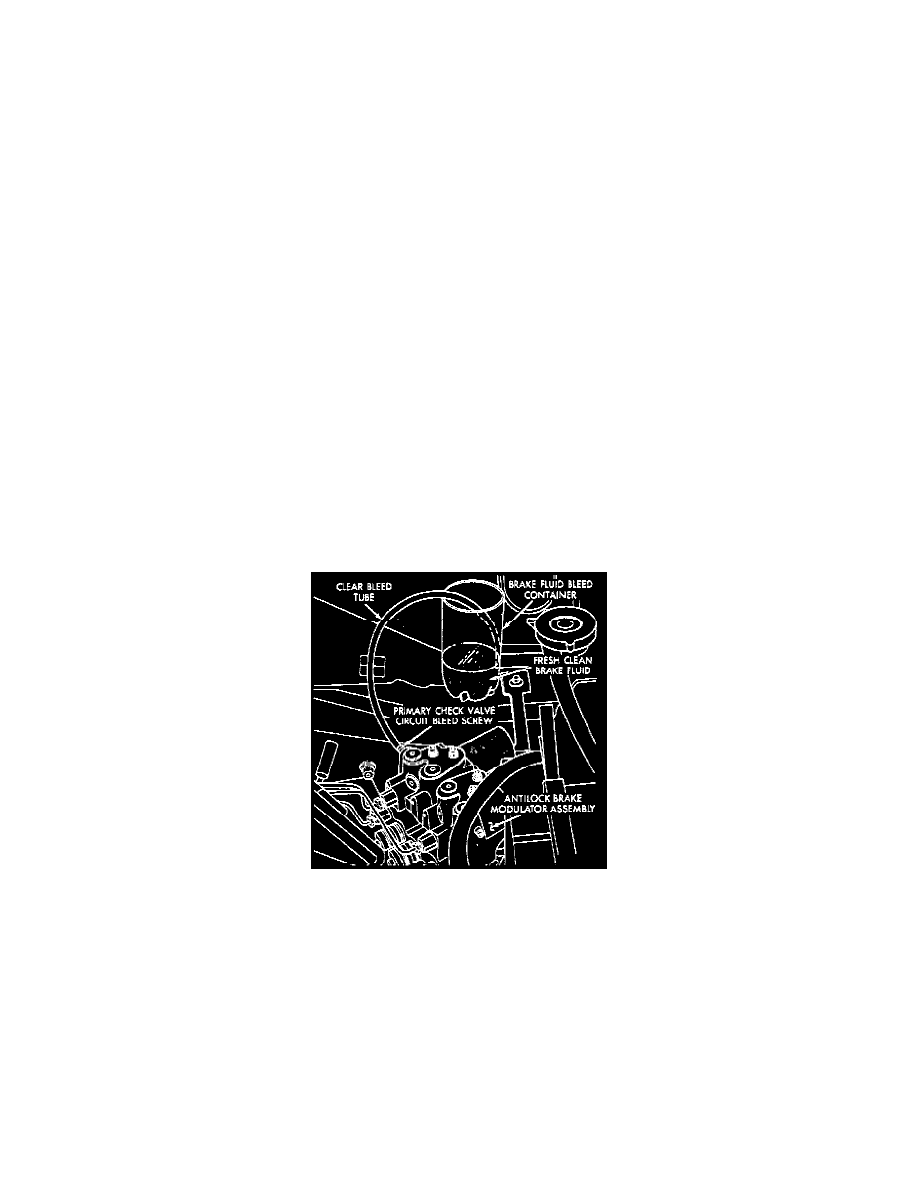
8. Bleed modulator primary check valve circuit, then secondary check valve circuit as follows:
Fig 46 Modulator Assembly Primary Check Valve Circuit Bleed