
Shadow Convertible L4-153 2.5L SOHC (1994)
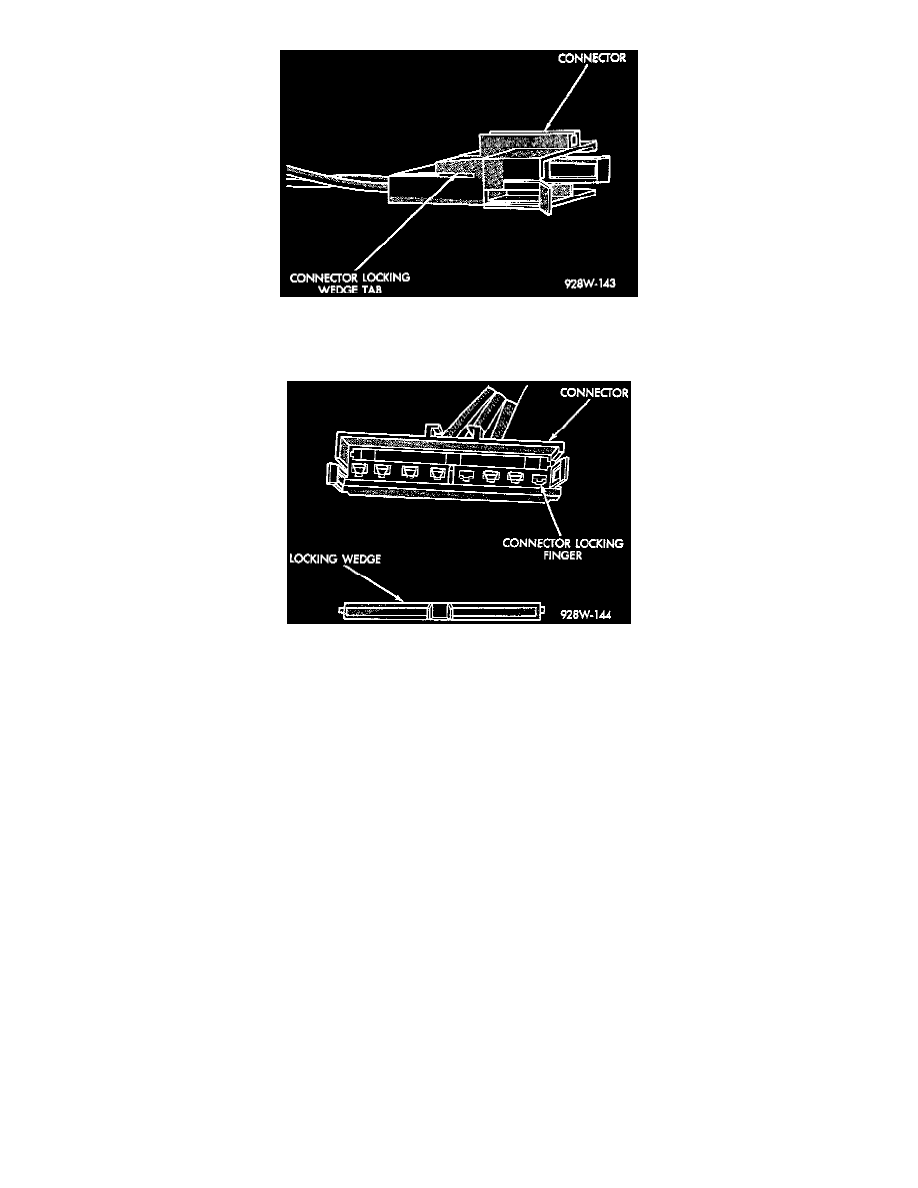
Connector Locking Wedge Tab
3. Remove connector locking wedge.
Connector Locking Finger And Locking Wedge
4. Position the connector locking finger away from the terminal. Pull on the wire to remove the terminal from the connector.
5. Reset the terminal locking tang, if it has one.
6. Insert the removed wire in the same cavity on the repair connector.
7. Repeat steps four thru six for each wire in the connector, being sure that all wires are inserted into the proper cavities. For additional connector pin
out identification refer to the wiring diagrams.
8. Insert the connector locking wedge into the repaired connector.
9. Connect connector to its mating half.
10. Connect battery and test all affected systems.
Fusible Link Replacement
CAUTION: Do not replace blown fusible links with a standard wire. Only use fusible type wire with hypalon insulation or damage to the electrical
system could occur. Also make sure correct gauge of wiring is used. Refer to the wiring diagrams for proper gauge and color.
When a fusible link blows it is important to find out what the problem is. They are placed in the electrical system for protection against shorts to ground.
Which can be caused by a component failure or various wiring failures. Do not just replace the fusible link to correct the problem.
When diagnosing a faulty fusible link it is important to check the wire carefully. In some instances the link may be blown and it will not show through
the insulation, the wire should be checked over its entire length for internal breaks.
1. Disconnect battery negative cable.
2. Cut out the blown portion of the fusible link.
3. Strip one inch of insulation from each end of the existing fusible link.
4. Place a piece of heat shrink tubing over one side of the fusible link. Make sure the tubing will be long enough to cover and seal the entire repair
area.
5. Cut a replacement piece of fusible link two inches longer than the piece removed.
6. Remove one inch of insulation from each end of the replacement fusible link.