
Sprinter 2500 V6-3.0L DSL Turbo VIN 45 (2007)
CAUTION: DO NOT CRANK ENGINE and DO NOT ROTATE ENGINE BACKWARD. Engine rotation is clockwise, as you are
looking at the engine. Rotate engine at crankshaft only.
NOTE: With the timing cover and special tools in place, the timing chain can not jump time while being fed through the engine. As the
engine is rotated the timing chain may appear to slip as the valve springs move the camshafts.
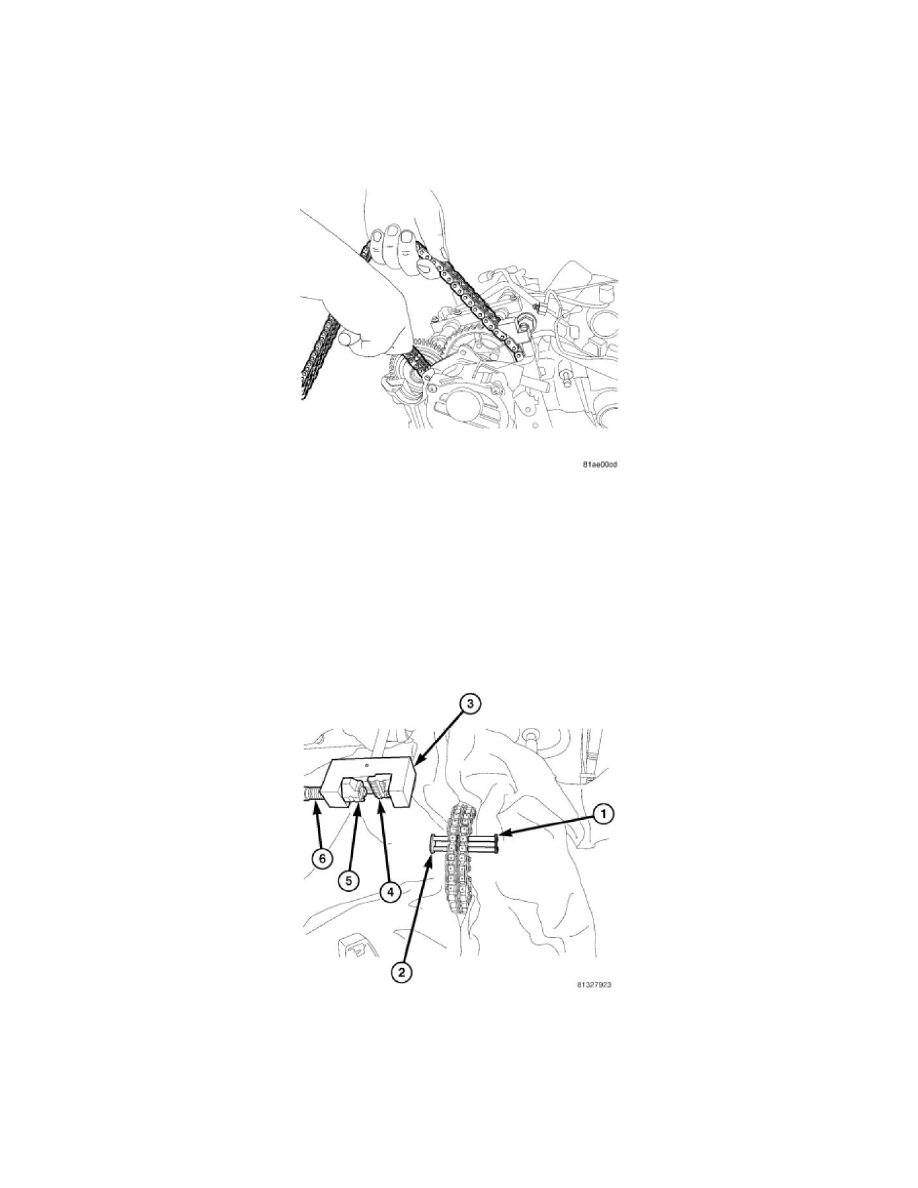
NOTE: Draw out the end of old timing chain evenly as it becomes free, to the same extent that new timing chain is drawn in.
5. Draw in new timing chain with the oil holes facing up, by rotating the crankshaft slowly in direction of rotation of engine.
6. Rotate the engine until the ends of the new timing chain meet and can be connected.
NOTE: Assembly link is only an assembly aid and NOT designed for engine running.
7. Remove assembly locking element, assembly outer plate and assembly link.
8. Insert new riveted link with the oil hole up, and new middle plate into ends of timing chain using the guide link to hold the middle plate in
position.
NOTE: When assembling riveting tool, piece #9312-7 is secured by a screw and #9312-10 can move loosely on thrust spindle
9. Assemble riveting tool by inserting pieces #9312-7 and #9312-10.