
Sprinter 3500 L5-2.7L DSL Turbo (2004)
Receiver Dryer: Service and Repair
REMOVAL
WARNING: REVIEW THE WARNINGS AND CAUTIONS IN THE FRONT BEFORE PERFORMING THE FOLLOWING OPERATION.
1. Recover the refrigerant from the refrigerant system.
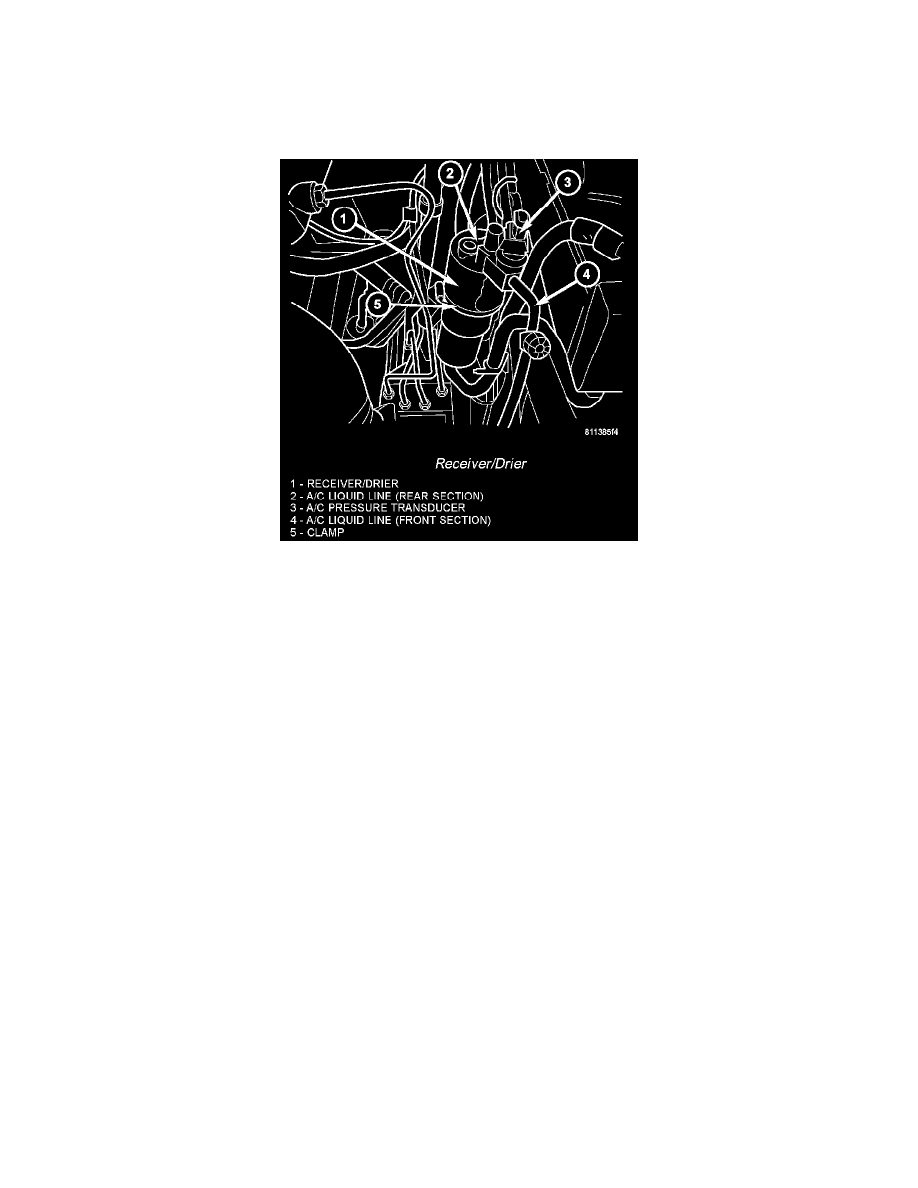
Receiver/Drier
2. Remove the bolts that secure the front and rear sections of the A/C liquid line to the top of the receiver/drier.
3. Disconnect the liquid line fittings from the receiver/drier and remove and discard the O-ring seals.
4. Install a plug in, or tape over the opened liquid line fittings and the receiver/drier ports.
5. Loosen the clamp that secures the receiver/ drier to the mounting bracket.
6. Remove the receiver/drier from the engine compartment.
INSTALLATION
NOTE: If the receiver/drier is being replaced, add 30 milliliters (1 fluid ounce) of refrigerant oil to the refrigerant system. Use only refrigerant oil of
the type recommended for the A/C compressor in the vehicle.
1. Position the receiver/drier onto the mounting bracket on the front left strut tower.
2. Tighten the clamp that secures the receiver/ drier to the mounting bracket.
3. Remove the tape or plugs from the liquid line fittings and the receiver/drier ports.
4. Lubricate new rubber O-ring seals with clean refrigerant oil and install them on the liquid line fittings.
5. Connect the front and rear sections of the liquid line to the receiver/drier.
6. Install the bolts that secures the liquid line fittings to the receiver/drier. Tighten the bolts to 7 Nm (62 in. lbs.).
7. Evacuate the refrigerant system.
8. Charge the refrigerant system.