
Sprinter 3500 V6-3.0L DSL Turbo (2008)
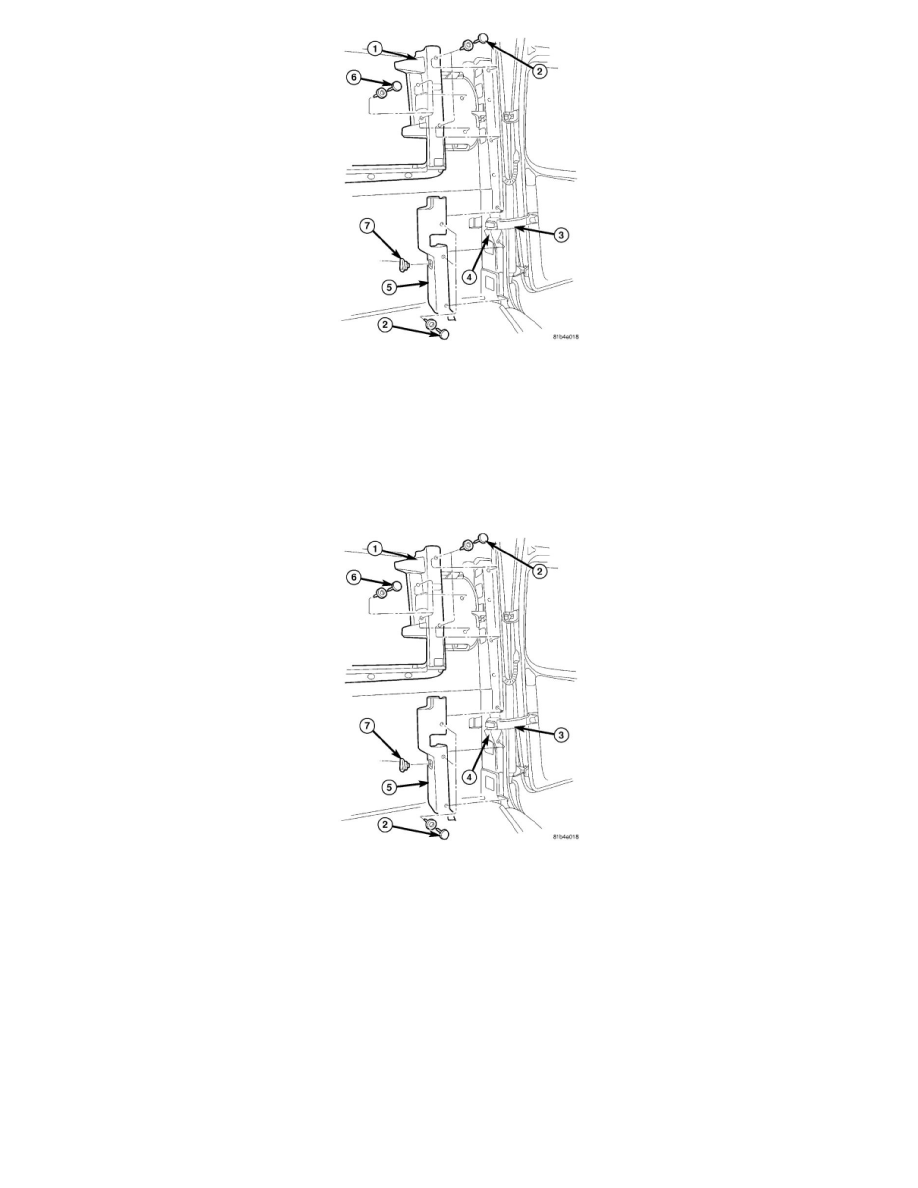
1. Using a trim stick C-4755 or equivalent, pry expansion clips (2, 6) out for upper rear pillar panel (1).
2. Pull rear upper pillar panel upward.
3. Pry expansion clips (2) out for the lower rear pillar panel (5).
4. Release the door check (3).
5. Remove the bottom rear pillar panel (5).
6. Disconnect the electrical connector for the load compartment socket (7).
Installation
INSTALLATION
1. Connect the load compartment socket (7) electrical connector.
2. Install the bottom rear pillar panel (5).
3. Secure the door check (3).
4. Install the expansion clips (2) for the lower rear pillar panel (5) and seat fully.
5. Install the rear upper pillar panel (1).
6. Install the expansion clips (2, 6) for the upper rear pillar panel (1) and seat fully.
Quarter Trim Panel - Removal
REMOVAL
Passenger Van
1. Remove seats as necessary. See: Seats/Service and Repair/Seat - Removal
2. Remove d-pillar trim if necessary. See: Pillar Trim/D-Pillar Trim/Removal
3. Using a trim stick C-4755 or equivalent, separate the push-pin fasteners and remove trim panels.