
Sprinter 3500 V6-3.0L DSL Turbo (2008)
9. Install the timing chain tensioner and torque to 80 Nm (59 lbs. ft.)
10. Install the timing cover See: Timing Cover/Service and Repair/Timing Cover - Installation.
11. Install oil pan bolts. Tighten M6 bolts to 9 Nm (80 lbs. in.) and M8 bolts to 20 Nm (15 lbs. ft.).
12. Reconnect negative battery cable.See: Starting and Charging/Battery/Battery Cable/Service and Repair/Battery Cables - Installation
WARNING: USE EXTREME CAUTION WHEN THE ENGINE IS OPERATING. DO NOT STAND IN A DIRECT LINE WITH THE
FAN. DO NOT PUT YOUR HANDS NEAR THE PULLEYS, BELTS OR FAN. DO NOT WEAR LOOSE CLOTHES.
13. Start the engine, allow to warm, turn engine off and inspect for leaks. Care must be take to observe the fuel system warnings.
Timing Chain Tensioning Rail
TIMING CHAIN TENSIONING RAIL
NOTE: Carefully clean all mating surfaces with appropriate solvents to assure that no grease or oil is present during reassembly.
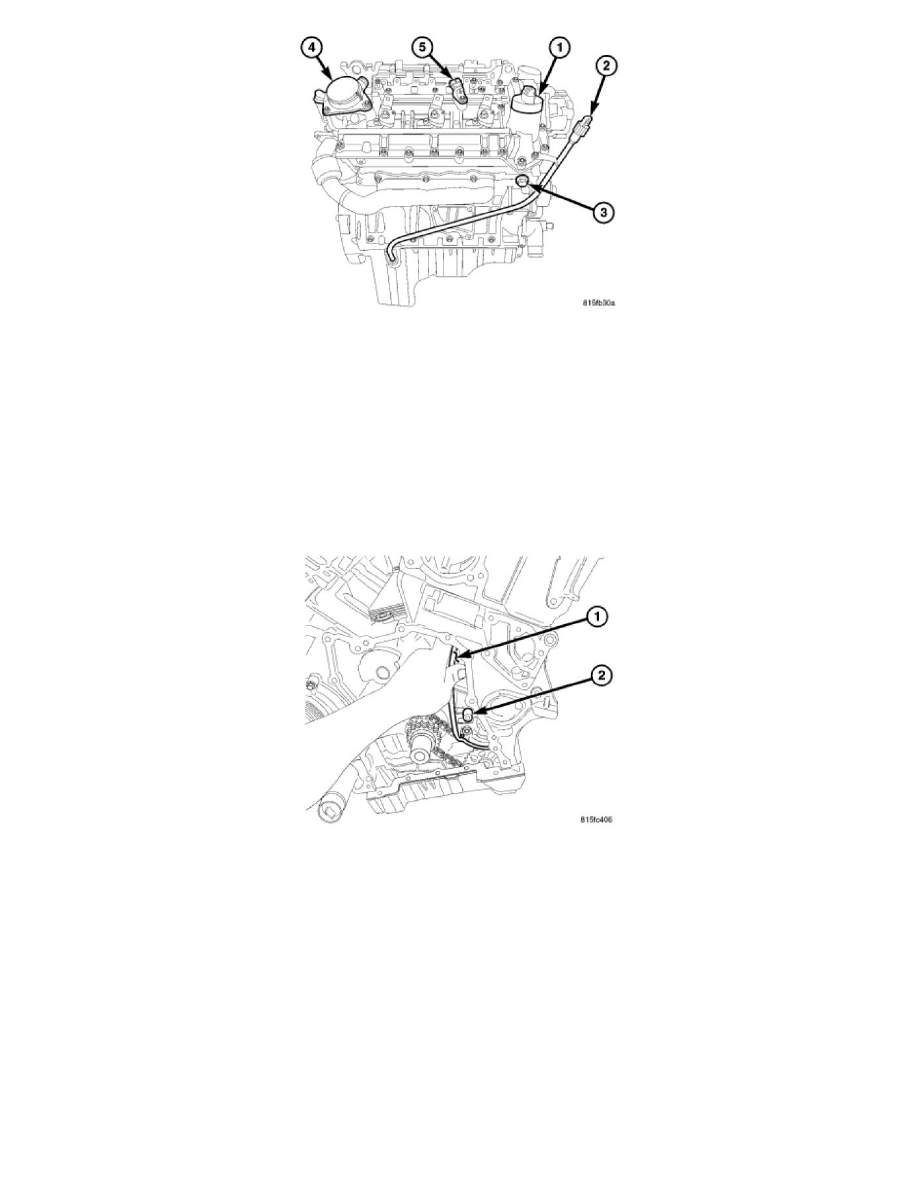
1. Install tensioning rail on bearing pin
2. Install the timing chain tensioner retaining bolt. Tighten to 12 Nm (106 lbs. in.)
3. Install timing cover See: Timing Cover/Service and Repair/Timing Cover - Installation.
4. Install oil pan and bolts. Tighten M6 bolts to 9 Nm (80 lbs. in.) and M8 bolts to 20 Nm (15 lbs. ft.).
5. Install cylinder head See: Cylinder Head Assembly/Service and Repair/Removal and Replacement/Cylinder Head - Installation.
6. Install the cylinder head covers.See: Cylinder Head Assembly/Valve Cover/Service and Repair/Cylinder Head Cover - Installation
7. Reconnect negative battery cable.
WARNING: Use extreme caution when the engine is operating. Do not put your hands near the pulleys, belts or fan. Do not wear loose
clothes.
8. Start the engine and inspect for leaks. Care must be taken to observe the fuel system warnings.