
Sprinter 3500 V6-3.0L DSL Turbo (2008)
2. Recover the refrigerant from the rear refrigerant system See: Service and Repair/Refrigerant System Recovery.
3. Remove the rear roof ducts See: Air Duct/Service and Repair/Rear Distribution Ducts - Removal.
4. Remove the front and center headliner panels See: Body and Frame/Interior Moulding / Trim/Headliner/Service and Repair/Headliner - Removal.
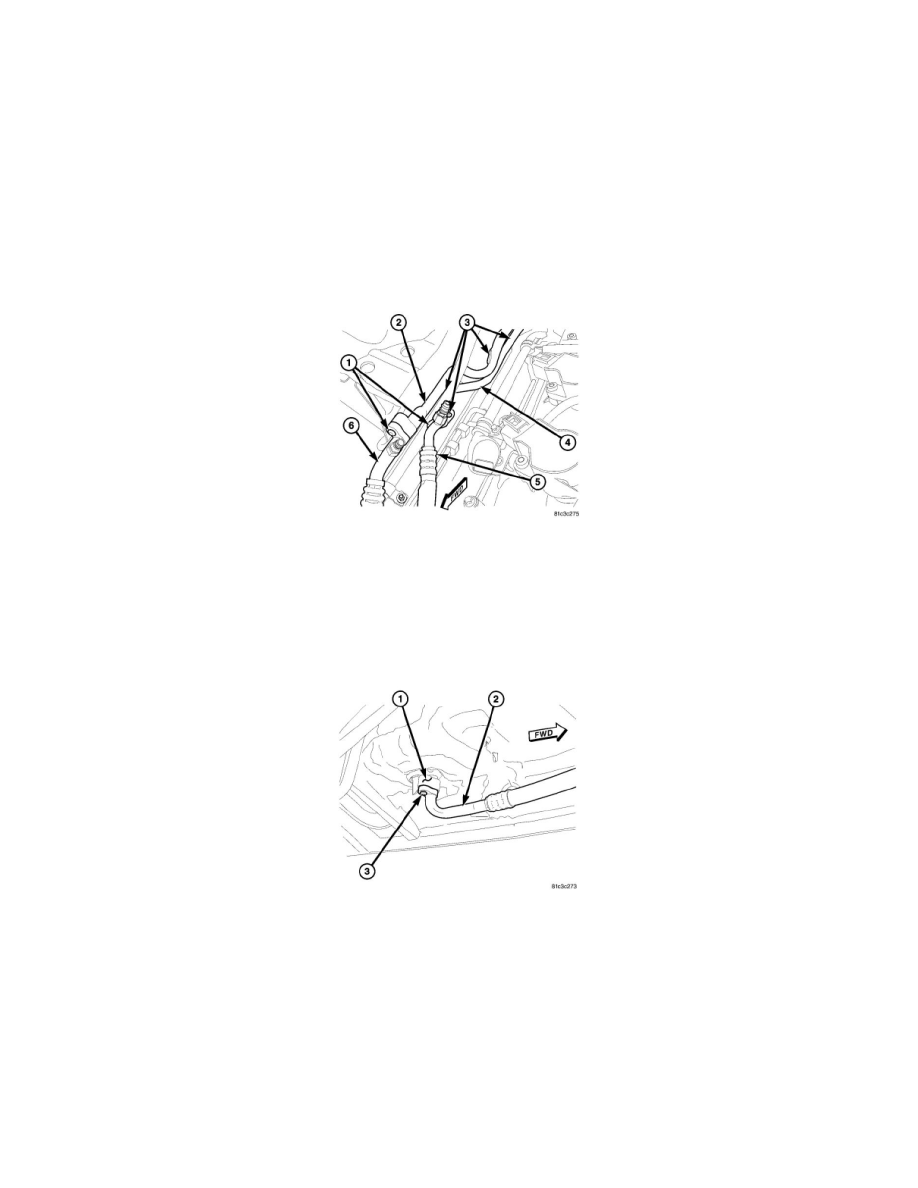
5. Remove the nut that secures the interior liquid line (2) to the rear expansion valve (5).
6. Disconnect the interior liquid line from the rear expansion valve and remove and discard the O-ring seal.
7. Remove the bolt (4) that secures the interior liquid line to the exterior liquid line (3) at the roof panel.
8. Disconnect the interior liquid line from the exterior line and remove and discard the O-ring seal.
9. Remove the screw (1) that secures the interior liquid line to the roof brace and remove the interior liquid line from the vehicle.
10. Install plugs in, or tape over the opened interior liquid line fittings and the rear expansion valve port.
Underbody Line
REMOVAL
WARNING: Review safety precautions and warnings in this group before performing this procedure See: Service Precautions/Warning and
See: Service Precautions/Caution. Failure to follow the warnings and cautions may result in serious or fatal injury.
1. Disconnect and isolate the negative battery cable.
2. Recover the refrigerant from the rear refrigerant system See: Service and Repair/Refrigerant System Recovery.
3. If servicing the front portion of an underbody refrigerant line, disconnect the underbody line being serviced from the rear A/C compressor located
in the engine compartment See: Compressor HVAC/Service and Repair/A/C Compressor - Removal.
4. Remove the bolts (1) as necessary that secure the rear underbody suction line (2) or the rear underbody discharge line (4) from the front underbody
suction line (6) or the front underbody discharge line (5) located at the right front frame rail.
5. Disconnect the underbody refrigerant hoses as necessary and remove and discard the O-ring seal(s).
6. Remove the fasteners (3) as necessary that secure the rear underbody suction line and the rear underbody discharge line to the frame rail.
NOTE: Underbody suction line (driver side) shown. Underbody discharge line (passenger side) similar.
7. Raise and support vehicle.
8. Remove the bolt (3) that secures the rear underbody suction line (driver side) (2) or rear underbody discharge line (passenger side) to the interior
refrigerant line (1) located near the front door entry area.
9. Disconnect the rear underbody line being serviced and remove and discard the O-ring seal (5).