
Sprinter 3500 V6-3.0L DSL Turbo VIN 45 (2007)
44.
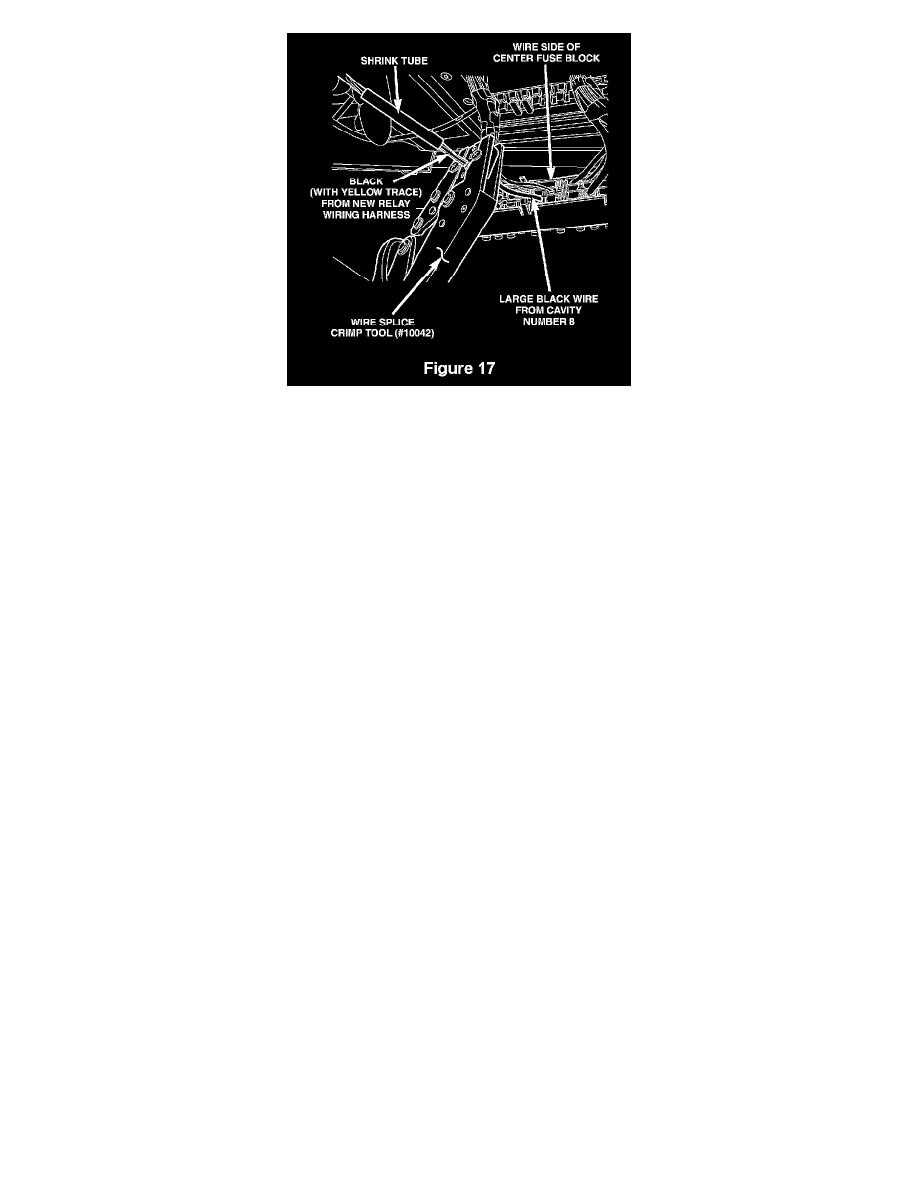
Insert the black wire from cavity 8 of the fuse block and the black (with yellow trace) wire from the new relay wiring harness into the large
supplied brass crimp splice band and crimp them together using wire splice crimp tool 10042 (Figure 17).
45.
Solder the wires and brass crimp splice band connection with rosin core solder.
46.
Slide the shrink tube over the soldered connection and heat the shrink tube with a heat gun. Continue heating until the shrink tube shrinks around
the wire and glue comes out of both ends of the shrink tube.
47.
Tape the new relay electrical harness to the vehicle body wiring harness as required.
48.
Install the fuse block into the seat base and install both mounting screws (Figure 13). Tighten the fuse block mounting screws securely.
49.
Install the fuse block cover onto the seat base (Figure 12).
50.
Install the relay support bar to the seat base (Figure 3).
51.
Install the foam access cover to the seat base.
52.
Install the driver's seat. Tighten the seat track bolts to 27 ft. lbs. (37 N.m).
53.
Connect all seat electrical connections.
54.
Install the left front seatbelt anchor to the seat frame. Tighten the bolt to 27 ft. lbs. (37 N.m).
55.
Install the seatbelt anchor cover.
56.
Connect the negative battery cable (Figure 2).
57.
Check for proper roof ventilator fan operation.