
Sprinter 3500 V6-3.0L DSL Turbo VIN 45 (2007)
Cornering Lamp Bulb: Service and Repair
Installation
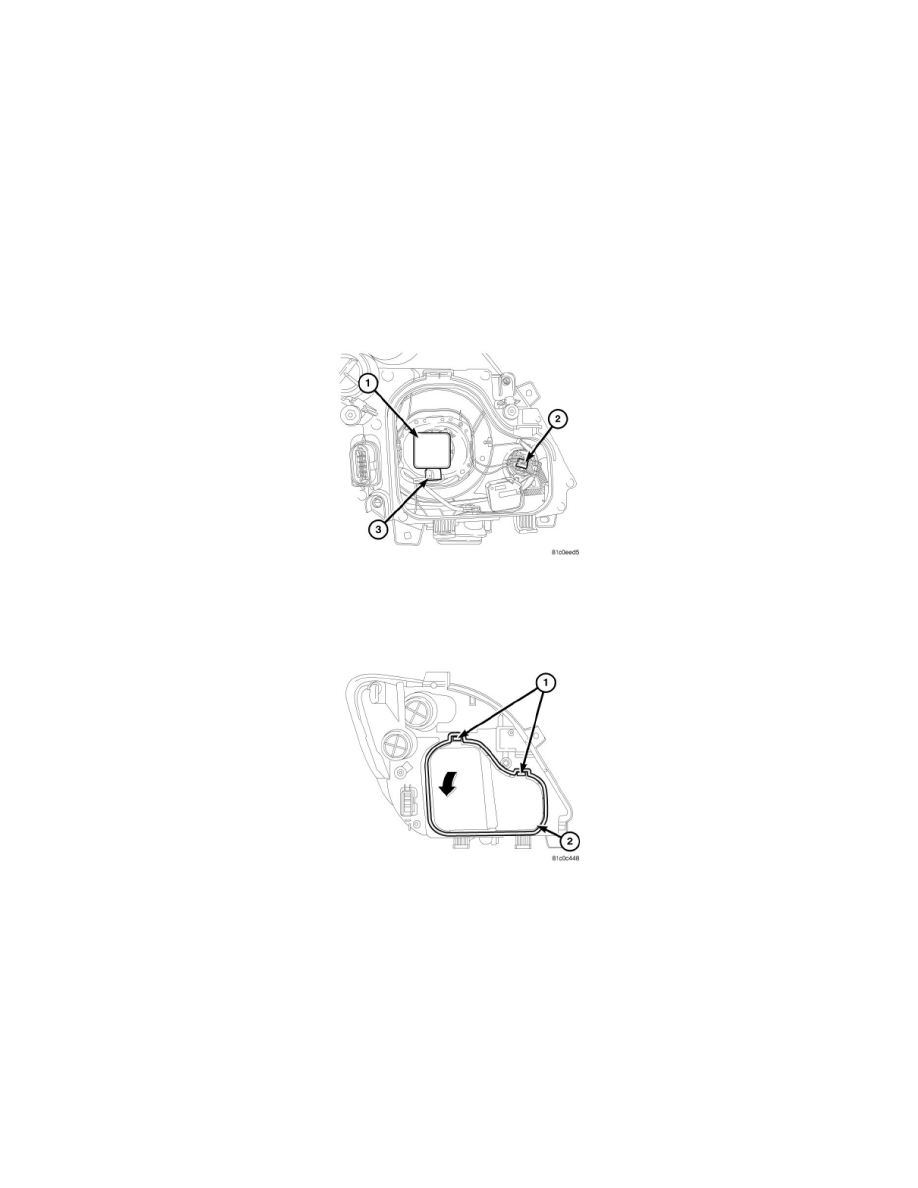
BULB - CORNERING LAMP
WARNING: To avoid serious or fatal injury when working on the xenon headlamp system, be certain to take the proper precautions. The
headlamp switch must be in the OFF position. Disconnect and isolate the battery negative cable. There is a risk of death caused by contact with
high voltage used in the xenon headlamps. There is a risk of explosion or fire caused by highly flammable materials in the vicinity of damaged
xenon bulbs. There is a risk of injury caused by exposure to Ultra Violet (UV) light, a risk of burns caused by high component operating
temperatures, a risk of mercury poisoning through glass splinters produced by bursting xenon bulbs. There is also a risk of poisoning caused by
inhalation of mercury vapors and by toxic salts and mercury compounds being ingested or coming into contact with the skin. Do not come into
contact with parts that are under high voltage. Persons with active electronic implants (e.g. heart pacemakers) must never work on xenon
headlamps. Wear insulated safety shoes, safety glasses and protective gloves. Remove flammable materials and ensure sufficient ventilation in
the working area.
CAUTION: Always use the correct bulb size and type for replacement. An incorrect bulb size or type may overheat and cause damage to the
lamp, the socket or the lamp wiring.
1. Align the cornering lamp bulb base (2) with the keyed opening on the back of the front lamp unit reflector.
2. Insert the bulb into the reflector until the base is firmly seated. Be certain that the lugs on the bulb base are engaged in the recesses of the reflector.
3. Pivot the wire bulb retainer over the bulb base, then clip the retainer into place.
4. Reconnect the front lamp unit wire harness connectors to the bulb.
5. Engage the two tabs on the bottom of the front lamp unit rear cover (2) with the two slotted brackets integral to the back of the lamp housing.
6. Swing the rear cover upward into place, then pull upward on the two latches (1) until they snap into place with an audible click.
7. Reconnect the battery negative cable.