Sprinter 3500 V6-3.0L DSL Turbo VIN 45 (2007)

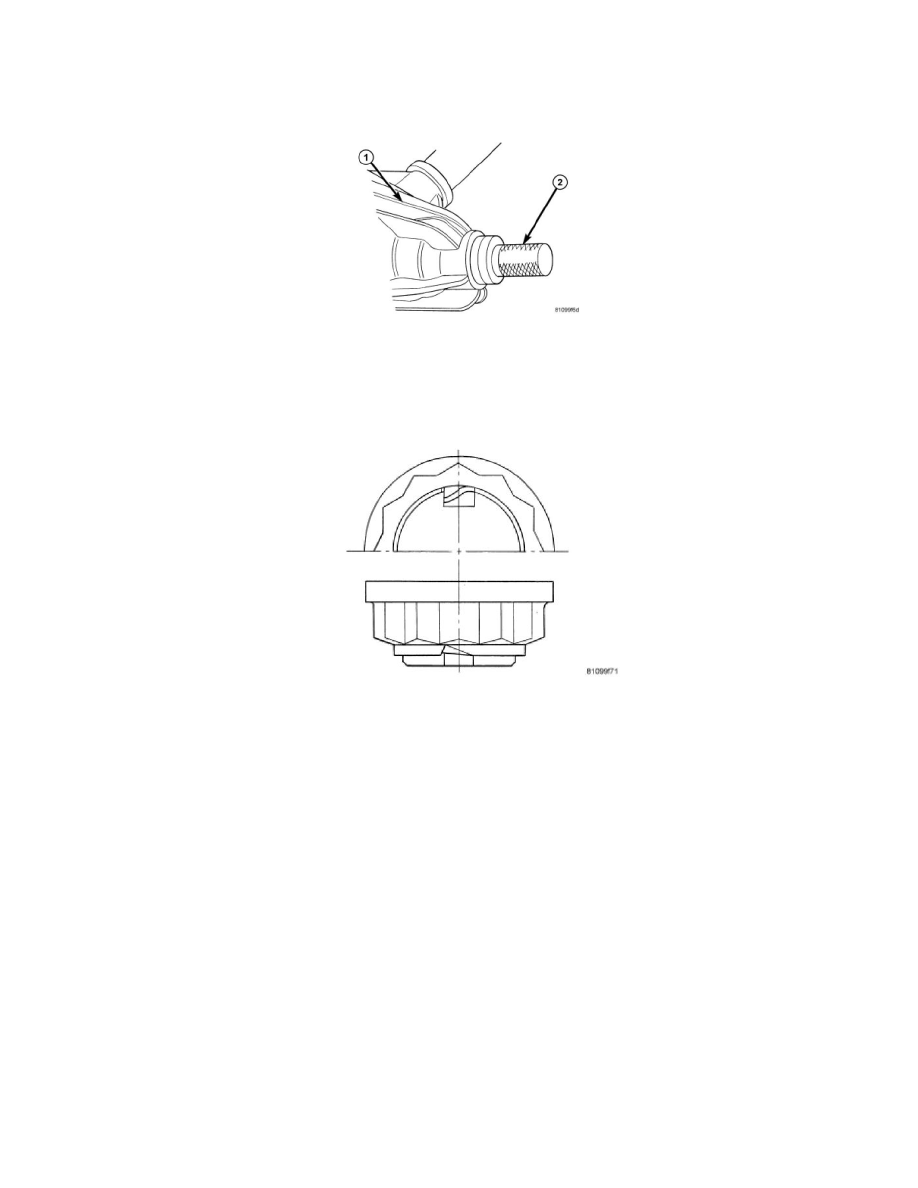
12. Remove pinion seal/seals (1).
Installation
INSTALLATION
1. Pack space between dust lip and sealing lip on seal ring with multi-purpose grease.
2. On seals without rubberized external surface, coat outer circumference with sealant.
CAUTION: Do not coat partially rubberized seals with sealant.
3. Drive new pinion seal/seals into rear axle housing as far as the stop using Installer 10003 (2).
4. Fit coupling flange on drive pinion shaft.
NOTE: The groove in the drive pinion and the groove in the joint flange must be in alignment.
5. Hold pinion flange with Flange Wrench C-3281.
6. Tighten collar nut to 100 Nm. (74 ft. lbs.).
7. Using a dial indicator check free play at pinion flange.
NOTE: Should bearing not be free of play, tighten in increases of 10 Nm. (88 in. lbs.) to maximum of 130 Nm. (95 ft. lbs.). If bearing is not
free from play at 130 Nm. (95 ft. lbs.) collapsible spacer must be replaced.
8. Identify the position of the pinion to the nut twelve points and mark pinion and nut.
9. Turn nut pinion nut 30° (one twelve point). Them rotate pinion thirty times.
10. Measure torque to rotate. The torque to rotate must be 0.1-0.2 Nm (0.9-1.7 in. lbs.) higher then recorded torque.
NOTE: If value is below or above collapsible spacer must be replaced.
11. Cut the collar of the collared nut.
