
SRT-4 L4-2.4L Turbo VIN S (2004)
Crankshaft: Removal and Replacement
REMOVAL - CRANKSHAFT
NOTE: Crankshaft can not be removed when engine is in vehicle.
1. Remove engine assembly from vehicle.
2. Separate transaxle from engine.
3. Remove drive platemex plate.
4. Remove crankshaft rear oil seal.
5. Mount engine on a suitable repair stand.
6. Drain engine oil and remove oil filter.
7. Remove crankshaft vibration damper.
8. Remove engine mount support bracket.
9. Remove front timing belt covers.
10. Remove the timing belt.
11. Remove the rear timing belt cover.
12. Remove the oil pan.
13. Remove oil pump pick-up tube.
14. Remove the crankshaft sprocket and oil pump.
15. Remove balance shafts and housing assembly.
16. Remove crankshaft position sensor.
NOTE: If piston/connecting rod replacement is necessary, remove cylinder head.
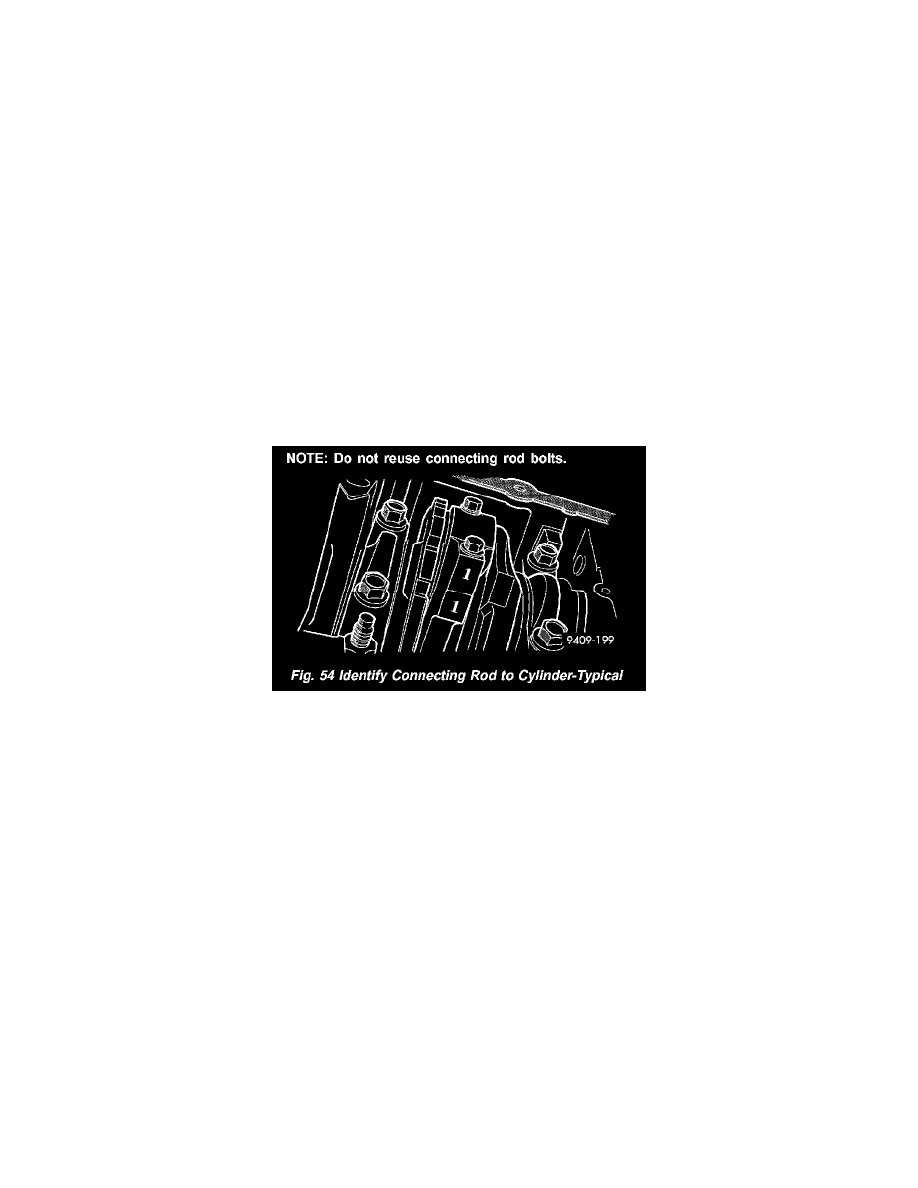
17. Using a permanent ink or paint marker, identify cylinder number on each connecting rod cap (Fig. 54).
CAUTION: DO NOT use a number stamp or a punch to mark connecting rods. Damage to connecting rod could occur.
18. Remove all connecting rod bolts and caps. Care should be taken not to damage the fracture rod and cap surfaces.
NOTE: Do not reuse connecting rod bolts.