
SRT-4 L4-2.4L Turbo VIN S (2004)
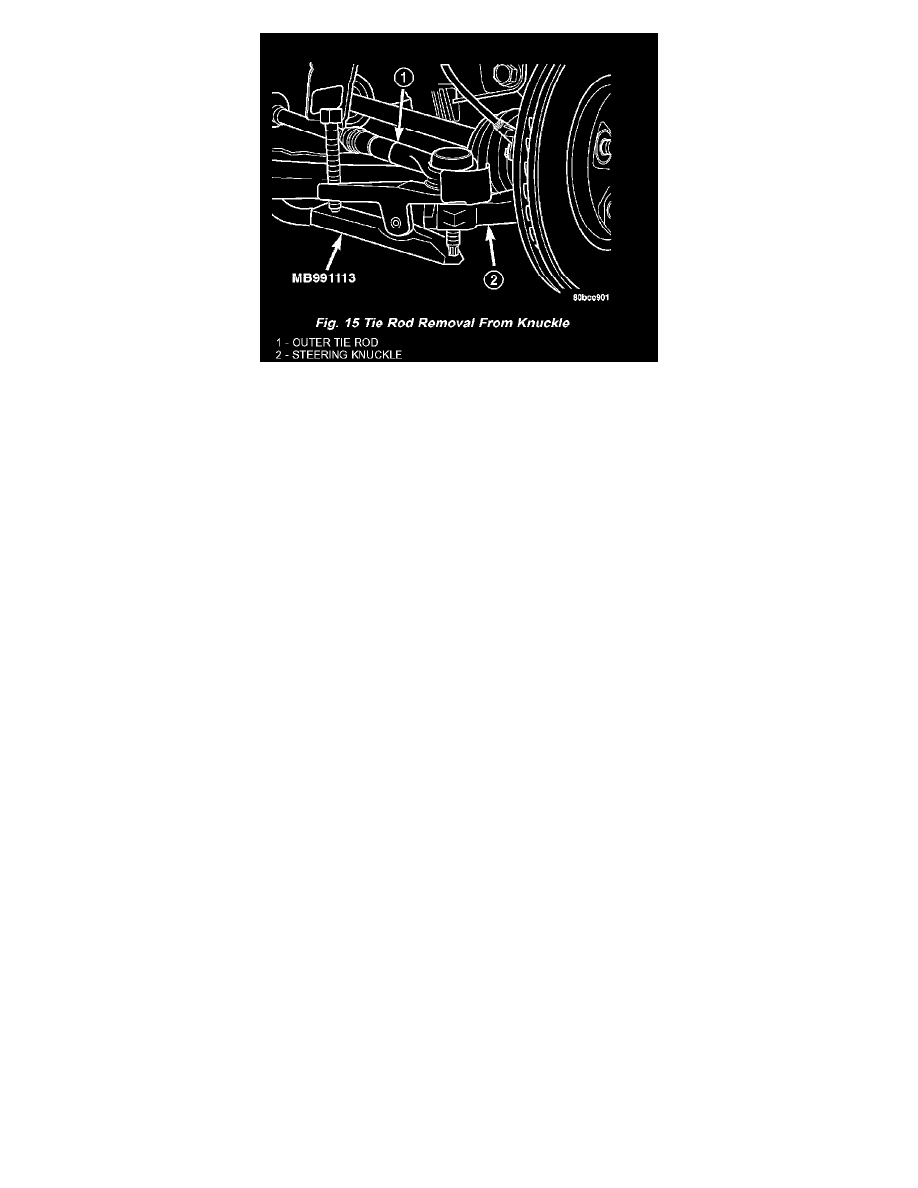
5. Remove the outer tie rod from the steering knuckle using Remover, Special Tool MB991113 (Fig. 15).
6. Remove the tie rod heat shield.
7. Remove the outer tie rod from the inner tie rod by unthreading it.
INSTALLATION
1. Install the jam nut on the inner tie rod threads if it is not already installed (Fig. 13).
NOTE: Be sure the collar is installed on the inner tie rod with the flat end of the collar against jam nut and the open end of the collar facing the
outer tie rod end.
2. Install the collar on the inner tie rod (Fig. 13).
3. Thread the outer tie rod onto the inner tie rod.
4. Position the collar around the end of the outer tie rod (Fig. 13).
5. Thread the jam nut down the inner tie rod far enough to hold the collar in place on the outer tie rod. Do not tighten the jam nut.
6. Place the tie rod heat shield on the knuckle's steering arm, aligning the hole in the shield with the hole in the knuckle and the tangs on the outside
of the shield with the outside configuration of the steering arm. The shield should now be facing outboard, away from the power steering gear and
tie rod (Fig. 14).
7. Attach the outer tie rod end to the steering knuckle.
8. Start the attaching nut onto the stud of the outer tie rod.
9. While holding the stud of the tie rod stationary with a wrench, tighten the attaching nut (Fig. 14).
10. Using a crowfoot wrench attached to a torque wrench, tighten the attaching nut to 75 Nm (55 ft. lbs.).
11. Install the tire and wheel assembly. Tighten wheel nut to a torque of 135 Nm (100 ft. lbs.).
12. Lower the vehicle.
13. Adjust the front toe setting on the vehicle.