
Stratus L4-2.0L VIN C (1997)
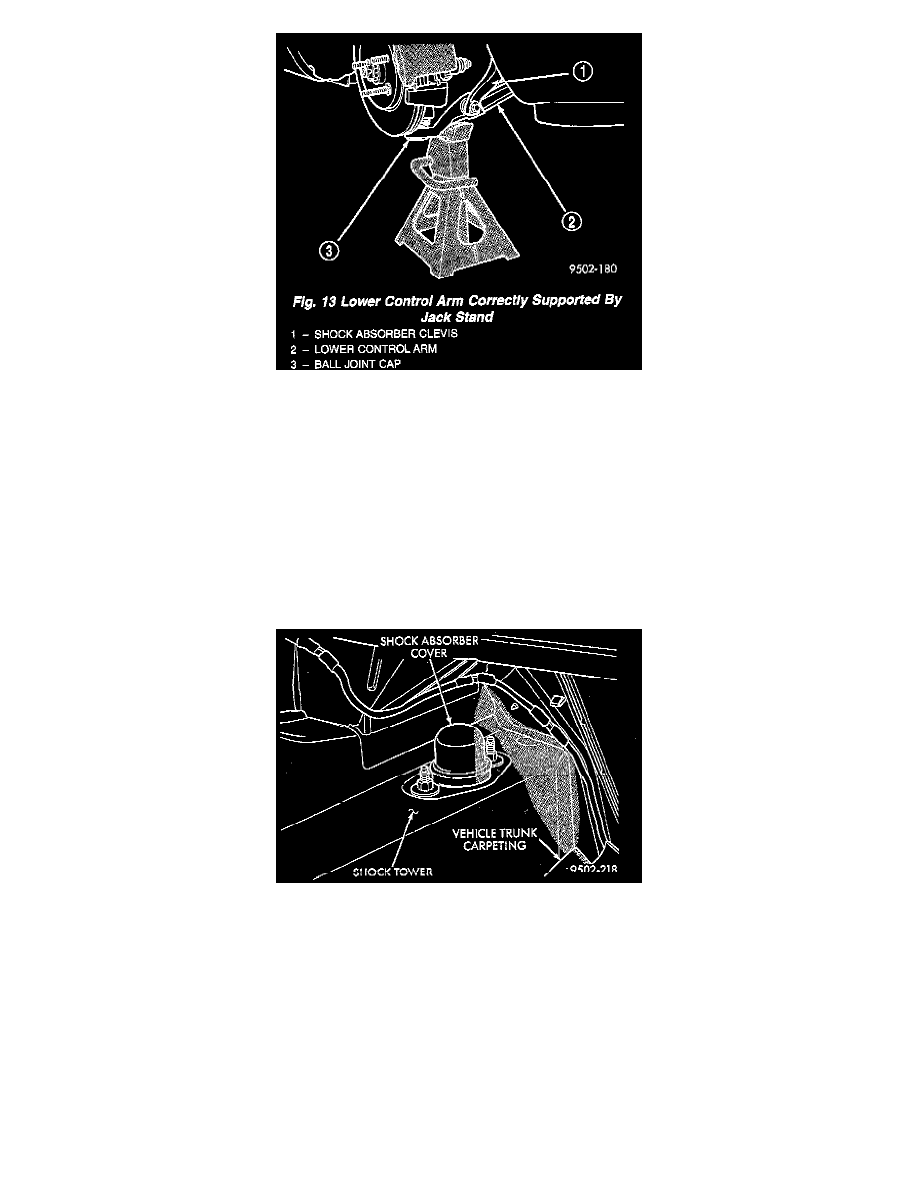
Fig. 13
6. Lower vehicle to the ground with a jack stand positioned under the lower control arm. Continue to lower vehicle so the total weight of the vehicle
is supported by the jack stand and lower control arm.
7. Tighten the shock absorber clevis to lower control arm bushing thru-bolt to a torque of 95 Nm (70 ft. lbs.).
8. Tighten the wheel mounting stud nuts in proper sequence until all nuts are torqued to half specification. Then repeat the tightening sequence to the
full specified torque of 129 Nm (95 ft. lbs.).
Rear
NOTE: Access for the bolts attaching the rear shock absorber upper mount is from inside the trunk.
REMOVE
1. Roll back carpeting on top of rear shock tower to access shock mounting bolts.
2. Remove plastic cover from the top of the shock tower.