Stratus L4-2.4L VIN X (1998)

must not touch the surface of the control arm. Refer to Step 3 below when installing the ball joint.
3. Carefully align all pieces. Using the arbor press, press the ball joint into the control arm until a gap of 3 mm (1/8 inch) is between lip on ball joint
and surface of lower control arm.
4. Install a NEW ball joint assembly sealing boot on ball joint assembly.
CAUTION: Do not use an arbor press to install the sealing boot on the lower control arm ball joint assembly. Damage to the sealing boot can
occur due to excessive pressure applied to sealing boot when being installed.
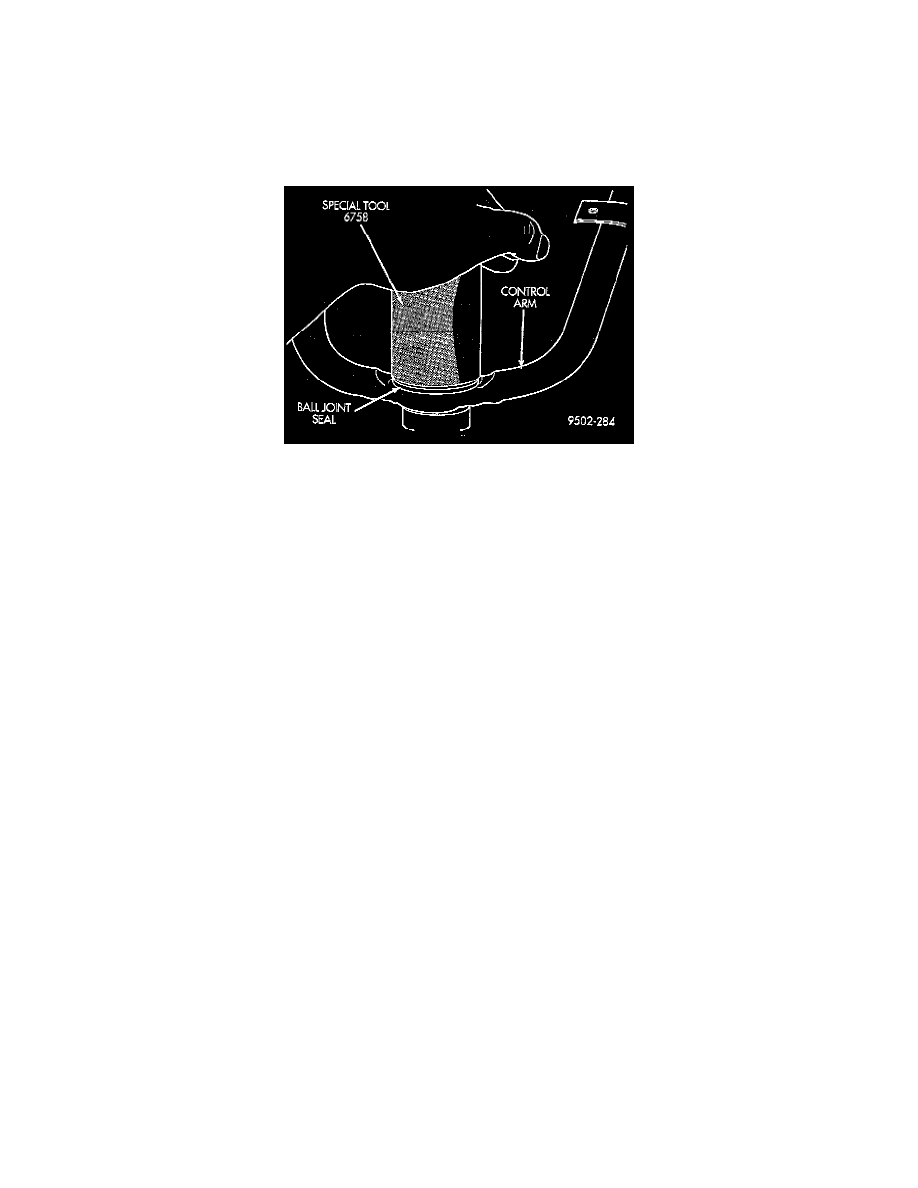
5. Position Receiving Cup, Special Tool 6758 over sealing boot so it is aligned properly with bottom edge of sealing boot. Apply pressure BY
HAND to special tool 6758, or equivalent until sealing boot is pressed squarely against surface of control arm.
