
Stratus V6-2.5L VIN H (1997)
3.
Remove push-in fasteners holding top of fascia and/or grille assembly to radiator closure panel cross member.
4.
Remove push-in screw and retainers holding the fascia to bottom of lower cross member and bottom of splash shields.
5.
Using a trim stick, pry wheelhouse edges from behind the fascia forward of front wheels.
6.
Remove screws holding fascia to bottom of fenders rearward of the parking lamps.
7.
Slide the fascia forward to disengage hooks holding the fascia to bottom of fenders.
8.
Separate the fascia from the vehicle.
9.
Disengage fog lamp wire connectors from the back of fog lamps, if equipped.
10.
Remove power steering cooler attaching screw, ambient temperature sensor attaching screw, if equipped, and pencil braces. Remove bumper
reinforcement beam (face bar).
11.
Remove the upper radiator cross member and set on top of the engine. It is not necessary to remove hood release cable from cross member.
12.
Remove condenser refrigerant lines. Use Miller Special Tool kit # 7193 for quick disconnect couplers.
13.
Remove (4) A/C condenser to radiator attaching screws.
14.
Remove A/C condenser tube attaching the bracket on right side edge of the radiator.
15.
On vehicles equipped with a transmission fluid auxiliary cooler, cut the retaining straps and move cooler out of the way. Save the spacers. On 2.5L
engine equipped vehicles the longer cooler line must be removed from the cooler.
16.
Remove the condenser from the vehicle.
17.
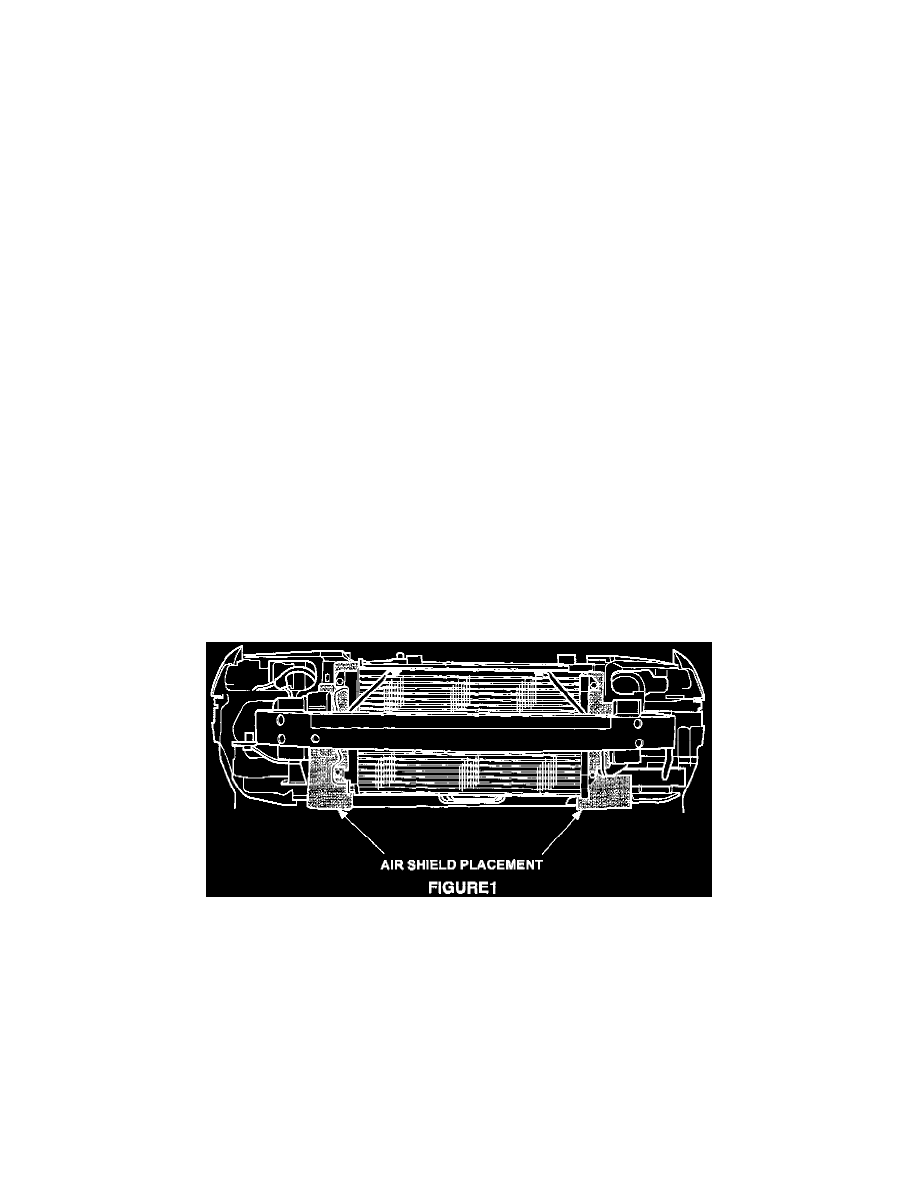
If the vehicle is not equipped with side air shields, slide air seals p/n's 04883308/9, between radiator and condenser, position over condenser
mounting brackets (Figure 1).
18.
Install foam seals on the radiator side of the new condenser. Position seals along sides and across top of the condenser.
19.
Position the new condenser in the vehicle.
20.
Install right side condenser tube support bracket, start the screw, do not tighten.
21.
Install transmission fluid auxiliary cooler to the condenser with new retaining strap kit, p/n 04796282AB.
NOTE:
DO NOT ADD MORE THAN ONE (1) OZ. OF REFRIGERANT OIL. EXCESSIVE OIL WILL DEGRADE COOLING PERFORMANCE.
22.
Install and tighten (4) A/C condenser to radiator attaching screws.
23.
Tighten the A/C condenser tube attaching bracket on right side of the radiator.
24.
Add one (1) oz. of refrigerant oil, SP-15 PAG, Mopar p/n 04886129AA, for condenser replacement. Additional oil will be required if additional