
Stratus Coupe V6-3.0L VIN H (2001)
Caution:
-
Be careful not to remove more adhesive than is necessary.
-
Be careful also not to damage the paintwork on the body surface with the knife. If the paintwork is damaged, repair the damaged area with
repair paint or anti-rust agent.
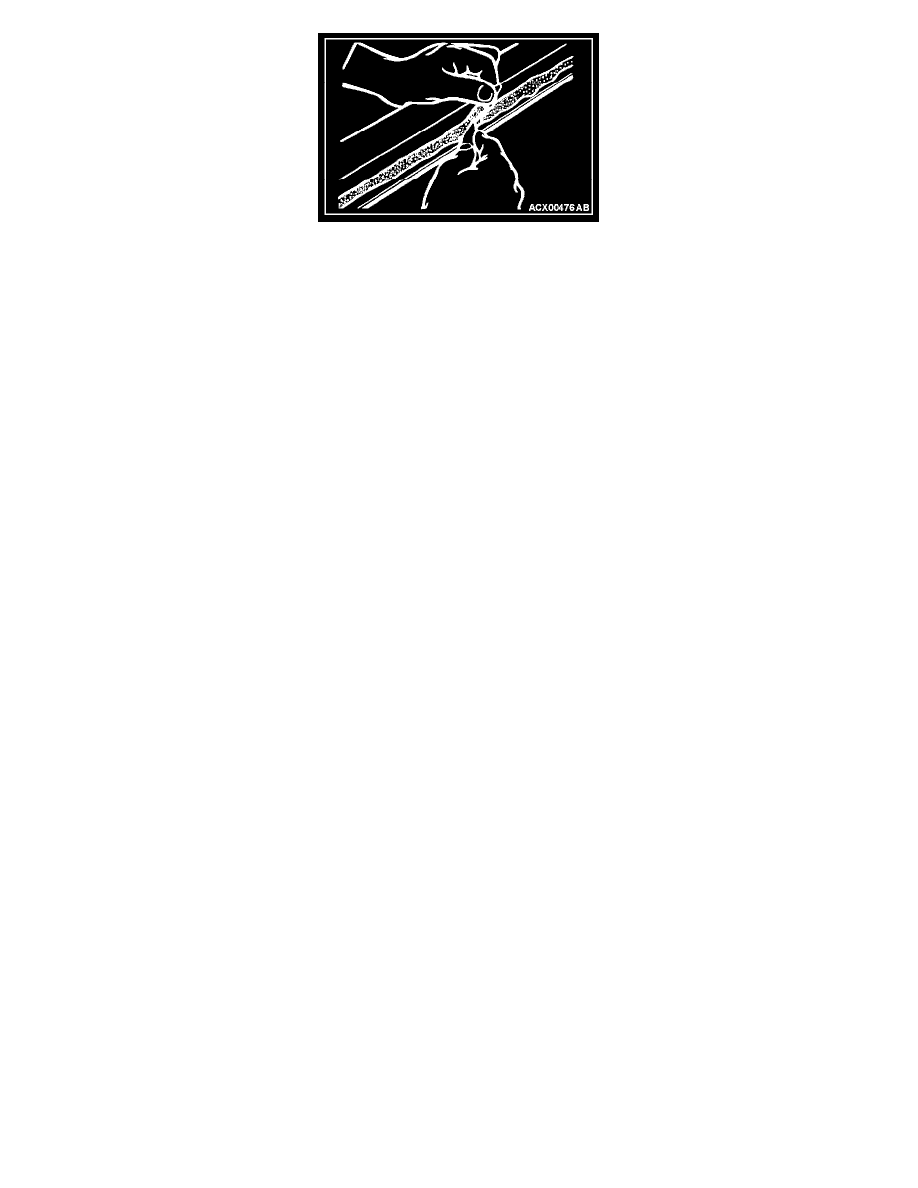
6. Use a knife to cut away the remaining adhesive so that the thickness is within 2 mm (0.08 inch) around the entire circumference of the body flange.
7. Finish the flange surfaces so that they are smooth.
Caution: Allow the cleaned area to dry for at least three minutes. Do not touch any surface that has been cleaned.
8. When reusing the windshield, remove the adhesive still adhering to the windshield, and clean with 3M AAD Part number 8906 or equivalent.
9. Clean the body side in the same way.
Installation Service Point
Windshield Upper Molding/Glass Stopper/Windshield Spacer/Spacer/ Windshield Installation
1. When replacing the windshield, temporarily set the windshield against the body, and place a mating mark on the windshield and body.
2. Use 3M AAD Part number 8906 or equivalent to de grease the inside and outside of the windshield and the body flanges.
Caution:
-
The primer strengthens the adhesive, so be sure to apply it evenly around the entire circumference. However, a too thick application will
weaken the adhesive.
-
Do not touch the coated surface.
3. Soak a sponge in the primer, and apply evenly to the windshield and the body in the specified places.
4. Apply the primer, and then let it dry for 3 to 30 minutes, depending on the ambient temperature and humidity.
5. Install the windshield upper molding to the windshield.
6. Install the glass stopper to the windshield.
7. Place the window spacer to the windshield so that it inclines toward the windshield and its right and ;eft clearances are equal. Then install the
spacer firmly so that it is firmly anchored.