
Stratus Sedan L4-2.4L VIN X (2003)
Steering Wheel: Service and Repair
REMOVAL
1. Adjust the steering wheel so that the tires are in the straight-ahead position.
2. Disconnect and isolate the battery negative remote cable.
3. Remove the speed control switch screws from back of the steering wheel. Pull the switch pods out and disconnect the wires.
4. Remove the Driver Airbag attaching bolts from steering wheel.
5. Lift the airbag and disconnect the airbag wire connectors using finger grip. Use care not to pull on wires. Never use a metallic tool to pry on the
connector.
6. Disconnect the horn wire from the airbag mounting bracket. Remove the speed control wires from under the bracket and from the wire guides.
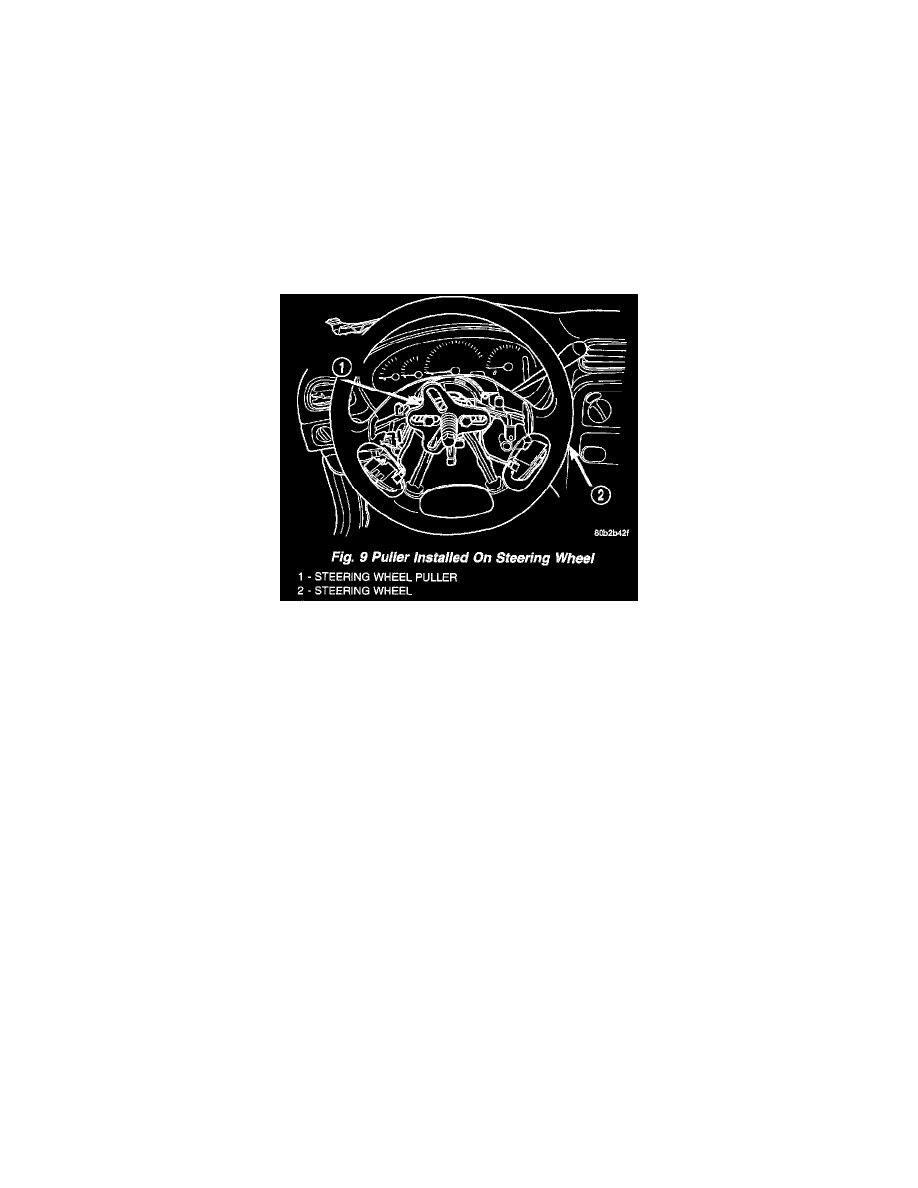
7. Unscrew the steering wheel retaining bolt almost all the way out (approximately 15 mm).
CAUTION: When installing the wheel puller on the steering wheel, be sure puller bolts are hand threaded no more than 5 revolutions in the
threaded holes of the steering wheel. Avoid contact between the bolts and the face of the clockspring, otherwise damage to the clockspring may
result.
Fig. 9
8. While holding steering wheel firmly in the straight-ahead position, loosen the steering wheel using a wheel puller. Remove the tool.
9. Remove the retaining bolt, then the steering wheel. Carefully feed all of the wires through the steering wheel armature to avoid damaging wires.
INSTALLATION
1. Ensure that the road wheels are in the straight-ahead position.
2. Ensure that the clockspring is centered by using the centering indicator. Refer to Clockspring Centering Procedure.
3. Ensure that the turn signal stalk is in the neutral position.
4. Carefully route the wires over the top of the steering wheel armature. Install steering wheel and tighten bolt to 54 Nm (40 ft. lbs.) torque.
a. Ensure that the pocket in the steering wheel hub lines up with the drive pin on the clockspring rotor.
b. Ensure that the block tooth in the steering wheel hub lines up with the missing tooth on the steering column shaft.
5. Route the speed control wires under the horn mechanism and through the speed control switch pockets. Connect the speed control wires to
switches and install switches. Tighten screws to 1.4 + .3 Nm (12 + 3 in. lbs.) torque.
6. Connect the horn lead to the Driver Airbag.
7. Connect the yellow airbag lead to the Driver Airbag. Check that the wires do not get pinched during installation.
8. Install the airbag bolts and tighten the left side first. Tighten to 9.6 + 1.0 Nm (85 + 10 in. lbs.) torque.
9. To properly connect the battery and test the airbag system, Refer to RESTRAINTS - DIAGNOSIS AND TESTING.