
Stratus Sedan V6-2.7L (2001)
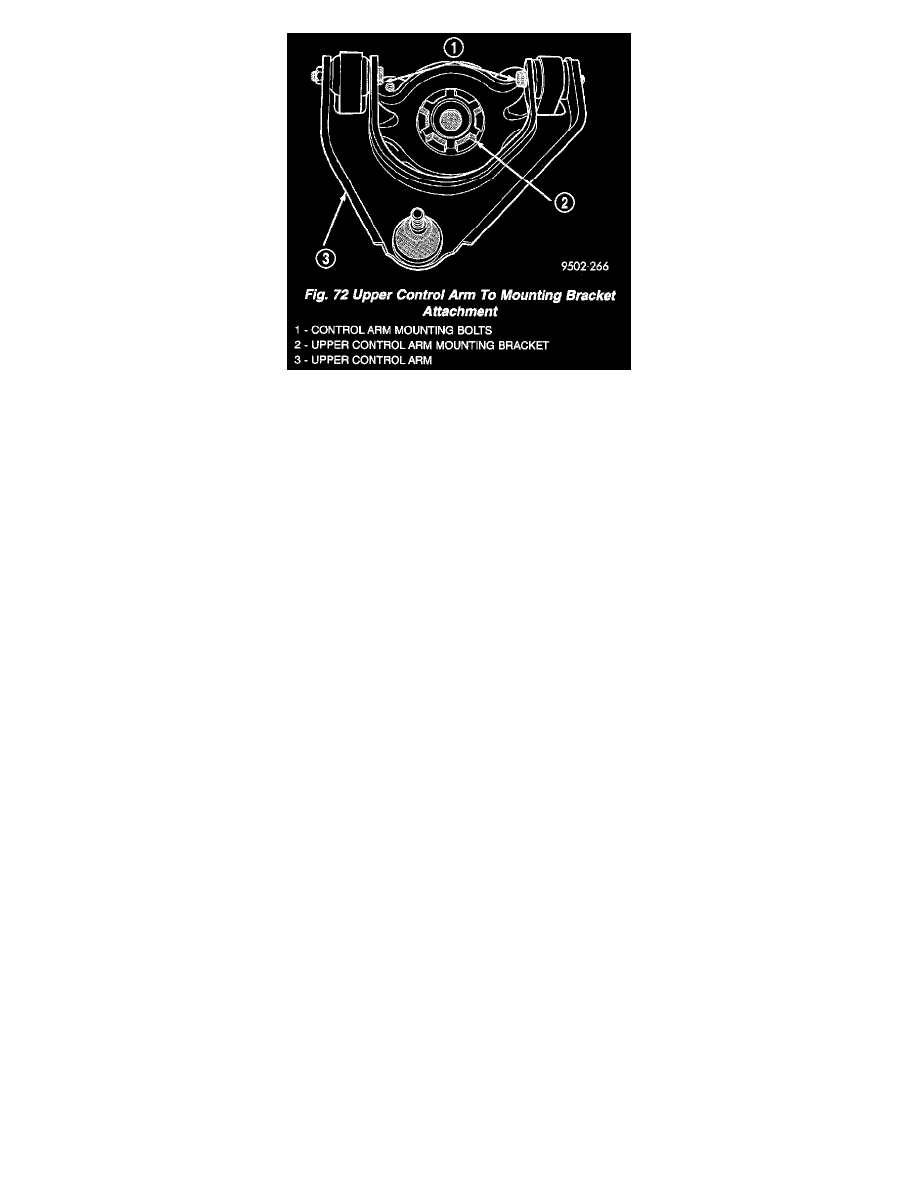
3. Remove the 2 bolts attaching the upper control arm to the bushings in the upper mounting bracket.
4. Remove the upper control arm from the mounting bracket.
INSPECTION - UPPER CONTROL ARM
If damaged, the upper control arm is serviced only as a complete component. Inspect the upper control arm for any signs of damage. If control arm
shows any sign of damage the upper control arm must be replaced. Do not attempt to repair or straighten a broken or bent upper control arm.
The only serviceable component of the upper control arm is the ball joint grease seal. No other repair or replacement procedure should be attempted
on any component of the upper control arm.
INSTALLATION - UPPER CONTROL ARM
1. Install the upper control arm on the upper (shock absorber/upper control arm) mounting bracket.
2. Install the 2 bolts attaching the upper control arm to the bushings in the mounting bracket. The bolts must be installed from center, so the heads are
toward the coil spring when it is installed. The bolts MUST be installed so the head of the bolt will be toward the coil spring when the mounting
bracket is installed on shock absorber.
CAUTION: For clearance reasons the control arm mounting bolts must be installed from center, so the heads are toward the coil spring when it is
installed. Otherwise the bolts may rub the coil spring, damaging it.
3. Install the control arm mounting bolt nuts. Position the control arm at a 90° angle to the mounting bracket and tighten the bolts to a torque of 90
Nm (66 ft. lbs.).
4. Reinstall the upper mounting bracket and control arm on the coil spring. Reassemble the front shock assembly.
5. Reinstall the front shock assembly on the vehicle.