Stratus Sedan V6-2.7L VIN R (2002)

Suspension Strut / Shock Absorber: Service and Repair
Rear
SHOCK ASSEMBLY
REMOVAL - SHOCK ASSEMBLY
NOTE: Access for the nuts attaching the rear shock assembly upper mount to the vehicle is through the inside of the trunk.
1. Roll back carpeting on top of the rear shock tower to access shock mounting nuts.
2. Remove plastic cover from the top of the shock assembly.
3. Remove 2 nuts attaching the shock assembly upper mount/spring seat to the shock tower.
4. Raise vehicle on jack stands or centered on a frame contact type hoist.
5. Remove the rear wheel and tire assembly from the vehicle.
6. Remove two fasteners holding the splash shield to the shock assembly upper mount.
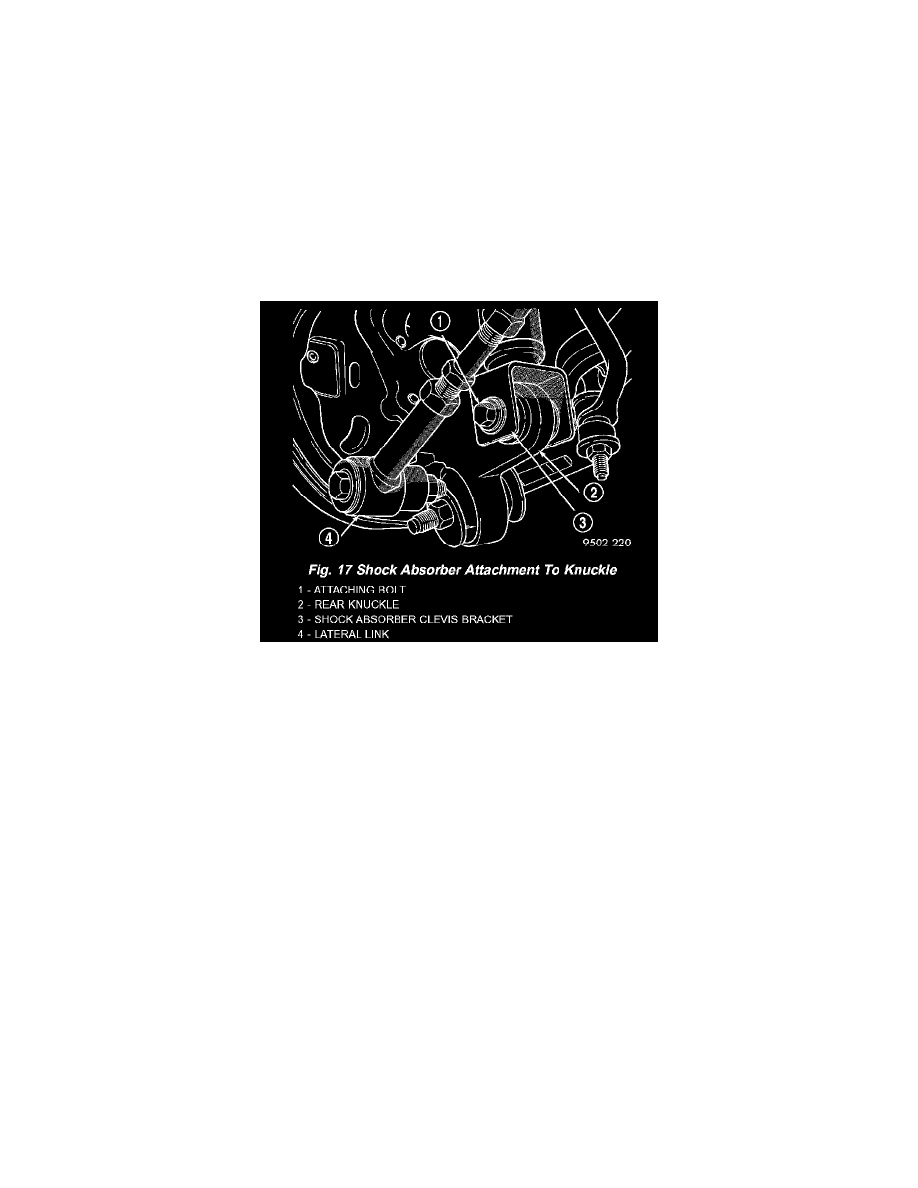
7. Remove bolt attaching shock absorber to rear knuckle.
8. Remove the shock absorber from the rear knuckle first when removing the shock absorber from vehicle by pushing down on the rear suspension.
9. Move shock assembly downward and tilt top of shock outward, then remove shock assembly from vehicle through top of wheel opening.
DISASSEMBLY - SHOCK ASSEMBLY
The shock assembly must be removed from the vehicle for it to be disassembled and assembled.
For the disassembly and assembly of the shock assembly, use strut spring compressor Pentastar Service Equipment (PSE) tool W-7200, or the
equivalent, to compress the coil spring. Follow the manufacturer's instructions closely.
WARNING: DO NOT REMOVE THE SHOCK ROD NUT BEFORE THE COIL SPRING IS COMPRESSED. THE COIL SPRING IS
HELD UNDER PRESSURE AND MUST BE COMPRESSED, REMOVING SPRING TENSION FROM THE UPPER MOUNTING
BRACKET BEFORE THE ROD NUT IS REMOVED.
1. If both shocks are being serviced at the same time, mark the coil spring and shock assembly according to which side of the vehicle the shock was
removed from, and which shock the coil spring was removed from.
2. Position the shock assembly in the strut coil spring compressor following the manufacturer's instructions. Set the lower hooks and install the clamp
on the lower end of the coil spring, so the shock is held in place once the shock shaft nut is removed. Lower the upper hooks and position them on
the coil spring near the top.
3. Compress the coil spring until all coil spring tension is removed from the upper mounting bracket.
4. Hold the shock rod from rotating using special socket Snap-On A136, or equivalent, and remove the retainer nut.
5. Remove the upper shock rod bushing retainer washer from the shock rod.
6. Remove the upper shock mount and the rod isolator bushings as an assembly from the rod of the shock absorber.
7. Remove the upper coil spring isolator from the top of the coil spring.
8. Remove the lower shock rod bushing washer from the top of the dust boot and shock absorber rod.
9. Remove the dust shield and cup as an assembly from the shock absorber rod by pulling both straight up and off the shock rod.
