
Stratus Sedan V6-2.7L VIN T FFV (2003)
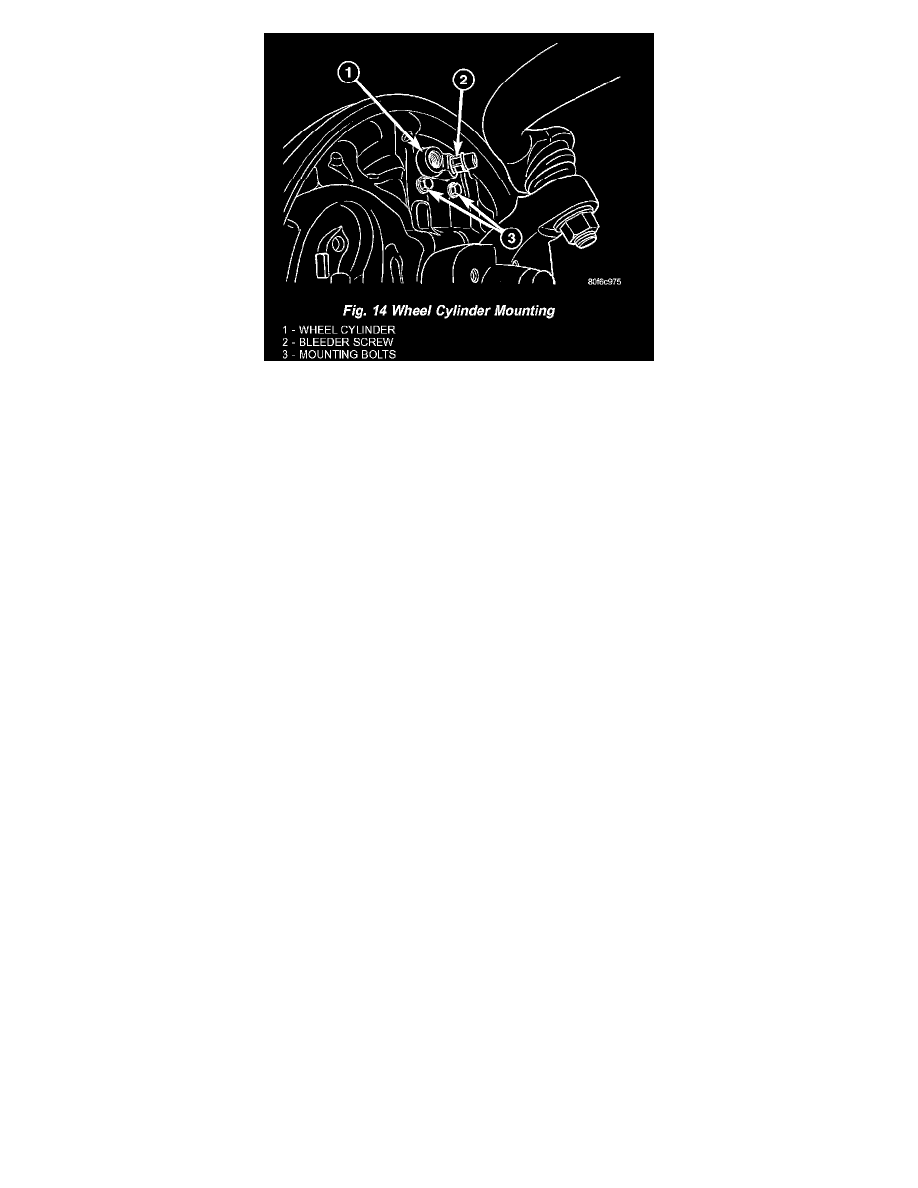
9. Remove wheel cylinder mounting bolts.
10. Remove wheel cylinder and seal from support plate.
11. Remove 4 bolts securing support plate to knuckle.
12. Remove support plate.
INSTALLATION
1. Install support plate over knuckle spindle.
2. Install four support plate mounting bolts. Tighten mounting bolts to 61 Nm (45 ft. lbs.) torque.
3. Install seal on mounting surface of wheel cylinder.
4. Install wheel cylinder on support plate. Install and tighten mounting bolts to 13 Nm (115 in. lbs.) torque.
5. Insert parking brake cable into support plate. Push cable housing into hole until retainer fingers lock into place.
6. Lubricate six shoe contact areas on support plate and anchor using Mopar Brake Lubricant or equivalent.
7. Install brake shoes, hub and bearing, and hub and bearing dust cap.
8. Adjust brake shoes to drum diameter using brake shoe gauge.
9. Install brake drum.
10. Attach flex hose routing bracket to support plate. Tighten routing bracket screw to 13 Nm (115 in. lbs.) torque.
11. Thread flex hose tube nut into wheel cylinder port. Tighten tube nut to 17 Nm (145 in. lbs.) torque.
12. Install tire and wheel assembly. Tighten wheel mounting nuts to 135 Nm (100 ft. lbs.) torque.
13. Slowly rotate wheel and verify that brake drum lightly drags on shoes.
14. Lower vehicle.
15. Remove brake pedal depressor (holding) tool.
16. Bleed affected wheel cylinder/circuit as necessary.
17. Road test vehicle stopping in both forward and reverse directions. Automatic-adjuster will continue to adjust brakes as necessary during road test.