Viper V10-8.3L VIN Z (2004)

36.
Remove the accessory drive belt tensioner.
37.
Carefully cut the RTV between the timing chain cover and the oil pan gasket.
38.
Lower the vehicle.
39.
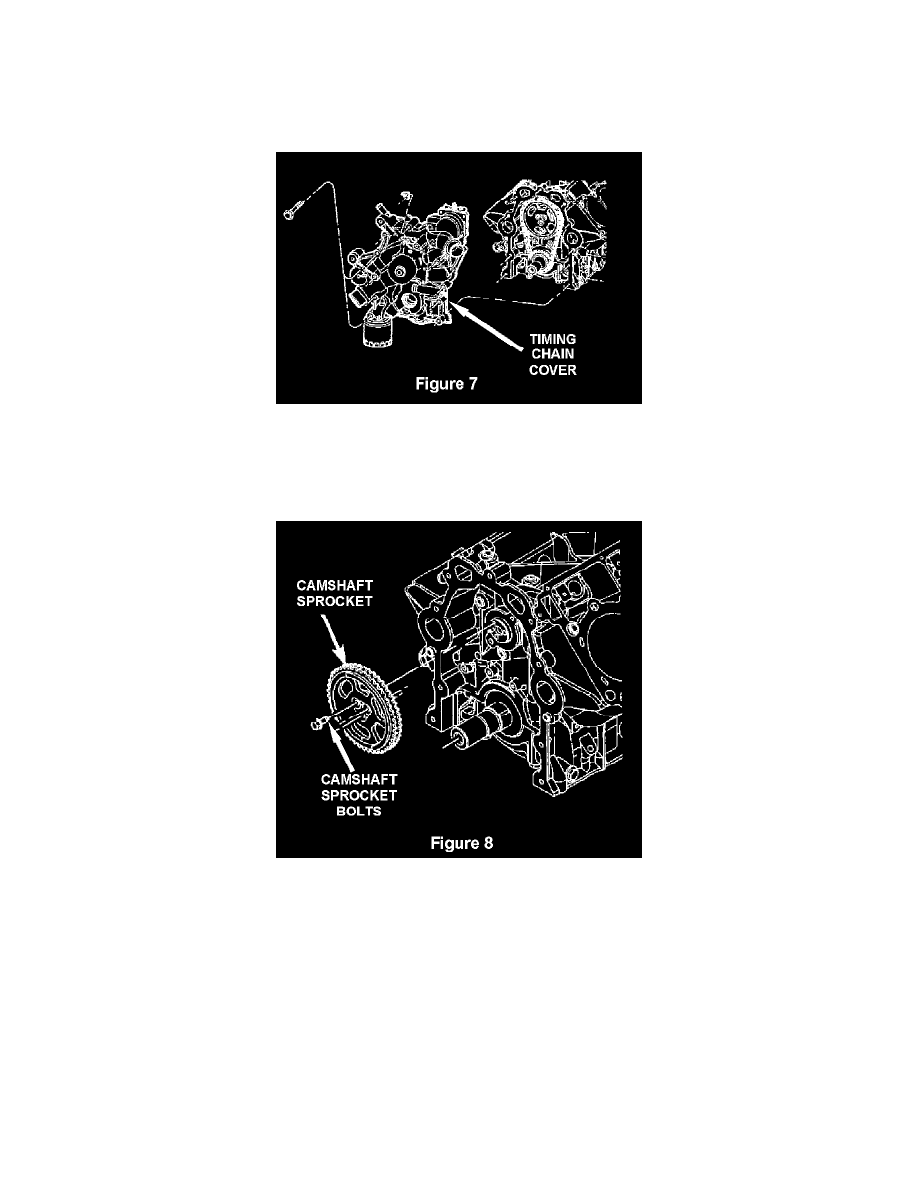
Remove the timing chain cover bolts (Figure 7).
40.
Remove the timing chain cover (Figure 7).
41.
Remove the front crankshaft seal from the timing chain cover and discard the seal. Use care to not damage the machined surfaces.
42.
Inspect the three (3) camshaft sprocket bolts (Figure 8).
43.
If any camshaft sprocket bolt is broken or missing, contact the STAR Center for further information.
44.
If any camshaft sprocket bolts are loose but not broken, inspect the camshaft position sensor in the timing chain cover for damage. Remove and
discard the sensor if it is damaged.
45.
Rotate crankshaft to position the camshaft sprocket so that the raised front edge is at the upper (12 O'clock) position.
46.
Snug the three (3) camshaft sprocket bolts to 50 in-lbs (6 N.m) to ensure hard contact of the joint faces.
47.
Tighten each camshaft sprocket bolt to 250 in-lbs (29 N.m) starting with the bolt opposite the dowel pin. Tighten the bolts in a clockwise pattern.
48.
Install the timing chain cover onto the location dowels without the front crankshaft seal installed (Figure 7).
