
Viper GTS V10-8.0L VIN E (1999)
steering knuckle.
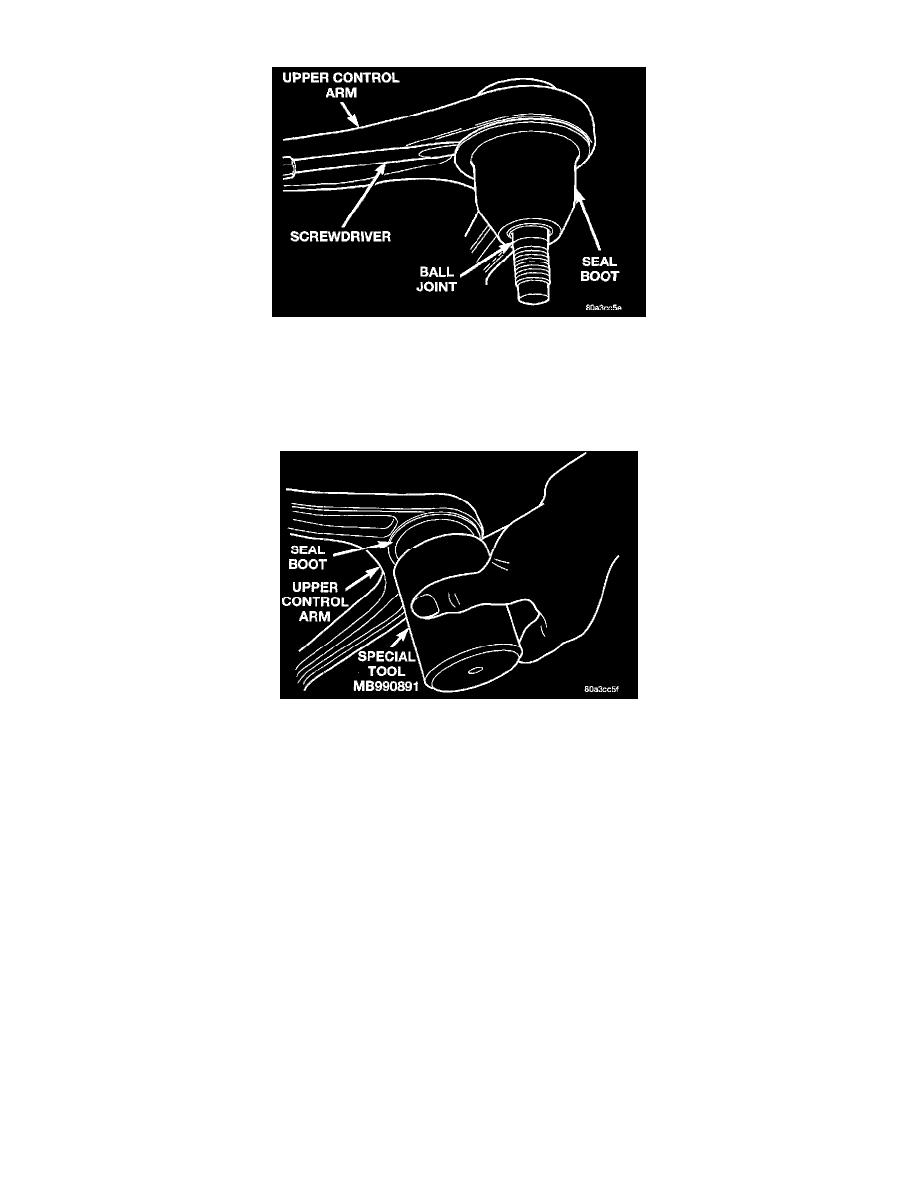
Seal Boot Removal From Ball Joint
10. Using a screw driver or other suitable tool, pry the seal boot off of the ball joint.
INSTALLATION
1. Install NEW ball joint sealing boot on ball joint. Install sealing boot as far as possible on the ball joint assembly.
Seal Boot Installation On Ball Joint
2. Position Receiving Cup, Special Tool M13990891, over sealing boot aligning it properly with bottom edge of sealing boot. Apply pressure, BY
HAND, until sealing boot is pressed squarely against lower control arm.
3. Install the upper ball joint stud into the steering knuckle. Install the upper ball joint stud to steering knuckle attaching nut. Torque ball joint stud to
steering knuckle nut to 102 Nm (75 ft. lbs.). Install upper ball joint attaching nut cotter pin. Align the cotter pin hole in the attaching nut and ball
joint stud only by tightening the attaching nut (DO NOT LOOSEN IT).
4. Properly lubricate the lower ball joint assembly using Mopar Multi-Mileage Lube or an equivalent.
5. Install brake rotor on front hub and bearing assembly.
6. Install disc brake caliper on steering knuckle. Align caliper mounting holes with threaded holes in steering knuckle. Install the 2 bolts attaching the
caliper to the steering knuckle. Tighten both mounting bolts to a torque of 115 Nm (85 ft. lbs.).
7. Align brake hose bracket with hole in steering knuckle. Install the hub/bearing assembly attaching bolt. Tighten the attaching bolt to a torque of 61
Nm (45 ft. lbs.).
8. Install the wheel and tire.
9. Tighten the wheel mounting stud nuts in proper sequence until all nuts are torqued to half specification. Then repeat the tightening sequence to the
full specified torque of 122 Nm (90 ft. lbs.).
10. Lower the vehicle to ground from jack stands or hoist.
Rear
NOTE: Before proceeding, review all SERVICE WARNINGS AND CAUTIONS.
REMOVAL
1. Remove the center cap from the rear wheel.