
Viper SRT-10 V10-8.4L (2008)
Crankshaft: Removal and Replacement
Crankshaft - Removal
REMOVAL
1. Remove engine assembly from vehicle See: Service and Repair/Removal and Replacement/Engine - Removal.
2. Mount engine on a suitable repair stand.
3. Remove oil pan See: Engine Lubrication/Oil Pan/Service and Repair/Engine Oil Pan - Removal.
4. Remove crankshaft rear oil seal retainer See: Seals and Gaskets/Crankshaft Main Bearing Seal/Service and Repair/Rear Crankshaft Oil Seal and
Retainer - Removal.
5. Remove crankshaft pulley and damper See: Harmonic Balancer - Crankshaft Pulley/Service and Repair/Vibration Damper - Removal.
6. Remove timing chain cover See: Timing Components/Timing Cover/Service and Repair/Timing Cover - Removal.
7. Remove timing chain See: Timing Components/Timing Chain/Service and Repair/Timing Chain & Sprockets - Removal.
8. Remove oil pump pick up tube.
9. Remove crankshaft oil scraper.
CAUTION: DO NOT use a number stamp or a punch to mark connecting rods. Damage to connecting rod could occur.
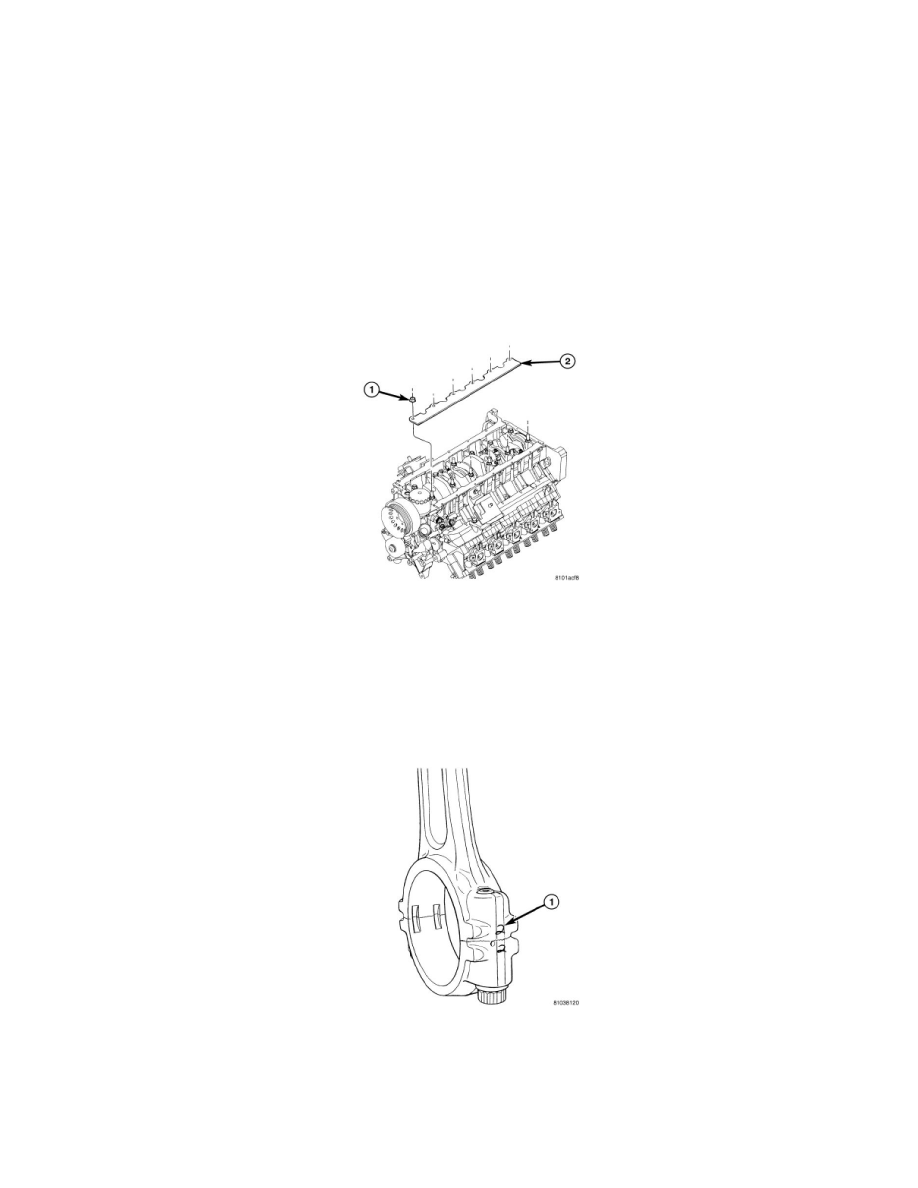
10. Inspect connecting rods and connecting rod caps for cylinder identification. Identify them if necessary using a permanent ink or paint marker.
CAUTION: Care must be taken not to damage the fractured rod and cap joint surfaces, as engine damage many occur.
NOTE: Do not reuse connecting rod bolts.
11. Remove connecting rod bolts and caps.
12. Main bearing caps are not interchangeable and should be marked before removal to ensure correct reassembly.
13. Remove the side main bearing cap bolts and main bearing cap bolts.
14. Remove the main bearing caps.
15. When removing the crankshaft, it should be lifted straight out of the engine block. This will prevent any damage to the engine and crankshaft.