Viper SRT-10 V10-8.4L (2008)

Headlamp Bulb: Service and Repair
Installation
BULB AND HID COMPONENTS
LAMP/IGNITER ASSEMBLY
CAUTION: The Ballast Module and Lamp/Igniter are specifically designed for each individual application, When replacing either the Ballast
Module or Lamp/Igniter, make sure they are compatible with eachother. Check with the parts department for compatibility.
CAUTION: Do not touch the glass of HID or halogen lamps with fingers or other possibly oily surface. Reduced lamp life will result.
The lamp and igniter are an assembly and will be replaced as such.
1. Connect the lamp/igniter assembly connector to the lamp/igniter.
2. Push the lamp/igniter assembly straight into headlamp unit.
3. Install the spring retainer across the igniter/lamp assembly.
4. Place the headlamp access cover into position and install the three nuts.
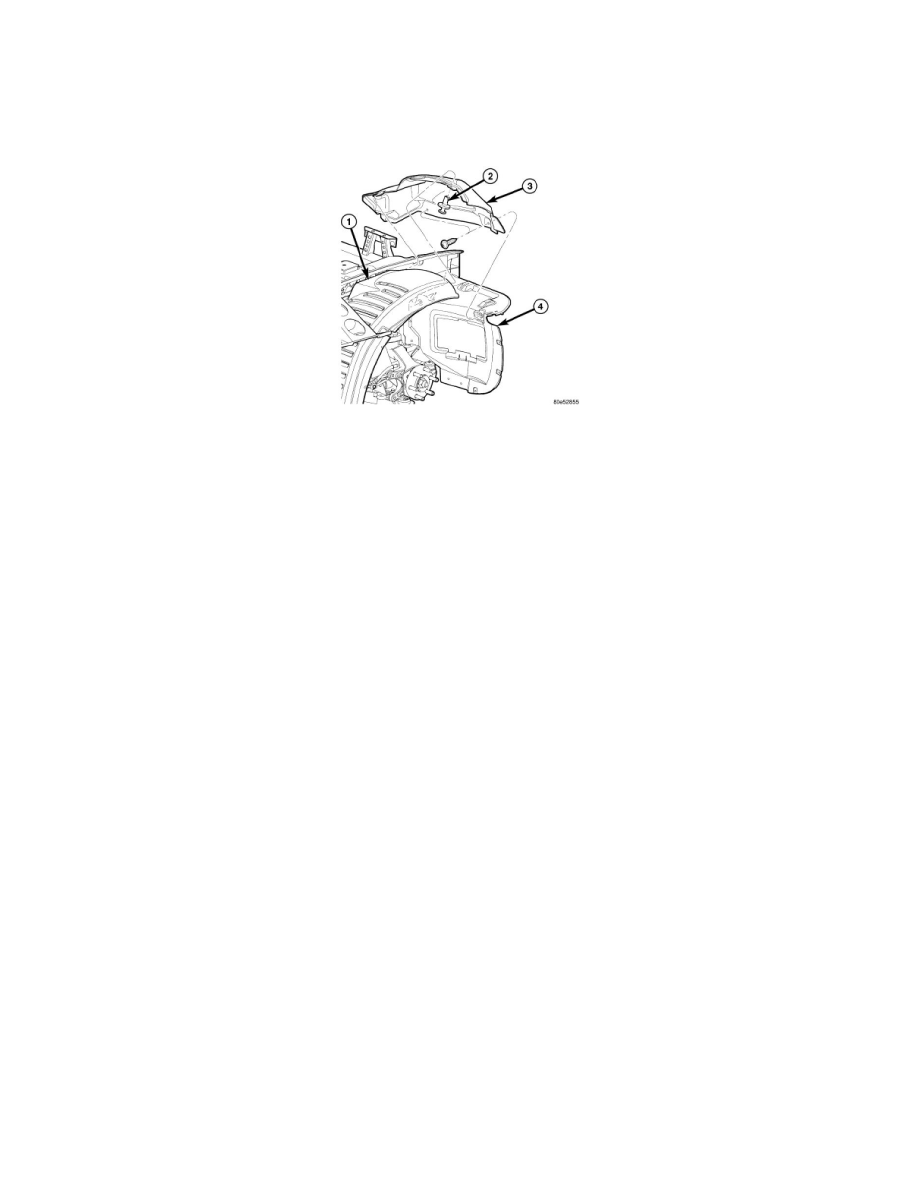
5. Install the front fender extension splash shield (3) on the respective side by and the fasteners (2). If wheel and tire assembly was removed, install
See: Maintenance/Wheels and Tires/Service and Repair/Removal and Replacement/Tires and Wheels - Installation.
6. Connect the battery negative cable.
7. Place battery access cover into place and install four bolts.
8. Close deck lid.
9. Verify headlamp unit aim. If adjustment is necessary, See: Adjustments.
BALLAST MODULE
CAUTION: The Ballast Module and Lamp/Igniter are specifically designed for each individual application, When replacing either the Ballast
Module or Lamp/Igniter, make sure they are compatible with eachother. Check with the parts department for compatibility.
10. Connect the feed and lamp/igniter connectors to the ballast module.
11. Install the bracket and two retaining screws to the ballast module inside the headlamp access cover.
12. Place the headlamp access cover into position and install the three nuts.
13. Install the front fender extension splash shield (3) on the respective side by and the fasteners (2). If wheel and tire assembly was removed, install
See: Maintenance/Wheels and Tires/Service and Repair/Removal and Replacement/Tires and Wheels - Installation.
14. Connect the battery negative cable.
15. Place battery access cover into place and install four bolts.
16. Close deck lid.
HIGH BEAM
17. Place headlamp into socket and turn clockwise 1/4 turn.
18. Connect electrical connector.
19. Place the headlamp access cover into position and install the three nuts.
20. Install the front fender extension splash shield (3) on the respective side by and the fasteners (2). If wheel and tire assembly was removed, install
See: Maintenance/Wheels and Tires/Service and Repair/Removal and Replacement/Tires and Wheels - Installation.
21. Connect the battery negative cable.
22. Place battery access cover into place and install four bolts.
23. Close deck lid.
