
Viper SRT-10 V10-8.4L (2008)
Rear Knuckle Alignment Link: Service and Repair
Removal
REMOVAL
NOTE: Review all Warnings and Cautions. See: Service Precautions.
1. Raise and support vehicle. See: Maintenance
2. Remove wheel and tire assembly. See: Wheels and Tires/Service and Repair/Removal and Replacement/Tires and Wheels - Removal
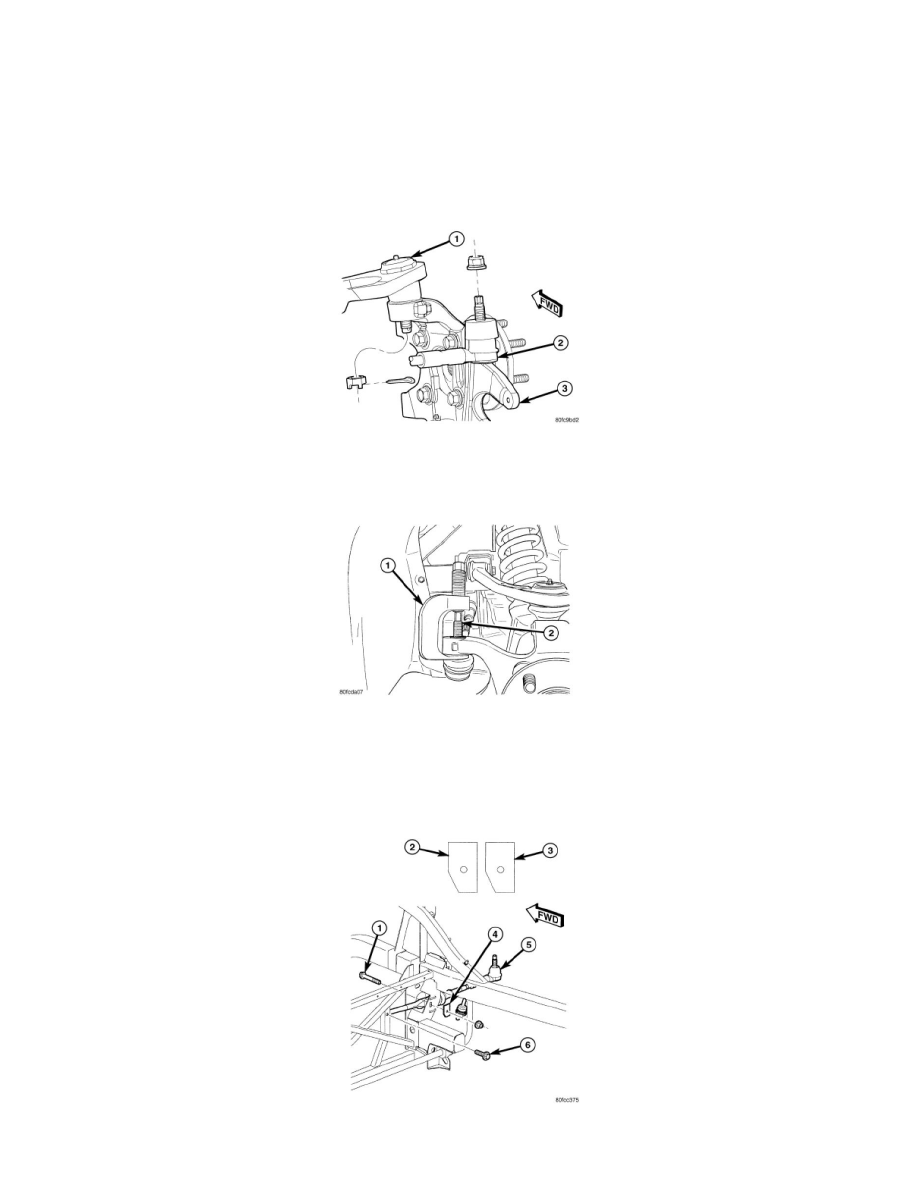
3. Remove plastic appearance cap from toe link stud.
4. Remove nut from toe link (2) at knuckle (3).
CAUTION: When releasing toe link from knuckle using Puller, Special Tool C-4150A, use care not to pinch and damage grease seal.
5. Release toe link (2) from knuckle using Puller (1), Special Tool C-4150A.
NOTE: The toe link to frame outer mounting location is used for adjusting the rear wheel dynamic toe pattern. The dynamic rear wheel
toe pattern is adjusted by installing an adjustment shim at this location. Be sure when removing the outer mounting bolt and nut that the
adjustment shim is not discarded. Also, note the side of the vehicle and the position that the adjustment shim was installed. It must be
reinstalled in the same position to maintain the rear wheel dynamic toe pattern once toe link installation is complete.
6. Remove toe link outboard mounting bolt (1), nut and shim (4).