
Eagle L6-258 4.2L (1982)
Axle Shaft: Service and Repair
Conventional Fixed/Floating Axle Shaft
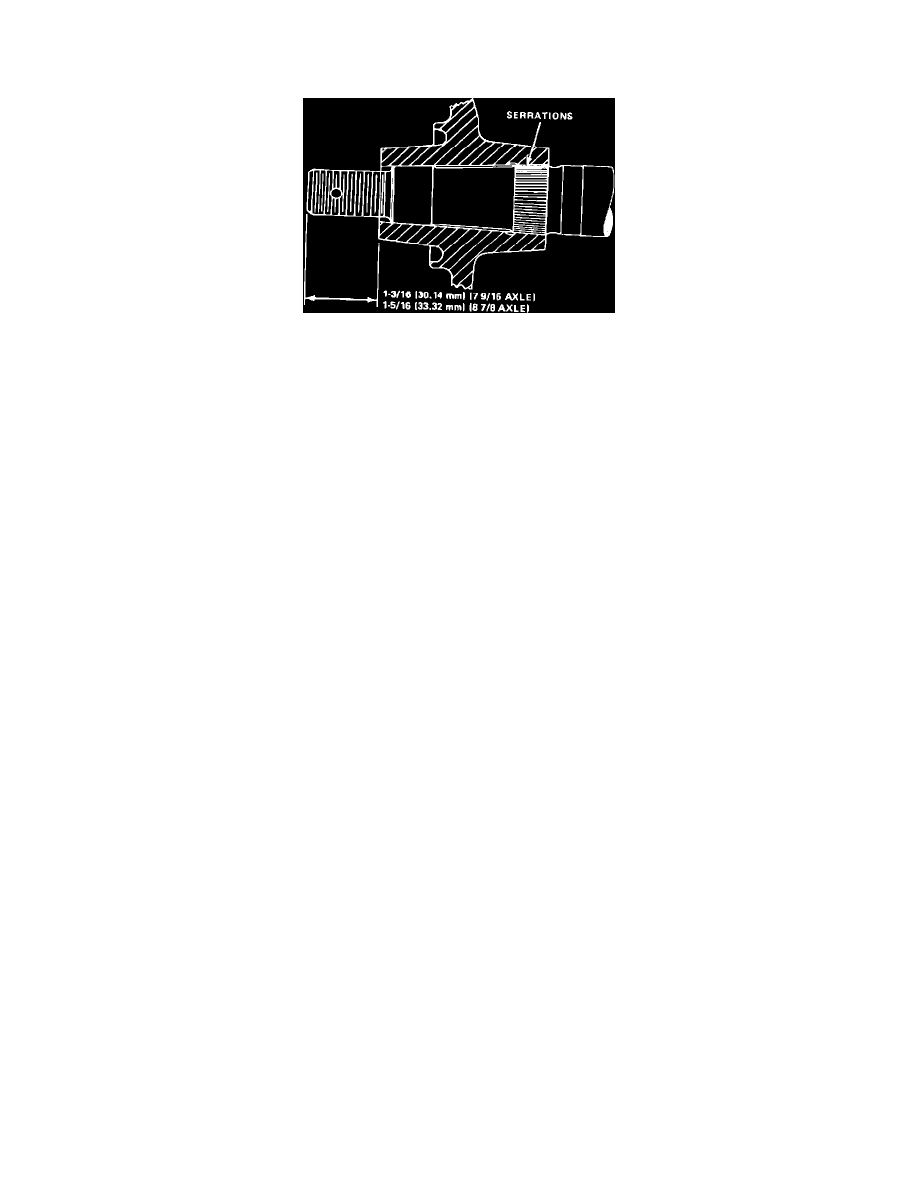
Fig.. 3 Installing Hub On Axle
DISASSEMBLY
The hub and drum are separate units, and the hub and axle shaft are serrated to mate and fit together on the taper. Both are punched marked to insure
correct assembly. The axle shaft and bearing may be removed as follows:
1. Remove rear wheel, drum and hub, then disconnect parking brake cable at equalizer.
2. Disconnect brake tube from wheel cylinder and remove brake support plate assembly, oil seal and axle shims from axle shaft. Axle shaft endplay
shims are located on the left side only.
3. Using suitable puller, pull axle shaft and bearing from axle tube, then remove and discard inner oil seal. The bearing cone must be pressed off
the shaft, using an arbor press. On models equipped with Twin Grip differential, do not rotate differential unless both axle shafts are in
place.
ASSEMBLY
When installing hub onto axle, install two well lubricated thrust washers and axle shaft nut. Tighten axle shaft nut until hub is installed to the
dimensions shown. Remove axle shaft nut and one thrust washer. Reinstall axle shaft nut and tighten to 250 ft. lbs. If cotter pin hole is not aligned,
tighten the nut to the next castellation and install cotter pin.
Do not use an original hub on a replacement axle shaft; use a new hub. A new hub may be installed on an original axle shaft providing the
serrations on the shaft are not worn or damaged. Be certain that the hub and axle shaft are punch marked to insure proper alignment on
installation. A replacement hub, which is not serrated, can be installed and serrations will be cut in the hub when installed on the shaft due to
the difference in hardness of the shaft and the hub.
Replace the parts in the reverse order of their removal. If the old parts are replaced and the shims have not been disturbed, the axle shaft endplay
should be correct when the parts are assembled. However, if a new shaft, bearing, differential carrier or housing has been installed, it will be necessary
to check the endplay.
The endplay can be checked when all parts have been replaced except the wheel and hub. To make this check, rap each axle shaft after the nuts are
tight to be sure the bearing cups are seated. Then place a dial indicator so that its stem contacts the end of the shaft and work the shaft in and out to
determine the amount of existing endplay. Axle shaft endplay should be 0.004 - 0.008 inch. If an adjustment is necessary, remove the outer oil seal
and brake support and add or remove shims as required. When making this adjustment, add or subtract shims on left side of axle only.
The application of a bead of sealing material such as "Pliobond" or "Permatex" to the outer diameter of axle tube flange and the brake
support contact area is recommended. The sealing material will be used in addition to the gasket for improved sealing.